A mountain bike offers the freedom to explore rough trails and steep hills, but nothing stops that adventure faster than a dropped or broken chain. If you’ve ever been pedaling up a rocky path and suddenly lost power, you know how frustrating chain problems can be.
The good news? Fixing a mountain bike chain is a skill that’s easy to learn and can save your ride — and maybe your day. Whether your chain just slipped off the gears or snapped completely, this guide walks you through what to do, step by step.
You’ll also find real-world tips, common mistakes to avoid, and advice for keeping your chain in top shape longer.
Why Chains Come Off Or Break
Understanding why chains fail can help you avoid problems before they happen. Most mountain bike chains slip off or break because of one or more of these causes:
- Worn chain or cassette: Over time, chain links and gear teeth stretch or wear, causing poor engagement.
- Improper shifting: Shifting under heavy load or without easing off the pedals can force the chain off or snap it.
- Poor chain lubrication: Dry, rusty, or dirty chains increase friction and weaken the metal.
- Bent derailleur hanger: Even a slight bend can misalign the chain, especially after a crash.
- Incorrect chain length: Too-long or too-short chains don’t track properly, making them more likely to slip.
Many beginners overlook the importance of regular maintenance or assume chains only break from hard impacts. In reality, most failures are due to simple wear and lack of attention.
Tools And Items You’ll Need
You don’t need a full workshop to fix a mountain bike chain, but a few basic tools make the job much easier. Here’s what you should have on hand, whether you’re at home or out on the trail:
- Chain tool: A small device that pushes out and installs chain pins. Many multi-tools include one.
- Quick-link pliers: These make opening and closing quick links much easier, but pliers or even strong fingers can work in a pinch.
- Spare quick link (master link): For modern chains, these are essential for fast trail-side repair.
- Spare chain pins: Needed for some chain types if you don’t have a quick link.
- Gloves or wipes: Chains are greasy and can be dirty.
- Chain lubricant: Essential after any repair.
It’s smart to carry these in your saddle bag or backpack. Many experienced riders keep a complete mini repair kit ready for every ride.
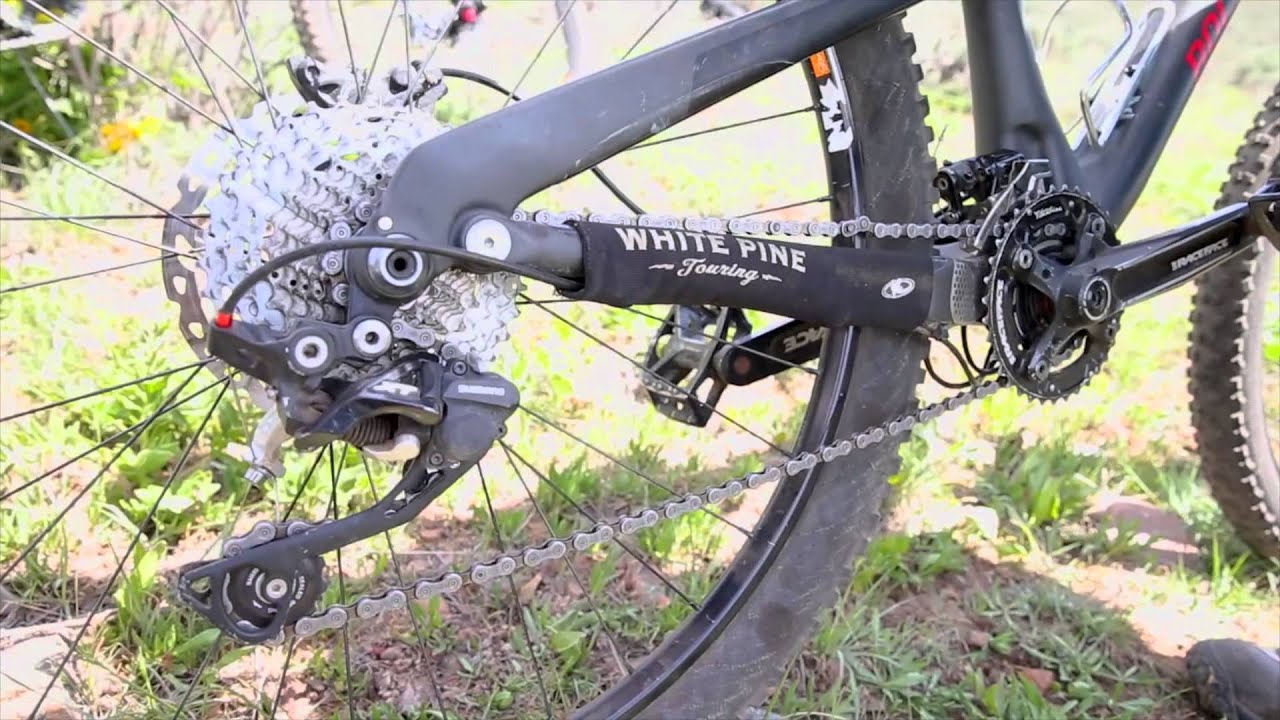
Credit: www.youtube.com
Diagnosing Chain Problems
Before jumping into the fix, it’s important to identify what’s wrong. The solution for a dropped chain is different from a snapped one. Here are common scenarios:
- Chain slips off the gears: The chain is intact but has come off the front chainring or rear cassette.
- Chain is jammed: The chain is stuck between the frame and gears.
- Chain is broken: There’s a visible break, often at a pin or quick link.
- Chain skips or slips while riding: The chain jumps gears, especially under load.
Check for the following:
- Bent links or twisted sections
- Bent derailleur hanger (look from the rear for alignment)
- Worn or missing teeth on the chainring or cassette
Quick diagnosis saves time and prevents further damage.
How To Fix A Dropped Chain
If your chain has just fallen off the chainring or cassette but isn’t broken, you can usually fix it quickly.
- Stop pedaling immediately: Continuing to pedal can jam the chain or bend components.
- Shift to the smallest front chainring and rear cog: This creates slack and makes it easier to reset the chain.
- Lift the rear wheel: If possible, use a bike stand or flip the bike upside down.
- Guide the chain onto the chainring: Use your hand to place the chain onto the smallest front ring.
- Rotate the pedals slowly: Turn the cranks by hand, watching the chain settle onto the gear. If it keeps slipping off, check for bent teeth or misalignment.
If the chain keeps coming off, inspect for a bent derailleur hanger or excessive wear. These problems need further attention.

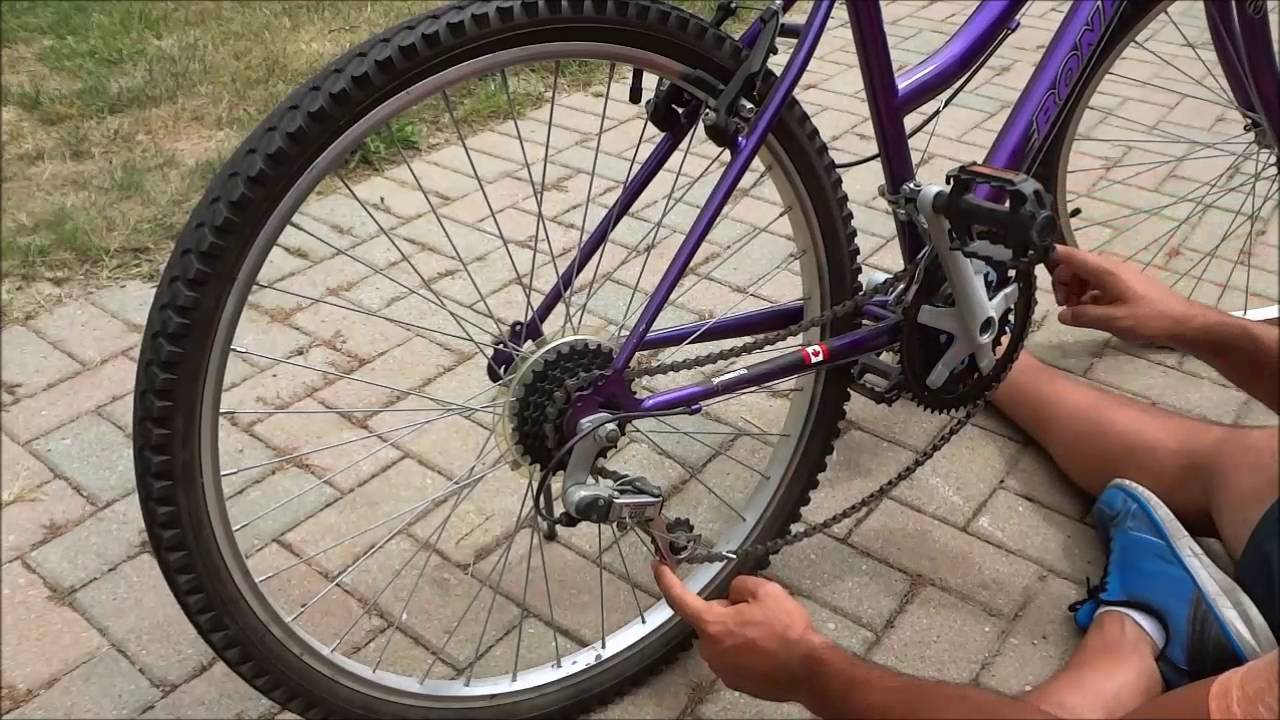
Credit: www.gabinetedelaorden.com
How To Fix A Broken Chain
A broken chain means you’ll need to reconnect or replace a link. Here’s how to do it with confidence, even on the trail.
Step 1: Prepare The Bike
- Shift to the smallest cog and chainring to reduce tension.
- If possible, hang the bike or flip it upside down.
Step 2: Find The Broken Section
- Look for the break; often a pin has popped out or a quick link has separated.
- If the chain is jammed, gently free it with your hands or pliers.
Step 3: Remove The Damaged Link
- Use the chain tool to push out the pin of the damaged link. Only remove as little as needed.
- If you’re using a quick link, remove both halves.
Step 4: Reconnect The Chain
You have two options here: using a quick link or a chain pin.
Using A Quick Link
- Insert the two halves of the quick link into the chain ends.
- Join the link and pull the chain tight. The quick link will snap into place.
- Pedal backward until you hear a click, confirming it’s locked.
Using A Chain Pin
- Overlap the two chain ends, insert a new chain pin, and use the chain tool to press it through.
- Break off the guide portion of the pin with pliers.
*Pro tip:* Always check your chain’s compatibility with the quick link or pin (speed, width). Using the wrong one can cause early failure.
Step 5: Test The Chain
- Rotate the cranks backward and forward. The chain should run smoothly without stiff links.
- Shift through all gears to ensure proper movement.
- Lubricate the repaired section.
If you notice a stiff link, flex it side to side until it loosens. Carrying a spare quick link is a game changer for fast repairs.
How To Fix A Jammed Chain
Sometimes the chain gets stuck between the cassette and the frame, or between the crank and bottom bracket. Here’s how to free it:
- Gently pull the chain free. Do not force it, as this can bend the chain or frame.
- Inspect the chain for any bent links or damage.
- Check the gears for bent teeth or other damage.
- Place the chain back on the smallest chainring and cog, then pedal slowly by hand.
If you see any damaged links, follow the steps above for removing and replacing them.
Credit: www.youtube.com
How To Adjust Chain Tension And Length
Many chain problems come from incorrect chain length or tension, especially after repairs. Here’s how to check and adjust:
Checking Chain Length
- For most modern mountain bikes, the chain should be long enough to wrap around the largest front chainring and largest rear cog, plus two extra links.
- Too short, and the derailleur can’t reach; too long, and the chain will sag.
Adjusting Chain Length
- Use the chain tool to add or remove links as needed. Always check after repair if the chain length is still correct.
Chain Tension
- On bikes without a derailleur (single speed), adjust the rear wheel position to get proper tension.
- With derailleurs, the spring should keep the chain taut. If not, the derailleur spring may be worn out.
A common mistake is forgetting to check chain length after removing damaged links. Too-short chains can damage the derailleur or cause shifting problems.
Preventing Chain Problems
Fixing a chain is good, but preventing problems is even better. Here’s how experienced riders keep their chains in top shape:
- Clean and lubricate your chain regularly. Wipe off dirt and apply chain lube after wet or dusty rides.
- Replace your chain before it’s worn out. Use a chain checker tool or measure stretch. Most chains last 1,500–3,000 miles, depending on conditions.
- Avoid cross-chaining. Don’t ride in the largest gear front and back at the same time; this stresses the chain.
- Shift carefully. Ease off power when shifting, especially under load.
- Check chain and cassette compatibility. Mixing different speeds or brands can cause poor shifting and early wear.
Many beginners forget to check chain compatibility when upgrading parts. Always match chain speed (e. g. , 10, 11, 12-speed) to your cassette and derailleur.
Essential Data: Chain Types, Speeds, And Compatibility
Choosing the right chain is critical. Here’s a comparison of common mountain bike chain types:
| Chain Speed | Width (mm) | Typical Use | Compatible With |
|---|---|---|---|
| 8-speed | 7.1 | Older MTBs, entry-level | 8-speed cassettes |
| 9-speed | 6.7 | Mid-range MTBs | 9-speed cassettes |
| 10-speed | 6.2 | Modern MTBs | 10-speed cassettes |
| 11-speed | 5.5 | High-end MTBs | 11-speed cassettes |
| 12-speed | 5.3 | Latest MTBs | 12-speed cassettes |
Always match your chain speed to your cassette and shifters for smooth performance.
Quick Comparison: Quick Link Vs Chain Pin Repairs
There are two common ways to reconnect a chain. Here’s a side-by-side look:
| Repair Method | Speed | Tools Needed | Durability | Best For |
|---|---|---|---|---|
| Quick Link | Very fast (1-2 mins) | Fingers or pliers | High (if installed correctly) | Trail repairs, all riders |
| Chain Pin | Slower (5-10 mins) | Chain tool | High (if installed correctly) | Home repairs, older chains |
Most modern riders prefer quick links for their speed and simplicity.
Practical Examples And Real-world Tips
Let’s look at a few real-life situations and the best way to handle them.
Example 1: Chain snapped on a remote trail
You’re miles from the trailhead. You pull out your multi-tool and spare quick link, remove the broken section, and reconnect in under five minutes. Carrying these two small items just saved your day.
Example 2: Chain keeps dropping after every big bump
After three drops, you inspect your derailleur hanger and notice it’s slightly bent from a previous fall. A quick tweak with a hanger alignment tool stops the problem. Many riders miss this and keep “fixing” the chain without addressing the real cause.
Example 3: Stiff links after repair
You use the chain tool to reconnect the chain, but it feels stiff and skips gears. Gently flexing the stiff link side-to-side solves the issue. This trick is often overlooked by beginners.
When To Replace, Not Repair
Sometimes, fixing isn’t enough. Here’s when to replace your chain:
- Visible cracks, rust, or many stiff links
- Chain “stretch” exceeds 0.5% (measured with a chain checker)
- Chain skips even after adjustment and cleaning
A worn chain quickly damages cassettes and chainrings, leading to more expensive repairs. Early replacement saves money in the long run.
Advanced Tip: Emergency Fixes Without Tools
If you break a chain and don’t have tools, try this:
- Remove the broken link by hand (if possible).
- Thread the chain onto the smallest chainring and cog.
- Use a small stone or stick to wedge the chain temporarily for slow, careful riding back to safety.
This isn’t a long-term solution, but it can get you home if you’re stuck.
Chain Maintenance: Keeping Your Bike Ready
Regular care means fewer breakdowns. Here’s a simple routine:
- Clean your chain after every few rides, or after muddy conditions.
- Lubricate with a bike-specific chain lube. Wipe off excess.
- Check chain wear monthly with a chain checker tool.
- Inspect for damaged links after every crash or hard impact.
- Store your bike indoors to prevent rust.
Avoid using WD-40 as a chain lube — it’s not designed for the high-pressure contact points of a bike chain.
Most Overlooked Chain Fixes
Two things most new riders forget:
- Checking derailleur alignment: Even a small bend can cause repeated chain problems.
- Replacing quick links after use: Most are single-use only, though some brands allow reuse. Always check the manufacturer’s advice.
Neglecting these steps leads to repeat breakdowns and more frustration on the trail.
Essential Mountain Bike Chain Specs
To help you choose and maintain the right chain, here’s a quick summary table:
| Brand | Speed Compatibility | Average Lifespan (Miles) | Special Features |
|---|---|---|---|
| SRAM | 8, 9, 10, 11, 12 | 2,000–3,000 | PowerLock quick link |
| Shimano | 8, 9, 10, 11, 12 | 1,500–2,500 | HG, SIL-TEC coating |
| KMC | All speeds | 2,000–3,000 | Reusable quick link |
Always match your chain to your drivetrain brand and speed for best results.
Frequently Asked Questions
How Often Should I Replace My Mountain Bike Chain?
Most chains last 1,500–3,000 miles depending on riding conditions. Check chain wear monthly with a chain checker. Replace early to protect your cassette and chainrings from damage.
Can I Fix A Chain Without A Quick Link?
Yes, you can use a chain tool and a replacement pin to reconnect the chain. However, quick links are faster and easier, especially during trail-side repairs.
Why Does My Chain Keep Dropping After Repair?
Common causes include a bent derailleur hanger, worn chainrings or cassette, or incorrect chain length. Check alignment and replace worn parts as needed.
What’s The Difference Between 10-speed And 12-speed Chains?
12-speed chains are narrower than 10-speed chains to fit more gears in the same space. Always use the correct chain for your bike’s speed to ensure smooth shifting and long life.
Where Can I Learn More About Mountain Bike Chain Maintenance?
For more in-depth guides and technical details, visit the Wikipedia page on bicycle chains.
A reliable mountain bike chain keeps your ride smooth and stress-free. With these tips, you’ll be ready to tackle any trail — and fix any chain problem quickly and confidently. Don’t wait for a breakdown to learn these skills; practice at home, and you’ll be ready when adventure calls.
Happy riding!

Hello Guys! I am John Reese, a professional biker and my hobby is biking! I have been biking for last 12 years and I love using bikes while outing as well. Based on my experiences with the different type of bikes (mountain bikes, road bikes and hybrid bikes); I am sharing my opinion about various bikes so that a beginner can get started right away. Happy reading!