Drawing a mountain bike is much more than just sketching two wheels and a frame. It’s about capturing the energy, the design, and the details that make these bikes special. Whether you want to improve your drawing skills, create a custom bike illustration, or just enjoy a creative activity, learning how to draw a mountain bike can be a rewarding experience.
In this guide, you’ll discover practical steps, expert tips, and clear explanations to help you draw a mountain bike that looks realistic and dynamic.
Many people struggle with drawing bikes. The shapes feel confusing, the angles are tricky, and the details can be overwhelming. But you don’t need to be a professional artist to get a good result. With patience, clear instructions, and a bit of practice, anyone can draw a mountain bike that stands out.
You’ll learn how to break down the bike into basic shapes, understand the proportions, and add realistic details. By the end, you’ll have a complete drawing and the confidence to try even more complex subjects.
Understanding Mountain Bike Anatomy
Before you start drawing, it’s important to understand the parts that make up a mountain bike. This knowledge will help you draw each section accurately and avoid common mistakes.
Key Components
A mountain bike has several essential parts:
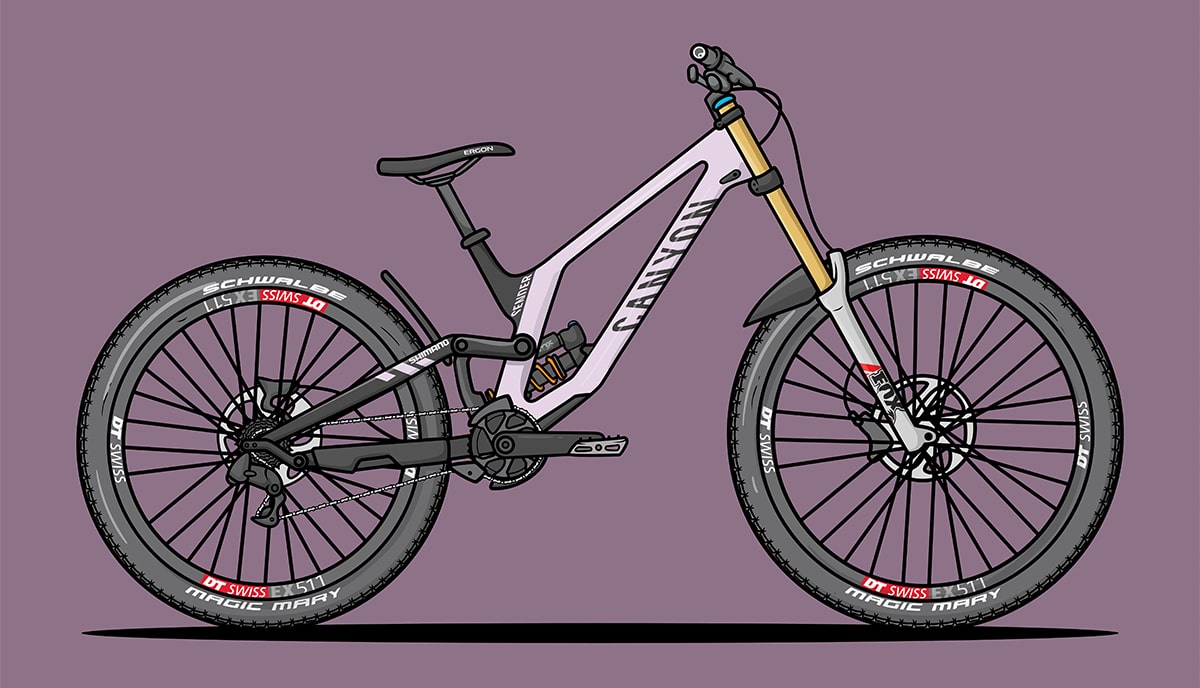
- Frame: The main structure that holds everything together. Mountain bike frames are often angular and robust.
- Wheels: Typically thick with knobby tires for off-road grip.
- Handlebars: Wide and flat or slightly raised for stability.
- Fork: Connects the front wheel to the frame, often with suspension.
- Seat (Saddle): Positioned for comfort and control.
- Pedals: Where the rider’s feet go.
- Crankset and Chain: Transfers power from the pedals to the wheels.
- Derailleur: Handles gear shifting.
- Brakes: Usually disc brakes on mountain bikes.
- Suspension: Front (fork) and sometimes rear (shock) for absorbing bumps.
Mountain bikes are designed for rough terrain, so their frames and parts are strong and often look more “muscular” than city bikes.
Proportions And Placement
The proportions of a mountain bike are different from other bicycles. The wheels are wide, the frame is compact, and the handlebars are broad. If you draw a mountain bike with skinny tires or a long, thin frame, it won’t look right.
Here’s a quick comparison:
| Feature | Mountain Bike | Road Bike |
|---|---|---|
| Frame | Short, thick, angular | Long, thin, aerodynamic |
| Tires | Wide, knobby | Narrow, smooth |
| Handlebars | Wide, flat/raised | Narrow, drop |
| Suspension | Front/rear | None or minimal |
Understanding these differences will help you avoid drawing a bike that looks like a road bike or city bike by accident.
Preparing To Draw: Materials And Setup
Before you start sketching, gather the right materials and set up your workspace. This step makes your drawing process easier and more enjoyable.
Essential Drawing Tools
You don’t need expensive tools. Here’s what works best:
- Pencils: Use an HB pencil for sketching. A softer pencil (2B) is great for shading.
- Eraser: A soft eraser for correcting mistakes.
- Paper: Standard drawing paper or sketchbook.
- Ruler: Helps with straight lines, especially for the frame.
- Fine tip pen: For outlining (optional).
- Colored pencils/markers: For coloring (optional).
If you want to draw digitally, you’ll need a tablet, stylus, and drawing software.
Workspace Tips
- Draw in a well-lit area.
- Keep your tools within reach.
- Use a reference photo of a mountain bike. This helps with details and proportions.
Having a clean, organized space prevents distractions and lets you focus on your art.
Step-by-step Guide: Drawing A Mountain Bike
Drawing a mountain bike can feel overwhelming, but breaking it down into steps makes it manageable. Follow these steps to create your own bike illustration.
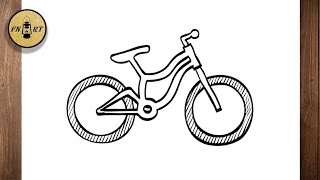
Step 1: Sketch The Basic Structure
Start with the main shapes. Don’t worry about details yet.
- Draw two circles for the wheels. Make sure they are the same size and spaced apart.
- Connect the circles with lines to form the frame. The frame is usually a triangle, but mountain bikes have a more complex shape. Draw a large triangle for the main part, then add smaller lines for the seat tube and top tube.
- Add the fork to the front wheel. This is two lines that connect the wheel to the frame.
- Sketch the handlebars above the fork. Mountain bike handlebars are wide and flat or slightly curved.
Tip: Use light pencil strokes. This makes it easy to erase and adjust shapes.
Step 2: Refine The Frame And Wheels
Now, add more detail and define the shapes.
- Make the frame lines thicker and add angles. Mountain bike frames often have a “slanted” top tube and extra supports.
- Draw the wheel rims inside your original circles. Add the tire tread with short, jagged lines.
- Add the seat tube and seat post. The seat sits above the rear wheel, not too high.
Here’s a comparison of mountain bike tire vs road bike tire:
| Type | Width (inches) | Tread Pattern |
|---|---|---|
| Mountain Bike | 2.1 – 2.5 | Knobby, deep |
| Road Bike | 0.8 – 1.2 | Smooth, shallow |
This difference is important—draw the mountain bike tires wider and with visible tread.
Step 3: Draw The Details
Add the important parts that make the bike look real.
- Handlebars: Draw grips on each end. Add brake levers and gear shifters.
- Fork: Make the fork thicker and show the suspension. Draw a spring or cylinder.
- Seat: Draw the saddle shape. Mountain bike seats are narrow and slightly curved.
- Pedals and crankset: Draw a circle for the crank, then add two straight lines for the pedals.
- Chain and gears: Add the chain connecting the crank to the rear wheel. Draw gears near the rear wheel.
- Derailleur: This hangs near the rear gears. It’s a small, angular shape.
- Brakes: Show the disc brakes as circles near the wheel hubs.
Try to keep your lines clean and clear. If you make a mistake, erase and redraw.
Step 4: Clean Up And Outline
Once you’re happy with the sketch, clean up your drawing.
- Erase extra lines and mistakes.
- Go over the main lines with a darker pencil or fine tip pen.
- Make sure all parts connect smoothly.
Outlining helps your drawing stand out and look finished.
Step 5: Add Shading And Texture
Shading gives your bike depth and realism.
- Shade the frame to show metal or paint.
- Add shadows under the seat, pedals, and wheels.
- Draw tire tread with small, dark marks.
- Shade the fork and suspension to show movement.
If you use colored pencils or markers, choose colors that match real mountain bikes. Common colors are black, blue, red, green, and silver.
Step 6: Final Touches
Check your drawing for missing details.
- Add bolts, cables, and small parts.
- Draw the spokes in the wheels. Mountain bikes have fewer spokes than road bikes, but they are thicker.
- If your bike is on rough ground, draw rocks, dirt, or grass under the tires.
This step makes your drawing look lively and complete.
Practical Tips For Drawing Mountain Bikes
Drawing a mountain bike can be tricky for beginners. Here are some expert tips to help you get better results.
Use Reference Photos
Always use a reference photo when drawing. This helps you see angles, details, and proportions. You can find mountain bike photos online or take your own.
Focus On Proportions
Mountain bikes have unique proportions. If you draw the wheels too small or the frame too thin, the bike won’t look right. Compare your drawing to your reference often.
Start Simple, Then Add Details
Begin with basic shapes and slowly add complexity. Don’t try to draw everything at once. This prevents mistakes and keeps your drawing balanced.
Practice Perspective
Drawing a bike from the side is easier, but you can try different angles for a more dynamic look. Learn basic perspective techniques to make your bike look three-dimensional.
Common Mistakes To Avoid
- Wheels not round: Use a compass or trace a circle for accuracy.
- Frame too thin: Make the frame thick and strong.
- Missing suspension: Mountain bikes almost always have suspension.
- Overcrowding details: Keep the drawing clear, don’t add too many lines.
- Ignoring tire tread: This is a key feature of mountain bikes.
Adding Realism: Advanced Techniques
If you want your mountain bike drawing to look realistic, try these advanced methods.
Drawing In Perspective
Drawing a bike in perspective makes it look more lifelike. Try sketching the wheels as ellipses instead of circles if you want a three-quarter view.
- Draw a horizon line and vanishing points.
- Sketch the bike frame using perspective lines.
- Adjust the wheel shapes to match the angle.
This technique takes practice but adds depth to your drawings.
Showing Motion
To make your bike look like it’s moving, add motion lines or blur effects.
- Draw lines behind the wheels or frame.
- Tilt the bike forward as if going downhill.
- Add dust or dirt kicked up by the tires.
This makes your drawing feel energetic.
Using Color And Highlights
Add color to your drawing for extra realism.
- Use strong colors for the frame.
- Add highlights with a white pencil or pen.
- Show reflections on metal parts.
Coloring makes your drawing pop and can hide small mistakes.
How Mountain Bike Drawing Differs From Other Bike Types
Drawing a mountain bike is different from drawing a road bike, BMX bike, or city bike. Here’s why:
- Frame shape: Mountain bikes have angular, strong frames.
- Tire width: Much wider and knobby.
- Suspension: Visible springs and shocks.
- Handlebars: Wide and flat or raised.
- Details: Extra cables, disc brakes, and gear components.
If you use a reference for another bike type, your mountain bike drawing might look wrong. Always use a mountain bike photo for accuracy.

Credit: mbaction.com
Examples And Styles: Drawing For Different Purposes
You can draw a mountain bike for many reasons. Here are some examples:
Technical Drawing
This style shows the bike clearly and accurately, often for manuals or guides.
- Use straight lines and correct proportions.
- Show all parts in detail.
- Label each component.
Cartoon Or Stylized Drawing
For fun or comics, you can exaggerate features.
- Make wheels extra large.
- Use bright colors.
- Add a rider with funny expressions.
Artistic Drawing
For art, you can focus on shading, color, and creativity.
- Use dramatic lighting.
- Draw the bike in a natural setting.
- Add background elements like mountains or forests.
Choosing the right style depends on your goal.
Comparison: Drawing By Hand Vs. Digital Drawing
Many artists now draw digitally, but traditional drawing has its own appeal. Here’s a comparison:
| Method | Advantages | Challenges |
|---|---|---|
| Hand Drawing | Natural feel, easy to start, portable | Hard to correct mistakes, limited effects |
| Digital Drawing | Easy corrections, many tools, layers | Needs equipment, learning curve |
Both methods work well. Beginners often start by hand, then try digital drawing as they improve.
Credit: mbaction.com
Improving Your Skills: Practice And Resources
To get better at drawing mountain bikes, you need to practice and learn from others.
Practice Regularly
Draw bikes often, try different angles, and focus on tricky parts like the frame and suspension. Over time, your drawings will get more accurate and realistic.
Study Artists And Tutorials
Look at how other artists draw bikes. Watch video tutorials or read guides. Many artists share their process online.
One helpful resource is WikiHow, which offers simple, step-by-step guides.
Try Drawing Real Bikes
If you own a mountain bike, draw it from life. This teaches you about real proportions and details you might miss in photos.
Challenge Yourself
Draw bikes in different settings—on rocky trails, jumping over obstacles, or racing downhill. Add riders, backgrounds, and movement to make your drawings more dynamic.
Frequently Asked Questions
How Can I Make My Mountain Bike Drawing Look More Realistic?
Focus on proportions, use a reference photo, and add shading and texture. Draw the tire tread, suspension, and cables. Practice drawing from different angles to improve realism.
What Is The Hardest Part Of Drawing A Mountain Bike?
Many beginners struggle with the frame shape and wheel placement. Getting the angles right is tricky. Take your time with the initial sketch and check your work against a reference often.
Can I Draw A Mountain Bike Digitally If I’m A Beginner?
Yes. Digital drawing makes it easy to correct mistakes and try different styles. Start with basic software and a simple tablet. Practice sketching bikes before adding color and effects.
How Many Spokes Should I Draw On A Mountain Bike Wheel?
Mountain bike wheels usually have 24 to 32 spokes. You don’t need to draw every spoke—just suggest the pattern. Make the spokes thicker than on road bikes.
What Are Some Common Mistakes When Drawing Mountain Bikes?
Common mistakes include wheels not round, frame too thin, missing suspension, and overcrowding details. Use a reference photo and check your proportions to avoid these errors.
Drawing a mountain bike is a great way to improve your art skills and learn about bike design. With patience, practice, and the right steps, you can create a drawing that looks impressive and accurate. Try different styles, challenge yourself with new angles, and enjoy the creative process.
Whether you draw for fun, for technical guides, or for art projects, your mountain bike drawings will stand out as you master the details and techniques.
Credit: www.youtube.com

Hello Guys! I am John Reese, a professional biker and my hobby is biking! I have been biking for last 12 years and I love using bikes while outing as well. Based on my experiences with the different type of bikes (mountain bikes, road bikes and hybrid bikes); I am sharing my opinion about various bikes so that a beginner can get started right away. Happy reading!