Mountain biking is all about control and confidence on the trails. One of the most important parts for both is your disc brakes. When your brakes are loose, spongy, or not stopping the way they should, your rides become less safe and less enjoyable. Many riders notice their disc brakes are not as sharp after a few months, but few know how to tighten them up correctly. If you want to get your brakes feeling crisp and reliable again, this guide is for you.
Below, you’ll learn everything you need to know about how to tighten disc brakes on a mountain bike. This includes understanding the different types of disc brakes, recognizing when adjustment is needed, and following step-by-step instructions. Even if you’re a beginner, you’ll find practical tips and avoid common mistakes that can make brake tuning stressful.
Let’s get your bike ready for your next ride.
Understanding Disc Brakes On Mountain Bikes
Disc brakes are now standard on most mountain bikes because they offer strong, consistent stopping power in all conditions. Before you start tightening, it’s important to know the basics.
Two Main Types Of Disc Brakes
Mountain bikes use either mechanical or hydraulic disc brakes:
- Mechanical disc brakes: These use a steel cable (like old rim brakes) to pull the caliper and press pads against the rotor.
- Hydraulic disc brakes: These use a sealed fluid system. When you squeeze the lever, fluid pressure pushes the pads into the rotor.
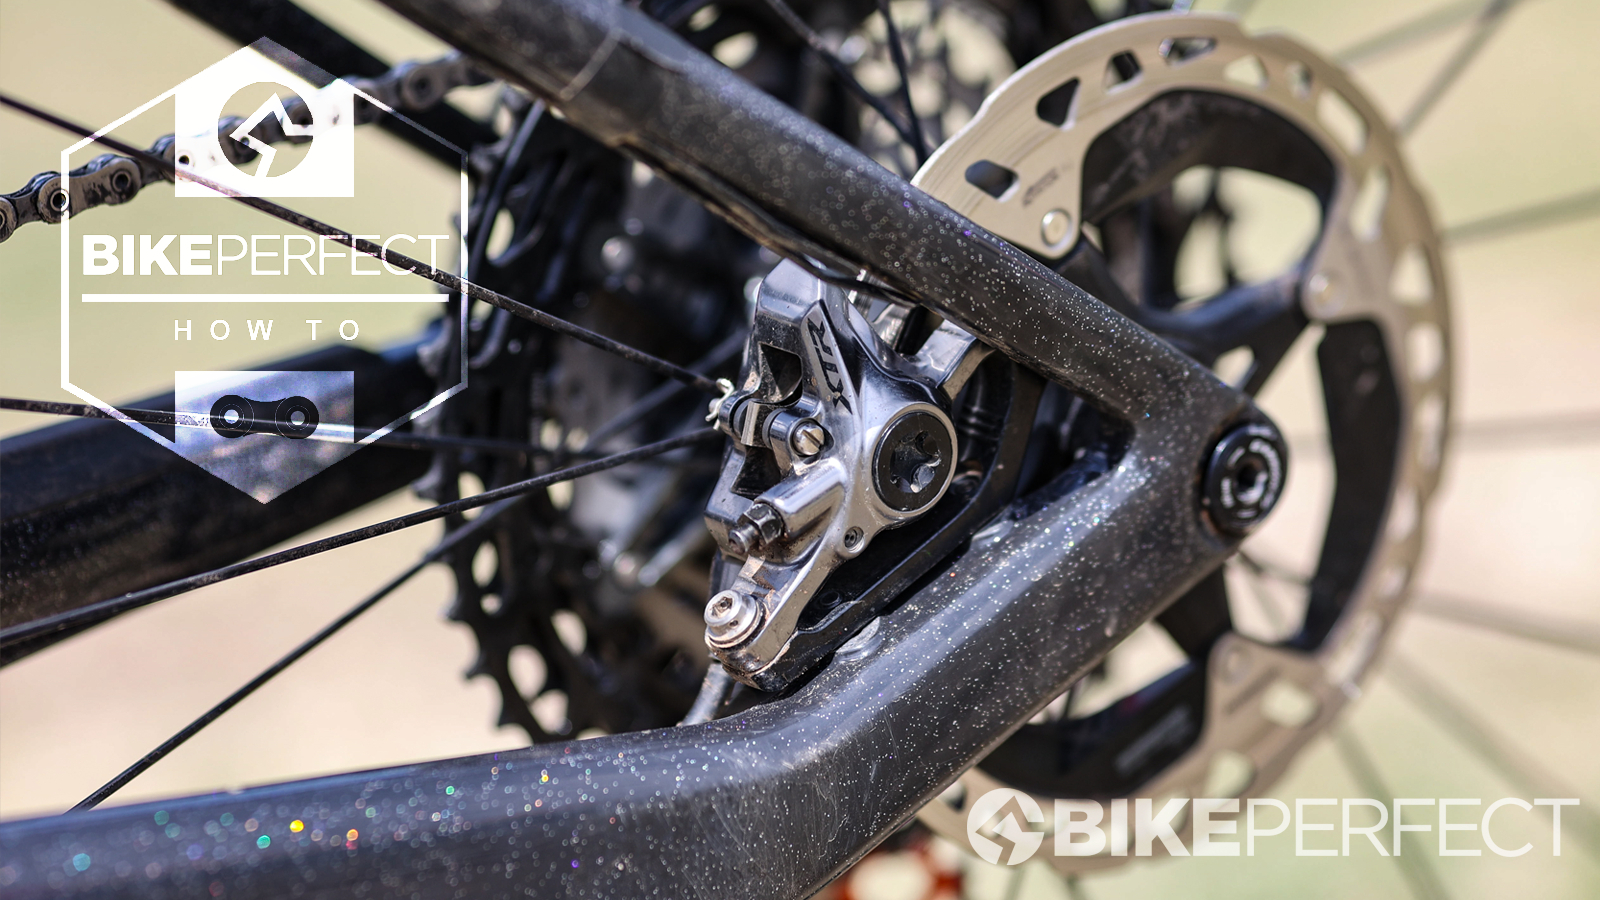
Key Parts Of A Disc Brake
Every disc brake system has these main components:
- Brake lever: Mounted on your handlebars.
- Brake caliper: Holds the brake pads and clamps onto the rotor.
- Brake pads: Create friction with the rotor to slow the wheel.
- Rotor (disc): The metal disc attached to your wheel.
- Cable or hose: Connects the lever to the caliper.
Understanding which type of disc brake you have and how these parts fit together will help you follow the steps below and avoid mistakes.
Signs Your Disc Brakes Need Tightening
Mountain bikers often ask, “How do I know if my disc brakes need tightening?” The signs are usually clear if you pay attention:
- Levers feel loose or pull too close to the handlebar before the brakes engage.
- Braking power feels weak or takes longer to stop.
- Squealing or grinding noises when braking.
- Brake lever travels more than halfway before you feel any resistance.
- Brake pads look too far from the rotor (you can see a large gap).
Ignoring these signs means less control and more risk, especially on steep or rocky terrain.

Credit: www.fondation-enovos.lu
Tools And Materials Needed
Tightening disc brakes is simple with the right tools. Here’s what you’ll need:
- Allen (hex) wrenches: Common sizes are 4mm, 5mm, and 6mm.
- Bike-specific torque wrench: For precise tightening.
- Clean rag and isopropyl alcohol: For cleaning rotors and pads.
- Adjustable wrench: Sometimes needed for cable pinch bolts.
- Cable puller (for mechanical brakes): Optional, but helpful.
- Bleed kit (for hydraulic brakes): Needed if your system has air bubbles.
- New brake pads (if worn out): Not always needed, but good to check.
Having these tools ready will save time and help you do a professional job.
Safety Precautions Before Adjusting Brakes
Before you touch your bike, always remember:
- Work in a clean, well-lit area to see small parts.
- Lift your bike on a repair stand or flip it upside down for better access.
- Do not touch the brake rotor with greasy hands—oil can ruin braking power.
- Check your rotor for warping; a bent rotor won’t tighten properly.
- Test brakes off the trail after adjustment, not during your first ride.
A small slip or contaminated part can make things worse, so work slowly and carefully.
Step-by-step: How To Tighten Mechanical Disc Brakes
Mechanical disc brakes are common on entry-level and mid-range mountain bikes. They’re easy to adjust with basic tools.
1. Inspect The Brake Pads
Check pad thickness. If they’re less than 1. 5mm, replace them before adjusting. Thin pads can’t be “tightened”—they must be replaced.
2. Center The Caliper
Use a 5mm Allen wrench to slightly loosen the two caliper mounting bolts. Squeeze the brake lever hard (this centers the caliper on the rotor), then retighten both bolts while holding the lever. This keeps the caliper from rubbing.
3. Adjust The Cable Tension
Locate the barrel adjuster (on the lever or caliper):
- Turn the barrel adjuster counterclockwise to increase tension (tightens the brake).
- Turn clockwise to decrease tension (loosens the brake).
If your lever still feels loose, move to the cable anchor bolt on the caliper. Loosen the bolt, pull the cable with pliers (or a cable puller), then retighten.
4. Fine-tune Pad Clearance
Some mechanical calipers let you move the inside (fixed) pad closer to the rotor with a small dial. Turn it clockwise to reduce pad gap, but don’t let the pads touch the rotor unless the brake lever is pulled.
5. Test And Recheck
Spin the wheel. The rotor should spin freely, with no rub. Squeeze the lever. The brake should engage before the lever reaches halfway to the bar. If not, repeat the steps.
Common Mistakes
- Over-tightening the cable: This can cause constant pad rubbing.
- Ignoring pad wear: New adjustment won’t help if pads are too thin.
- Misaligned caliper: Leads to noisy, weak braking.
Step-by-step: How To Tighten Hydraulic Disc Brakes
Hydraulic brakes are powerful and need more care but are simple once you know the basics.
1. Check For Pad Wear And Rotor Damage
Pads under 1. 5mm thick should be replaced. If the rotor is warped or scored, fix it first.
2. Center The Caliper
Loosen the caliper mounting bolts. Pull the lever fully and hold it (this centers the caliper). Tighten the bolts evenly while holding the lever.
3. Pump The Brake Lever
Sometimes, pads retract too far after use. Pump the lever a few times. The pads will move closer to the rotor, reducing lever travel.
4. Bleed The Brakes (if Lever Feels Spongy)
If the lever still pulls too far or feels soft, air may be in the system. Bleeding removes air and restores brake feel.
- Remove the wheel and pads.
- Attach the bleed kit to the caliper and lever per your brake brand’s instructions.
- Follow the kit instructions to push new fluid through and remove air.
- Reinstall pads and wheel, check operation.
5. Test And Inspect
Spin the wheel to check for rubbing. Squeeze the lever: it should engage quickly and feel firm. If not, repeat bleeding.
Common Mistakes
- Skipping the bleed: If air is in the system, nothing else will help.
- Touching pads or rotor with oily hands: Can ruin braking.
- Over-tightening caliper bolts: May strip threads or crack the caliper.
Comparing Mechanical Vs Hydraulic Disc Brake Adjustments
Here’s a quick look at the main differences between the two systems:
| Feature | Mechanical Disc Brakes | Hydraulic Disc Brakes |
|---|---|---|
| Adjustment Difficulty | Easy (basic tools) | Moderate (requires bleed kit) |
| Tools Needed | Allen wrenches, pliers | Allen wrenches, bleed kit |
| Common Issues | Loose cable, pad misalignment | Air in system, fluid leaks |
| Typical Cost | Lower | Higher |
| Performance | Good for most | Best for aggressive riding |
How To Identify When Pad Replacement Is Needed
Tightening is sometimes not enough—pads wear out over time. Here’s how to know if it’s time for new pads:
- Pad thickness: Less than 1.5mm = replace.
- Glazed or shiny pads: Replace, as they won’t grip well.
- Scored or grooved pads: Replace immediately.
Use a flashlight to inspect the pads through the caliper. If you’re unsure, take the wheel off for a clearer look.
Rotor Alignment And Its Impact
A bent rotor is a common cause of rubbing or weak brakes. Here’s how to check and fix it:
- Spin the wheel and watch the rotor move through the caliper.
- If it wobbles side-to-side, it’s bent.
- Use a rotor truing tool or adjustable wrench to gently bend it straight.
A perfectly straight rotor makes brake tightening much more effective.
How To Prevent Brake Fade And Spongy Feel
Even after tightening, brakes can feel “spongy” or lose power after long descents. This is called brake fade. To prevent it:
- Clean your rotors and pads regularly with isopropyl alcohol.
- Use the correct fluid for your hydraulic system (DOT or mineral oil).
- Avoid riding with the brakes on for long periods—use short, firm pulls instead.
- Upgrade to larger rotors if you ride steep, technical trails.
If you notice fade often, your brakes may need a full service, not just tightening.
Common Problems And Solutions
Here are some common problems riders face when trying to tighten disc brakes:
Problem: Brakes Rub After Tightening
- Solution: Realign the caliper. Loosen bolts, hold the lever, retighten.
Problem: Lever Still Feels Loose
- Solution: For mechanical, tighten the cable more or check for cable stretch. For hydraulic, bleed the brakes.
Problem: Squealing Brakes
- Solution: Clean the rotor/pads with alcohol, check for oil contamination, or replace pads if glazed.
Problem: No Improvement After Tightening
- Solution: Replace worn pads or check for a bent rotor.
Expert Tips For Reliable Brakes
There are a few tricks most beginners miss:
- Check your brake cables or hoses for wear. Frayed cables or kinked hoses reduce performance.
- Use a torque wrench for all bolts. Overtightening can damage your bike.
- Don’t mix DOT and mineral oil in hydraulic brakes—always use what the manufacturer recommends.
- Bed-in new pads and rotors. This means riding and braking gently a few times so the pad material transfers evenly to the rotor.
- Inspect after every muddy ride. Mud can push pads out of alignment.
Cost And Time Comparison: Diy Vs. Shop Service
Many riders wonder if it’s worth doing this at home or taking their bike to a shop. Here’s a comparison:
| Task | DIY (Time/Cost) | Bike Shop (Time/Cost) |
|---|---|---|
| Mechanical brake tightening | 20 minutes / $0-$10 | 1-2 days / $30-$50 |
| Hydraulic brake bleed | 1 hour / $20-$40 (kit) | 1-2 days / $50-$100 |
| Pad replacement | 30 minutes / $15-$30 | 1-2 days / $30-$60 |
Doing it yourself saves money and builds confidence, but shops are great for more complex issues.
When To Visit A Professional Mechanic
If you’ve tried the steps above and still have problems, it’s time for expert help if:
- Brakes feel “mushy” or inconsistent after bleeding.
- You see fluid leaks around the lever or caliper.
- Rotor is badly bent or cracked.
- You don’t have the right tools for bleeding or pad replacement.
A professional mechanic can spot hidden issues and keep your bike safe.

Credit: www.youtube.com
How Often Should You Tighten Disc Brakes?
How often you need to tighten disc brakes depends on:
- How often you ride: More miles = more frequent checks.
- Where you ride: Mud, rain, and steep hills wear parts faster.
- Bike age and quality: Entry-level bikes may need more regular attention.
As a rule, check your brakes every two to four weeks or before any big ride.
Extra Resources For Learning
If you want to learn even more about bike maintenance, check out the detailed guides at Park Tool. They offer expert videos and step-by-step articles for all skill levels.
Credit: summittoshore.com
Frequently Asked Questions
How Can I Tell If My Disc Brakes Are Mechanical Or Hydraulic?
Look at the caliper and lever. Mechanical brakes use a cable (like gear shifters); you’ll see a wire running from the lever to the brake. Hydraulic brakes use a sealed hose and have no visible cable. If you’re unsure, squeeze the lever—hydraulic levers feel smoother and return faster.
Why Do My Brakes Squeal Even After Tightening?
Squealing usually means the pads or rotor are dirty or contaminated. Clean both with isopropyl alcohol and check for oil or grease. If the noise continues, your pads may be glazed or worn out and need replacing.
Is It Dangerous To Ride With Loose Disc Brakes?
Yes. Loose brakes reduce stopping power and can fail during a ride, especially on steep or rocky trails. Always fix brake issues before riding, and test your bike in a safe area after adjustments.
Can I Tighten Disc Brakes Without Special Tools?
For mechanical brakes, you only need basic tools like Allen wrenches. For hydraulic brakes, a bleed kit is needed if the system has air. You can still center the caliper and check pad wear with just basic tools.
How Often Should I Replace Brake Pads?
Replace pads when they’re less than 1.5mm thick, feel hard and shiny (glazed), or are deeply grooved. For most riders, this means every 6–12 months, but check more often if you ride in mud, rain, or on steep trails.
Getting your disc brakes tight and reliable is one of the best ways to boost your confidence and safety on the mountain. With the steps and insights here, you’ll be ready for smoother, more controlled rides—whatever the trail throws your way.

Hello Guys! I am John Reese, a professional biker and my hobby is biking! I have been biking for last 12 years and I love using bikes while outing as well. Based on my experiences with the different type of bikes (mountain bikes, road bikes and hybrid bikes); I am sharing my opinion about various bikes so that a beginner can get started right away. Happy reading!