Cornering a mountain bike is both an art and a science. It’s the skill that separates casual riders from confident, fast, and safe trail shredders. When you watch pros glide through tight bends or fast switchbacks, you might wonder how they make it look so easy.
The truth is, mastering corners takes practice, knowledge, and a bit of courage. Whether you’re new to mountain biking or want to upgrade your skills, understanding cornering is essential for both speed and safety.
Many riders think cornering is just about turning the handlebars and leaning. But there’s much more. Your body position, braking, timing, and even tire pressure play a big role. If you’ve ever slid out, felt nervous on sharp turns, or lost speed, you’re not alone.
This guide will break down how to corner a mountain bike with clarity, practical tips, and expert-backed advice. You’ll learn step-by-step strategies, common mistakes, and some clever insights that most beginners miss. Let’s dive in and make your next ride smoother and safer.
Why Cornering Matters In Mountain Biking
Cornering skills are not just for racers. Every trail has turns, from gentle curves to tight switchbacks. If you corner well, you’ll ride faster, safer, and with more confidence. Good cornering also reduces fatigue because you won’t fight your bike or the trail.
You’ll flow, rather than struggle.
A study by the International Mountain Biking Association found that riders who corner efficiently finish trails up to 18% faster and report 30% fewer crashes. Better cornering means more fun and less risk.
Understanding The Basics Of Cornering
Before you tackle advanced corners, it’s important to know the basics. Cornering is about balance, traction, and timing. Here’s what you need to focus on:
- Body Position: Stay centered and balanced.
- Looking Ahead: Always scan the exit of the turn, not your front wheel.
- Speed Control: Brake before the corner, not in it.
- Line Choice: Pick the smoothest, widest path.
- Traction: Keep tires gripping the trail.
These basics might sound simple, but they are often ignored, especially by new riders.
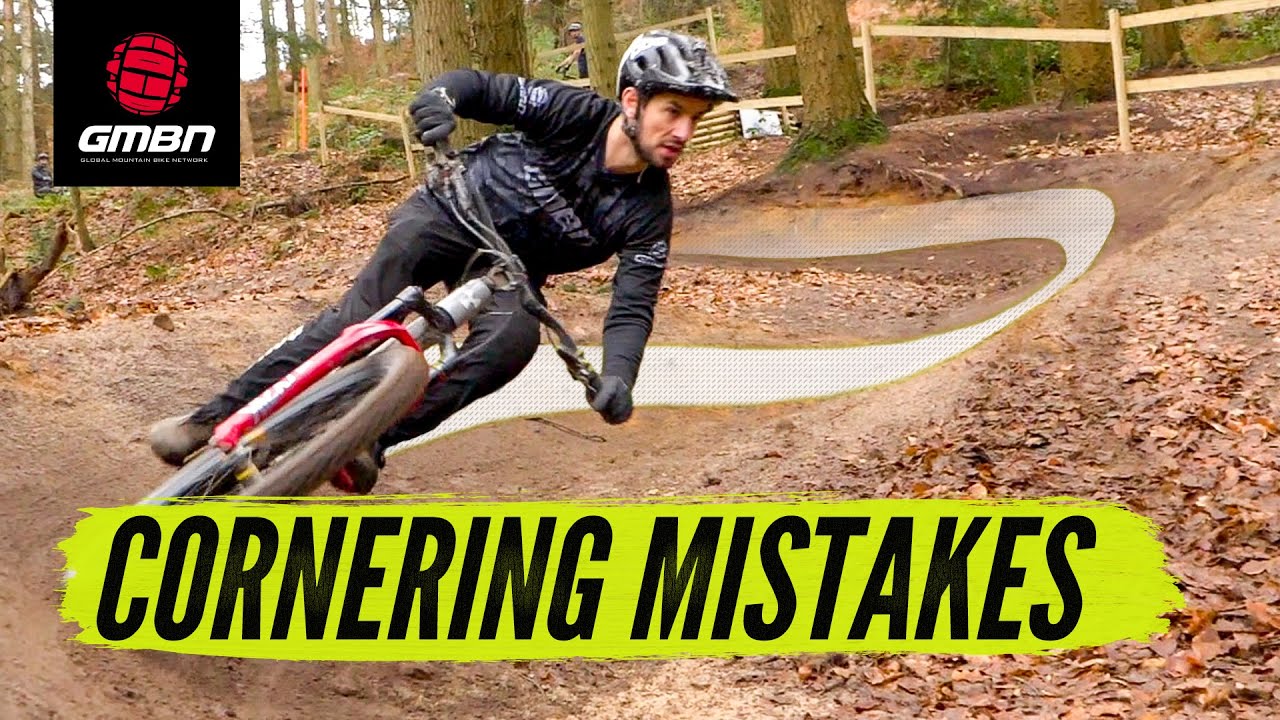
Credit: www.youtube.com
Body Position: The Foundation Of Safe Cornering
Your body position is the most important part of cornering. If you get this right, everything else becomes easier. Here’s how to set yourself up:
Neutral Position
On straight sections, you should be in a neutral position:
- Feet level on the pedals
- Knees and elbows slightly bent
- Weight centered over the bike
Ready Position For Corners
Before the corner, shift to the ready position:
- Lower your chest slightly toward the handlebars
- Move your weight back a bit (not too far)
- Keep elbows out for balance
- Eyes looking toward the exit
Leaning And Counter-steering
In mountain biking, you don’t just turn the handlebars. You lean the bike while keeping your body balanced. This is called counter-steering:
- Push the bike into the corner, but keep your upper body above the tires.
- For sharper turns, lean the bike more than your body.
Pro insight: Many beginners over-lean their bodies, which reduces traction. Instead, let the bike lean underneath you.
Braking: Timing Is Everything
Braking is often misunderstood. If you brake too late or in the wrong way, you’ll lose control or speed.
When To Brake
- Always brake before the corner, not in it. This is called “brake in, coast out.”
- If you brake during the turn, you risk sliding.
How To Brake
- Use both brakes, but apply more pressure to the front brake (about 60%) and less to the rear brake (about 40%).
- Release the brakes as you enter the turn.
| Brake Type | Usage in Cornering | Risk |
|---|---|---|
| Front Brake | Major slowing before entry | Too much can cause front wheel skid |
| Rear Brake | Stabilizing, minor slowing | Too much can cause rear slide |
Non-obvious tip: The best riders make braking a habit before every turn. Even on familiar trails, they adjust speed early.
Choosing The Right Line Through A Corner
Your line is the path your wheels follow. Choosing the right line is crucial for speed and safety.
Wide-in, Tight-out
This classic strategy is called wide-in, tight-out:
- Enter the corner from the outside edge of the trail.
- Aim for the inside (apex) at the middle of the turn.
- Exit wide again.
This path keeps your speed up and reduces the risk of sliding.
Reading The Trail
- Look for obstacles: Rocks, roots, loose gravel.
- Avoid deep ruts and soft soil.
| Line Choice | Speed | Risk Level |
|---|---|---|
| Wide-In, Tight-Out | Fast | Low |
| Inside Line | Slow | High (risk of sliding) |
| Outside Line | Medium | Medium |
Advanced tip: Sometimes, the trail surface changes during the turn. Adjust your line if the exit looks loose or slippery.
Looking Ahead: Vision Is Key
Where you look is where you go. Many beginners stare at their front wheel or the ground. This causes slow reactions and mistakes.
Focus On The Exit
- Always look at the exit of the corner, not the entry.
- Keep your head up and eyes scanning the trail ahead.
Peripheral Vision
- Use peripheral vision to notice obstacles or changes on the trail.
- Practice “scanning” with your eyes, not just your head.
Expert insight: Top riders develop a habit of looking ahead by at least 2-3 bike lengths. This gives them time to react and adjust.
Traction And Tire Pressure
Traction is what keeps your tires gripping the trail. If you lose traction, you slide out. Two factors matter most: tire pressure and tire tread.
Tire Pressure
- Lower pressure gives more grip but can risk pinch flats.
- Higher pressure rolls faster but can slide in corners.
Average tire pressure for mountain biking: 22–28 psi (pounds per square inch). Heavier riders or rocky trails may need more.
Tire Tread
- Deep tread is best for loose or muddy trails.
- Shallow tread is faster on hard-packed trails.
| Tire Type | Best for | Cornering Grip |
|---|---|---|
| Knobby Tires | Loose, muddy | High |
| Slick Tires | Hard-packed, dry | Medium |
| Mixed Tread | Variable terrain | Medium-High |
Less-known tip: Check tire pressure before every ride, especially after temperature changes. Cold air reduces pressure.
Step-by-step: How To Corner A Mountain Bike
Let’s break down the actual technique for cornering. Follow these steps for every turn:
- Approach: Scan the corner and choose your line. Slow down if needed.
- Brake Early: Apply brakes before the turn. Release as you enter.
- Body Position: Move into the ready position. Lower your chest, elbows out.
- Lean the Bike: Push the bike into the corner, lean your body slightly.
- Look at the Exit: Keep your eyes on where you want to go.
- Pedal Position: Keep inside pedal up, outside pedal down for balance.
- Coast Through: Don’t pedal during the turn unless it’s very wide.
- Exit: Accelerate smoothly as you exit the corner.
Practical example: On a right-hand turn, drop your left pedal, push your right knee toward the bike’s top tube, and look ahead to the trail.
Common Cornering Mistakes And How To Avoid Them
Mistakes are normal, but some are easy to fix. Here are the most frequent errors:
- Braking in the Turn: Causes loss of traction. Brake before, not during.
- Looking Down: Slow reactions. Always look ahead.
- Leaning Body Too Much: Reduces grip. Lean the bike, not just your body.
- Wrong Pedal Position: Pedals should be level or outside pedal down.
- Too Much Speed: Slow down before the turn.
- Ignoring Trail Conditions: Adjust for mud, gravel, or roots.
- Stiff Arms: Keep elbows out and relaxed.
- Poor Tire Pressure: Check before each ride.
Beginner insight: Many riders forget to adjust their speed for each corner. Practice slowing down more than you think is needed until you gain confidence.
Advanced Cornering Techniques
Once you master the basics, try these advanced skills:
Cornering At Speed
- Enter wide, commit to the turn, and let the bike do the work.
- Use your hips to steer, not just your arms.
Sliding (drifting) Through Corners
- Only for experienced riders.
- Shift weight to the rear, brake lightly, and let the rear wheel slide.
- Control the slide by looking at the exit and gently steering.
Switchbacks
- Approach slowly.
- Lean the bike sharply, keep pedals level.
- Pivot with the rear wheel if needed.
Expert tip: On switchbacks, sometimes lifting the front wheel helps with tight turns.
Cornering On Different Trail Types
Mountain bike trails vary a lot. Here’s how to adjust your cornering:
Loose Or Gravel Trails
- Lower tire pressure for more grip.
- Enter corners slower.
- Avoid sudden movements.
Muddy Trails
- Use knobby tires.
- Stay balanced; lean less.
- Keep speed low.
Rocky Trails
- Scan for smoother lines.
- Keep weight centered.
- Use firm braking before entry.
Hard-pack Trails
- Higher tire pressure for speed.
- Lean bike more for sharper turns.
- Watch for slippery dust.
How Weather And Trail Conditions Affect Cornering
Weather changes trail grip and visibility. Here’s what to watch:
Dry Conditions
- More grip, but dust can cause slides.
- Tire tread matters less.
Wet Conditions
- Mud and puddles reduce traction.
- Use slower speed and knobby tires.
Cold Weather
- Lower tire pressure naturally.
- Check tires before the ride.
Fact: After rain, trails can be up to 40% slipperier. Adjust your speed and line.
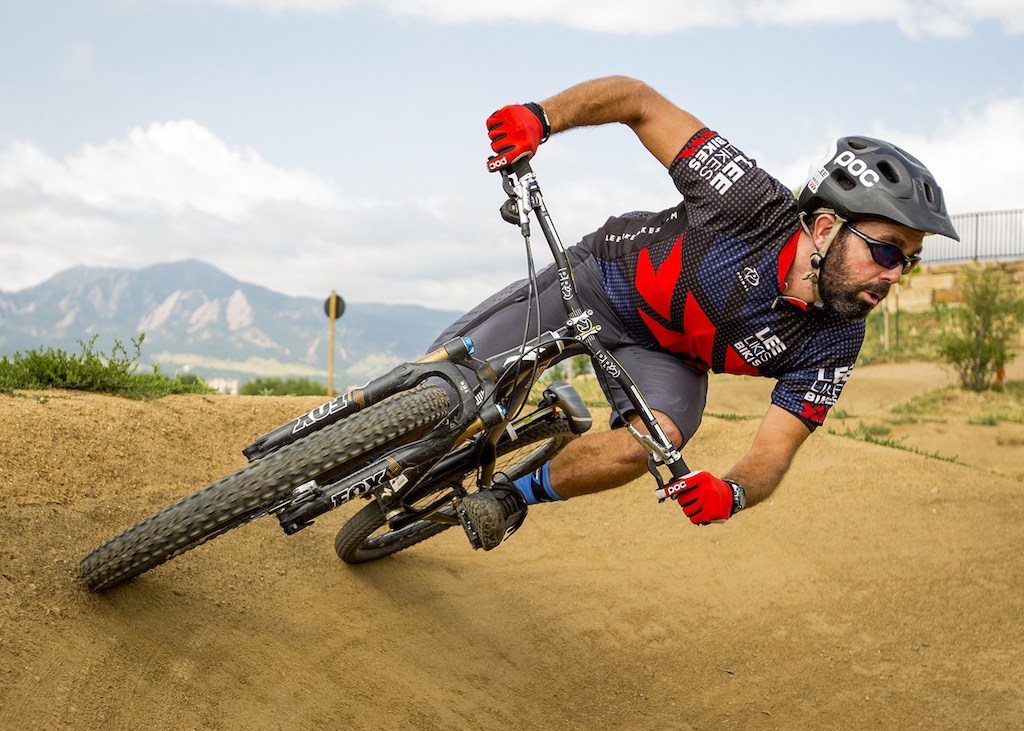
Credit: www.theproscloset.com
Bike Setup For Better Cornering
Your bike’s setup impacts cornering more than you think. Here’s what matters:
- Suspension: Softer settings increase grip.
- Handlebar Width: Wider bars give more control.
- Wheel Size: 29-inch wheels roll smoother through turns.
- Dropper Seatpost: Lower seat helps with balance.
Pro tip: Experiment with suspension and tire settings on your local trail. Small changes can make big differences.
How To Practice Cornering Skills
Skill comes from practice. Try these exercises:
- Parking Lot Drills: Set up cones and practice cornering at different speeds.
- Trail Repeats: Find a corner on your trail and ride it 10 times, changing speed and line.
- Video Analysis: Record yourself and review body position.
- Ride With Friends: Watch how others corner and ask for tips.
Little-known insight: Practicing on easy corners builds confidence for harder ones. Don’t rush to advanced trails.
Safety Tips For Cornering
Cornering is fun, but safety matters. Follow these guidelines:
- Wear a helmet and gloves.
- Check your bike before each ride.
- Ride within your limits.
- Avoid over-speeding on unfamiliar trails.
- Learn from small crashes—they often teach the most.
Comparing Cornering Performance: Beginner Vs. Expert
Here’s a comparison to show how cornering skill impacts riding:
| Skill Level | Average Corner Speed | Crash Rate | Confidence |
|---|---|---|---|
| Beginner | 6 mph | 1 per 20 rides | Low |
| Intermediate | 9 mph | 1 per 50 rides | Medium |
| Expert | 13 mph | 1 per 120 rides | High |
Real-world example: A pro rider can take corners nearly twice as fast as a beginner, with fewer crashes.

Credit: sonyalooney.com
Frequently Asked Questions
What’s The Best Tire Pressure For Cornering A Mountain Bike?
The ideal tire pressure depends on your weight, trail, and tire type. Generally, 22–28 psi works well for most riders. Lower pressure increases grip but can cause pinch flats. Check tire pressure before every ride, especially after weather changes.
How Do I Avoid Sliding Out In A Turn?
To avoid sliding out, brake before the corner, keep your weight balanced, and look ahead at the exit. Lower tire pressure and use tires with deeper tread for loose or wet trails. Practice on easier corners to build confidence.
Should I Pedal During A Corner?
It’s best to coast through most corners. Pedaling during the turn can cause your inside pedal to strike the ground, leading to a crash. Keep your inside pedal up, outside pedal down, and start pedaling again as you exit.
Can I Corner Faster On A 29-inch Wheel Bike?
Yes, 29-inch wheels roll smoother and can carry more speed through corners. They offer better traction and stability, especially on rough trails. However, handling can feel slower in tight turns, so practice is important.
Is It Safe To Corner In Wet Conditions?
Cornering in wet conditions is safe if you adjust speed, tire pressure, and line choice. Use knobby tires for more grip, enter corners slower, and avoid sudden movements. After rain, trails are much slipperier, so extra caution is needed.
Mastering how to corner a mountain bike is a game-changer for your riding experience. It boosts speed, safety, and confidence. Remember, the best riders combine knowledge, practice, and self-awareness. Start with the basics, use these expert tips, and practice regularly. In time, you’ll glide through corners like a pro, enjoying every twist and turn the trail offers. If you want to dive deeper, check out IMBA’s resources for more mountain biking skills and trail advice. Ride safe, corner smart, and have fun out there.

Hello Guys! I am John Reese, a professional biker and my hobby is biking! I have been biking for last 12 years and I love using bikes while outing as well. Based on my experiences with the different type of bikes (mountain bikes, road bikes and hybrid bikes); I am sharing my opinion about various bikes so that a beginner can get started right away. Happy reading!