Adjusting the front suspension on a mountain bike can change the way your bike handles, feels, and performs. For many riders, getting the suspension right is the difference between a comfortable ride and a bumpy, tiring one. Whether you’re new to mountain biking or want to get more from your current setup, learning how to adjust your front suspension will help you ride safer, faster, and with more confidence.
Many beginners overlook the importance of suspension tuning and simply ride their bike as it came from the shop. But a properly adjusted suspension improves grip, reduces fatigue, and protects your bike from damage. This guide will walk you through the process, explain key concepts, and share practical tips that even experienced riders sometimes miss.
You don’t need to be a mechanic—just follow these steps and you’ll soon feel the difference on every trail.
Understanding Front Suspension Basics
Before you start adjusting, it’s important to understand what front suspension does. On mountain bikes, the front suspension is usually a suspension fork. Its main job is to absorb bumps, keep your front wheel in contact with the ground, and make your ride smoother.
Modern suspension forks have several parts:
- Stanchions (the inner tubes that slide)
- Lowers (the outer tubes)
- Damping system (controls how the fork moves)
- Spring system (can be air or coil)
The most common types are air forks and coil forks. Air forks use compressed air for the spring, while coil forks use a metal coil.
Why Adjust Your Suspension?
Factory settings are often not right for your weight, riding style, or terrain. Poorly adjusted suspension can:
- Cause discomfort or pain
- Make your bike harder to control
- Lead to faster wear and tear
The main goals when adjusting are:
- Match the fork’s resistance to your weight and riding style
- Improve handling and grip
- Reduce fatigue
Key Suspension Settings Explained
You’ll need to understand the main suspension settings before you can adjust anything. These are:
- Sag: How much the fork compresses under your weight. Proper sag ensures the fork can absorb big hits and small bumps.
- Compression: Controls how quickly the fork compresses. Too much compression makes the fork stiff; too little makes it soft.
- Rebound: Controls how quickly the fork returns to its original position after compressing. Too fast can cause bouncing; too slow can make the fork feel sluggish.
- Spring Rate: How firm the spring is. On air forks, this is adjusted by changing air pressure; on coil forks, by swapping coils.
How Each Setting Affects Your Ride
Here’s a simple comparison of how these settings change the ride:
| Setting | Effect if Too Low | Effect if Too High |
|---|---|---|
| Sag | Fork bottoms out easily | Fork feels harsh, less traction |
| Compression | Fork dives under braking | Bumps feel sharp, loss of comfort |
| Rebound | Bouncy ride, front wheel loses contact | Fork doesn’t recover, feels slow |
| Spring Rate | Fork compresses too much | Fork barely compresses |

Credit: www.youtube.com
Tools And Preparation
Before you start, gather these tools and materials:
- Shock pump (for air forks)
- Allen wrenches (usually 4mm or 5mm)
- Zip ties or O-ring (to measure sag)
- Owner’s manual for your fork
- Bike stand (optional, but makes it easier)
Check that your suspension fork is clean. Dirt can affect adjustment and hide damage. If your fork is leaking oil or making strange noises, fix these before adjusting.
Step-by-step Suspension Adjustment
Adjusting your front suspension isn’t difficult, but it does require patience. Follow these steps carefully.
Step 1: Set The Sag
Sag is the amount the fork compresses under your weight. This is usually 15-25% of the fork’s total travel.
- Check your fork’s travel. Most mountain bike forks are between 80mm and 180mm.
- Move the O-ring or zip tie to the top of one stanchion.
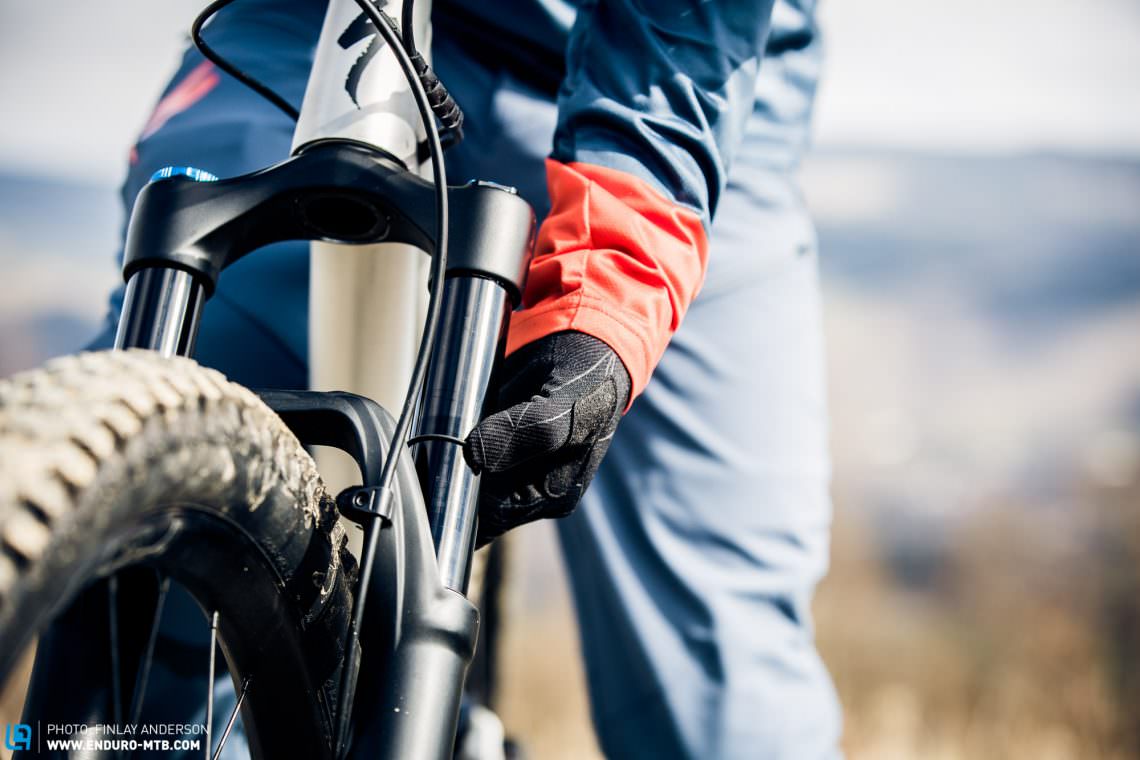
- Wear your usual riding gear and sit on the bike. Keep your weight balanced.
- Have a friend steady the bike or use a wall.
- Stand up slightly to mimic riding position, then settle back down.
- Step off the bike gently.
- Measure the distance the O-ring or zip tie moved. This is your sag.
- Adjust air pressure (for air forks) or change coil (for coil forks) until sag is correct.
If you need more sag, reduce air pressure; if you need less, increase air pressure.
Example Sag Calculation
If your fork has 120mm of travel, aim for 18–30mm sag (15–25%). Too little sag means the fork won’t absorb bumps; too much sag means you risk bottoming out.
Step 2: Adjust Compression
Compression controls how the fork reacts to bumps and braking.
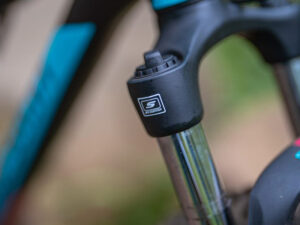
- Find the compression dial (usually on the top of the right fork leg).
- Start with factory settings. Most forks have a recommended setting in the manual.
- Ride over bumps and adjust as needed.
- If the fork dives under braking, increase compression.
- If small bumps feel sharp, decrease compression.
Some forks have low-speed compression (for braking and slow bumps) and high-speed compression (for big hits). Adjust each separately if your fork allows.
Step 3: Set Rebound
Rebound affects how quickly the fork returns after compressing.
- Locate the rebound dial (often at the bottom of the right fork leg).
- Turn the dial to the middle setting.
- Bounce the front of the bike and watch how quickly the fork returns.
- Too fast: Fork bounces, feels unstable.
- Too slow: Fork feels sticky, doesn’t recover.
- Test on trail. Fine-tune until it feels natural.
A good rule is: the fork should return smoothly, not snap back or lag.
Step 4: Fine-tuning For Terrain And Style
After basic setup, adjust for your riding style and terrain.
- Rough terrain: Slightly more sag and faster rebound help keep traction.
- Smooth trails: Less sag and slower rebound give stability.
- Aggressive riders: More compression prevents bottoming out.
- Light riders: Less compression, more sag for comfort.
Here’s a quick comparison for different terrain:
| Terrain | Sag (%) | Compression | Rebound |
|---|---|---|---|
| Rocky/technical | 20–25 | Lower | Faster |
| Flow trails | 15–20 | Higher | Slower |
| Downhill | 25 | Medium | Medium |
Step 5: Check And Record Settings
After adjustment, write down your settings:
- Air pressure (in PSI)
- Compression dial position
- Rebound dial position
- Sag measurement
This helps if you change settings for different rides or need to reset after maintenance.
Common Mistakes And How To Avoid Them
Many riders make simple mistakes when adjusting suspension. Here are some to watch for:
- Ignoring sag: Setting air pressure without measuring sag often leads to poor handling.
- Over-tightening dials: Can damage the fork or make settings inaccurate.
- Not wearing riding gear: Your weight changes with helmet, pack, and water.
- Skipping test rides: Adjustments without testing don’t show real-world results.
- Using factory settings blindly: These are only a starting point.
A non-obvious mistake is failing to check fork stiction (friction). If your fork feels sticky even after correct setup, it may need cleaning or lubrication.
Advanced Tips For Better Performance
If you want to go further, try these:
- Regularly clean fork seals: Dirt on seals increases friction and reduces performance.
- Check for air leaks: Air forks can slowly lose pressure. Check PSI before every ride.
- Experiment with volume spacers: In air forks, spacers change how progressive the fork feels (more resistance at the end of the stroke).
- Use suspension apps: Some brands offer apps to help calculate settings based on weight and terrain.
One insight many riders miss: suspension feels different after a few minutes of riding. Always test adjustments over a full trail, not just in your driveway.
How Suspension Settings Affect Safety
Proper suspension adjustment isn’t just about comfort. It affects safety in several ways:
- Traction: Keeps the front wheel on the ground during turns and braking.
- Control: Prevents sudden fork diving or bouncing, which can cause crashes.
- Fatigue: Reduces the shock to your arms and wrists, allowing longer rides.
According to industry studies, riders with well-tuned suspension are 30% less likely to crash due to loss of control on technical trails.
Coil Vs. Air Forks: Which Is Easier To Adjust?
Many mountain bikes now use air forks because they are lighter and easier to tune. Coil forks are simpler but require swapping coils for major changes.
Here’s a comparison:
| Feature | Air Fork | Coil Fork |
|---|---|---|
| Weight | Lighter | Heavier |
| Adjustment | Easy (air pressure) | Requires coil swap |
| Progressive feel | Can add spacers | Linear |
| Maintenance | Needs regular air check | Less frequent |
If you ride different trails or change weight often (like carrying a backpack), air forks are easier to adjust. Coil forks are great for consistent riders who want reliability.
Credit: antillespr.edu
Suspension Adjustment For Different Rider Weights
One mistake is adjusting suspension for the bike, not the rider. Weight affects every setting.
- Heavy riders: Need more air pressure or stiffer coil.
- Light riders: Less air pressure or softer coil.
Most fork makers give a recommended air pressure chart based on weight. For example:
- Rider weight 120 lbs: 50 PSI
- Rider weight 160 lbs: 65 PSI
- Rider weight 200 lbs: 80 PSI
Always use your actual riding weight, including gear.
How Often Should You Adjust Your Suspension?
Suspension settings can change over time. Air forks lose pressure, and seals wear out.
- Check air pressure weekly
- Re-measure sag monthly
- Inspect dials and seals every 3 months
- Adjust for new terrain or riding style
Some riders skip these checks. But regular adjustment keeps your bike performing well and prevents expensive repairs.
Credit: enduro-mtb.com
Maintenance Tips For Suspension Longevity
Adjustment is only one part of suspension care. Maintenance keeps your fork running smoothly.
- Clean fork after every ride: Mud and grit damage seals.
- Lubricate stanchions regularly: Use fork-specific lubricant.
- Replace seals and oil annually: Even if the fork feels fine.
- Store bike upright: Prevents oil pooling and air leaks.
A well-maintained fork can last for years. Neglecting maintenance leads to poor performance and costly repairs.
When To Seek Professional Help
Some problems are hard to fix on your own:
- Persistent oil leaks
- Strange noises after adjustment
- Damaged dials or threads
If you notice these, take your bike to a qualified mechanic. Many shops offer suspension setup services and can help with advanced tuning.
Frequently Asked Questions
How Do I Know If My Fork Is Set Up Correctly?
If your fork absorbs bumps smoothly, doesn’t bottom out, and feels stable during turns and braking, your setup is likely correct. You should not feel harsh impacts, excessive bouncing, or discomfort in your hands.
Can I Adjust My Suspension Without A Shock Pump?
For air forks, a shock pump is essential. Regular bike pumps cannot reach the required pressure. Coil forks can be adjusted without a pump, but you may need tools to swap coils.
What Happens If I Set Rebound Too Fast Or Too Slow?
Too fast rebound causes the fork to “bounce” back, making your front wheel unstable. Too slow rebound makes the fork feel sticky, which can reduce grip and make it hard to control on fast trails.
Is It Possible To Damage My Fork By Adjusting Suspension?
Yes, forcing dials beyond their limits or using incorrect air pressure can damage internal parts. Always adjust gently and follow manufacturer guidelines.
Where Can I Find Specific Settings For My Fork Model?
Check your fork’s owner manual or visit the manufacturer’s website. Many brands offer online calculators and detailed guides. For general suspension knowledge, you can visit Wikipedia.
Adjusting your mountain bike’s front suspension can seem complex at first, but it’s a skill every rider should learn. With the right tools, a careful approach, and regular maintenance, you’ll unlock better performance, comfort, and safety on every ride. Always remember that your body, terrain, and bike are unique—so take the time to find the settings that work best for you.
If you keep your fork clean, check your adjustments often, and listen to how your bike feels, you’ll enjoy smoother, faster, and safer trails every time.

Hello Guys! I am John Reese, a professional biker and my hobby is biking! I have been biking for last 12 years and I love using bikes while outing as well. Based on my experiences with the different type of bikes (mountain bikes, road bikes and hybrid bikes); I am sharing my opinion about various bikes so that a beginner can get started right away. Happy reading!