Electric mountain bikes are changing how people explore trails and hills. These bikes combine strong motors with tough frames, making them ideal for adventures off-road. But many riders forget one simple truth: cleaning your electric mountain bike is not just about keeping it shiny. It protects the bike’s electric parts, improves performance, and extends its lifespan. If you want your e-bike to stay fast and reliable, regular cleaning is essential.
Many first-time owners worry that washing their bike could damage the motor or battery. Others rush through cleaning and miss important steps, leading to problems later. In this guide, you’ll learn how to clean an electric mountain bike safely and thoroughly.
You’ll discover the right tools, step-by-step instructions, and expert tips that even experienced riders miss. With clear explanations and practical advice, you’ll keep your e-bike looking and working its best.
Why Cleaning Matters For Electric Mountain Bikes
Cleaning an electric mountain bike is more than just wiping mud off the frame. Dirt, dust, and moisture can build up and cause trouble for both mechanical and electrical parts. Here’s why regular cleaning is crucial:
- Protects Electrical Components: Motors, batteries, and wiring can fail if mud or water seeps in. Even a small splash in the wrong place can interrupt the circuit or corrode connectors, leading to expensive repairs.
- Improves Performance: Clean gears, brakes, and chains work better and last longer. A clean drivetrain means smoother shifting and less chain wear, making each ride feel easier and more efficient.
- Prevents Corrosion: Dirt traps moisture, leading to rust and damage, especially on metal parts. Corrosion is a silent destroyer—by the time you notice it, the damage can be deep and costly.
- Saves Money: Keeping your bike clean reduces repair costs and keeps warranties valid. Some manufacturers may void warranties if they see signs of neglect or water damage from poor cleaning habits.
Many e-bike owners don’t realize that even small particles can affect sensors and connections. For example, a tiny piece of grit stuck in the pedal-assist sensor can cause it to malfunction, leading to unpredictable power delivery. Cleaning is the best way to avoid unexpected breakdowns and keep your bike ready for any adventure.
Preparing To Clean: Tools And Safety
Before you start cleaning, gather the right tools and follow safety steps. This prevents accidents and protects your bike’s sensitive parts.
Essential Cleaning Tools
You don’t need expensive gear, but having the right supplies makes cleaning easier and safer. Here are the basics:
- Soft brushes (for frame, wheels, and tight spots). Different brush sizes help you reach both big surfaces and small corners.
- Microfiber cloths (for wiping and drying). These cloths absorb water well and leave fewer streaks, reducing the risk of scratches.
- Bucket of water. Warm water helps loosen dirt more easily than cold water.
- Mild bike cleaner or soap (never harsh chemicals). Bike-specific cleaners are designed to be gentle on seals and paint.
- Chain cleaner or degreaser. Drivetrain grime is sticky and hard to remove with just soap and water.
- Sponge. Use a soft sponge for larger, flat surfaces to avoid scratching.
- Bike-specific lubricant. Lubrication after cleaning prevents rust and keeps parts moving smoothly.
- Air pump or compressed air (optional for drying). This helps blow out water from tight places, like between cogs or under the motor housing.
- Plastic bags or covers (for protecting electronics). Zip-lock bags or plastic wrap work well for quick protection.
Having a clean, organized workspace will make the process smoother. Lay your tools out before you start so you don’t have to search for items with wet or soapy hands.
Safety Precautions
Electric mountain bikes have parts that can be damaged by water or cleaning products. Always follow these safety steps:
- Turn off and remove the battery: Unplug it before cleaning. If possible, take the battery out and keep it dry. Leaving the battery in place increases the risk of water entering the contacts.
- Cover sensitive electronics: Use plastic bags to cover the motor, display, and charging port. Secure the bags with rubber bands or tape.
- Avoid high-pressure water: Never use a pressure washer; it can force water into electrical parts. Even a strong garden hose can be risky if sprayed at close range.
- Work in a shaded area: Direct sunlight can dry soap too quickly, leaving marks. Shade also keeps the bike cooler, protecting seals and electronics from heat stress.
One thing many beginners overlook is checking the bike’s manual. Manufacturers often list cleaning tips specific to your model. This can prevent mistakes and keep your warranty valid. Some brands even have short videos or diagrams that show you exactly how to protect your model’s unique features.
Step-by-step Cleaning Process
Cleaning your electric mountain bike isn’t difficult, but it must be done carefully. Follow these steps for the best results.
Step 1: Prepare Your Bike
- Switch off the bike and remove the battery.
- Cover the motor, display, and other exposed electronics with plastic bags.
- Place the bike on a stand, if available, to make cleaning easier. If you don’t have a stand, lean the bike gently against a wall, making sure it won’t tip over.
Double-check that all removable accessories (lights, GPS units, bags) are taken off or protected. Leaving them on can slow down your cleaning and risk accidental damage.
Step 2: Rinse Off Loose Dirt
- Use a gentle stream of water (from a hose or bucket) to rinse mud and dirt. Aim for the frame, wheels, and tires.
- Avoid spraying directly at the motor, battery compartment, or wiring.
Start rinsing from the top of the bike and work your way down. This way, dirty water flows off the bike, carrying away debris instead of spreading it to clean areas. If mud has dried hard, let water soak in for a few minutes before scrubbing.
Step 3: Clean The Frame And Components
- Dip a soft brush or sponge in soapy water.
- Scrub the frame, fork, handlebars, and seat. Pay attention to areas where dirt collects, like behind the fork or under the seat.
- Wipe down with a microfiber cloth.
Many riders miss cleaning under the bottom bracket and inside the fork crown. These spots can hide mud and cause problems later. Don’t forget the underside of the downtube, where mud from the front wheel often collects. For stubborn spots, use a smaller brush to gently scrub without scratching paint.
Step 4: Clean The Wheels And Tires
- Use a brush to clean the rims, spokes, and tires.
- Remove any stones or debris stuck in the tread.
- Wipe with a damp cloth.
Spend a bit more time on the rims and spokes—dust and grit can build up here and affect braking performance. Check the tire sidewalls for any cuts or embedded glass as you clean.
Step 5: Clean The Drivetrain
- Apply degreaser to the chain, cassette, and derailleur.
- Use a brush or chain cleaning tool to scrub off dirt and old lubricant.
- Rinse with water, then dry thoroughly.
Beginners often forget to dry the chain completely, which can lead to rust. Always use a clean cloth to dry the chain before applying lubricant. Also, check the jockey wheels on the derailleur—they often collect grime and can affect shifting if not cleaned.
Step 6: Clean Brake Components
- Avoid getting soap or oil on the brake pads and rotors.
- If brakes are dirty, use a special brake cleaner.
- Wipe with a dry cloth.
If you do accidentally get lubricant or cleaner on the rotors or pads, wipe them with isopropyl alcohol to avoid squeaky or weak brakes. Never touch brake surfaces with greasy hands.
Step 7: Dry The Bike
- Use microfiber cloths to dry all parts.
- Remove plastic covers from electronics.
- Check for hidden moisture around connectors and battery terminals.
If you have compressed air, use it to blow water out of tight spots. But never direct air at the motor or sensitive electronics. If you don’t have compressed air, a soft paintbrush can help remove beads of water from tricky places.
Step 8: Lubricate Moving Parts
- Apply bike-specific lubricant to the chain, derailleur, and pivot points.
- Avoid over-lubricating; wipe off extra oil.
Less is more with lubricant—too much oil will attract dust and dirt. Apply a drop to each chain link, then run the chain backward a few times to spread the oil evenly. Wipe away excess with a clean cloth.
Step 9: Reinstall The Battery And Test
- Once the bike is fully dry, reinstall the battery.
- Turn on the bike and check all systems: Motor, display, lights, and brakes.
It’s a good idea to take the bike for a short test ride to make sure everything works properly before your next big adventure.
Special Care For Electrical Components
Cleaning electric parts is different from cleaning the frame or wheels. These tips help you avoid costly mistakes.
Battery Care
- Never submerge or spray the battery with water.
- Wipe the battery with a damp cloth.
- Clean terminals with a dry brush or cloth.
Inspect the battery for signs of cracks or swelling—damage can cause leaks or electrical issues. Keep the battery stored at room temperature and out of direct sunlight when not in use.
Motor And Display
- Cover these parts during cleaning.
- Use a soft, dry cloth for wiping.
- Check connectors for signs of corrosion or moisture.
A light dusting with a dry paintbrush can help remove mud or sand from cooling fins or vents on the motor casing. Make sure all connector plugs are secure and free from dirt before reattaching the battery.
Sensor Cleaning
- E-bikes have sensors for pedal assist and speed.
- Gently wipe sensors with a soft cloth.
- Avoid touching wires or connectors.
Most sensors are located near the crank or rear wheel. If you notice erratic power delivery after cleaning, check these sensors for hidden dirt or misalignment.
Many riders don’t realize that even small drops of water can cause problems. Always double-check that all electronics are dry before reconnecting the battery. A quick blast of compressed air or a gentle shake can help clear out hidden moisture.

Credit: www.youtube.com
Cleaning Frequency: How Often Should You Clean?
There’s no single answer—how often you clean depends on how you ride. But a simple rule is: clean after every muddy or wet ride and at least once a month if you ride regularly.
Factors Affecting Cleaning Frequency
- Riding in wet or muddy conditions: Clean after every ride. Mud can hide in every crevice and harden, making it harder to remove later.
- Dry, dusty trails: Clean every 1-2 weeks. Dust can build up on sensors, reducing their accuracy, and can also cause premature wear on the drivetrain.
- Occasional riding: Clean after every few rides. Even if your bike looks clean, sweat, oil, and road grime can still accumulate.
Some riders use their e-bike for commuting. If your bike stays mostly clean, a quick wipe-down is enough. But after off-road or rainy rides, a full clean is necessary. Remember, consistent light cleaning is easier than waiting until the bike is very dirty.
Common Mistakes And How To Avoid Them
Even experienced riders can make mistakes when cleaning. Here are some errors and how to avoid them.
- Using a pressure washer: This can force water into seals and electronics, causing damage. The temptation is strong because it’s fast, but it’s not worth the risk.
- Skipping drying steps: Moisture left behind can lead to rust or short circuits. Always take a few extra minutes to ensure all parts are dry.
- Using harsh chemicals: Strong cleaners can harm paint and seals. Stick with bike-specific products for best results.
- Forgetting to cover electronics: Always protect the motor, battery, and display. Even a quick splash can lead to long-term issues.
- Over-lubricating: Too much oil attracts dirt and makes cleaning harder next time. Less is more—only a light layer is needed.
A non-obvious mistake is forgetting to check connectors for moisture. Even a small amount can cause problems, so always check these areas. Another is not checking for hidden mud in places like under the battery or behind the chainring—these areas are easy to miss but can cause trouble later.
Real-world Example: Cleaning After A Muddy Trail Ride
Imagine you’ve just finished a muddy ride through the hills. Your electric mountain bike is covered in dirt, and you want to clean it before storing. Here’s a real-world routine:
- Remove the battery and cover the motor.
- Gently rinse mud off the frame and wheels.
- Use a brush and soapy water for stubborn dirt.
- Clean the chain and gears with degreaser.
- Dry everything carefully.
- Wipe the battery and check connectors.
- Lubricate moving parts.
- Reinstall the battery and check the display.
This process takes about 30–40 minutes and prevents costly repairs. Seasoned riders know that cleaning right after your ride is much easier—the mud hasn’t dried, and you’re more likely to notice small issues, like loose bolts or cracked housing, before they become big problems.
Data Table: Cleaning Frequency Based On Riding Conditions
To help you decide how often to clean your bike, here’s a comparison of common riding environments:
| Riding Condition | Recommended Cleaning | Typical Issues |
|---|---|---|
| Muddy trails | After every ride | Heavy dirt, water in electronics |
| Dry, dusty terrain | Every 1-2 weeks | Dust in gears, sensors |
| Urban commuting | Monthly | Brake dust, light dirt |
| Wet weather | After every ride | Moisture, corrosion risk |
If you ride in mixed conditions, always lean towards more frequent, lighter cleaning rather than waiting until the bike is filthy.
Bike Cleaning Products: What Works Best?
Choosing the right cleaning products matters. Not all soaps or lubricants are safe for electric mountain bikes.
Recommended Products
- Mild bike cleaner: Avoid dish soap or strong degreasers. These can strip away protective wax or even damage seals.
- Bike-specific lubricant: Designed for chains and gears. These lubricants are made to resist water and dust, unlike general-purpose oils.
- Brake cleaner: Safe for disc brakes. This ensures your brakes stay responsive and quiet.
Some riders use household products, but these can damage paint or seals. Always choose cleaners made for bikes. For example, citrus-based degreasers are gentle but effective for drivetrains, and silicone sprays can help protect plastic covers and seals.
A non-obvious tip: avoid using WD-40 as a lubricant for the chain—it’s more of a solvent and can remove grease, making parts dry out faster.
Table: Bike Cleaner Types And Their Effects
To help you pick the right cleaner, here’s a quick comparison:
| Cleaner Type | Safe for E-Bikes? | Effect |
|---|---|---|
| Mild bike cleaner | Yes | Removes dirt, gentle on paint |
| Dish soap | Sometimes | Can damage seals if too strong |
| Degreaser | Yes (for drivetrain only) | Removes oil, must rinse well |
| Pressure washer | No | Damages electronics |
Reading product labels and reviews can help you choose the safest options for your bike’s specific needs.
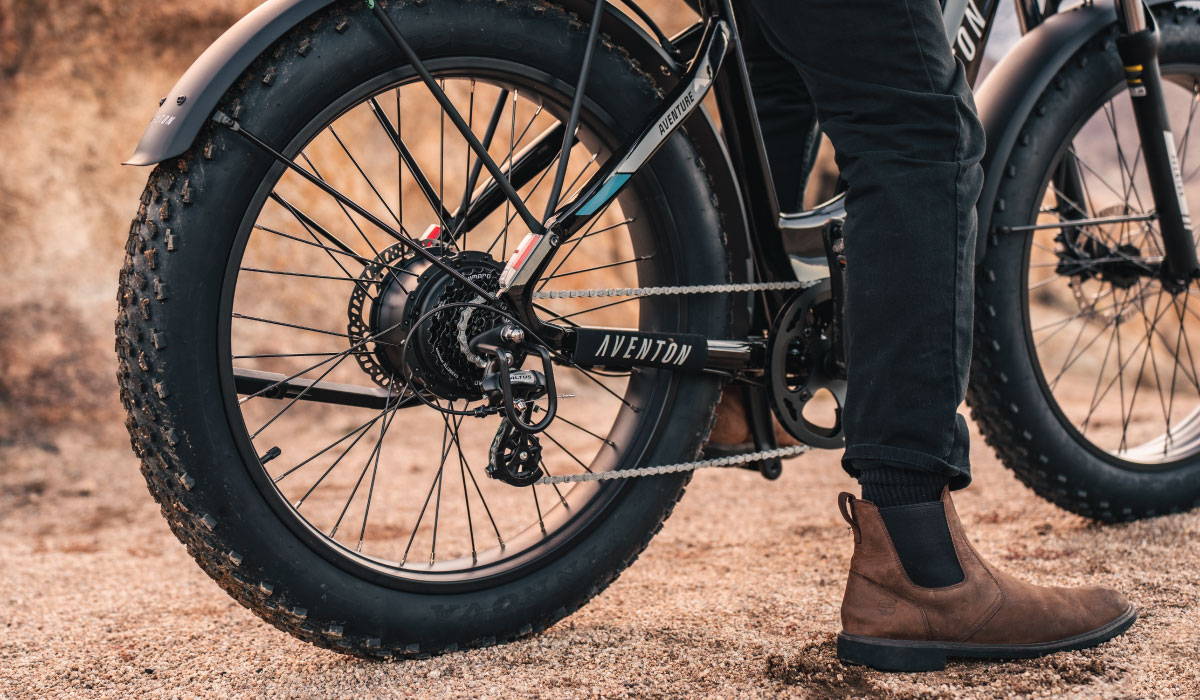
Credit: www.aventon.com
Drying Tips And Final Checks
Drying is just as important as washing. Here are practical tips:
- Use microfiber cloths for best results.
- Check tight spots (under the seat, around the motor) for hidden moisture.
- Leave the bike in a shaded, ventilated area to air dry.
- Check connectors and battery terminals for water.
- Only reinstall the battery when all parts are dry.
A non-obvious tip: water can collect inside the frame tubes. Tilt the bike and tap gently to release hidden water. Occasionally, remove the seat post and tip the bike to let out any water inside the frame—this can prevent rust from forming inside where you can’t see.
Storage After Cleaning
Storing your electric mountain bike properly helps maintain its condition.
Best Storage Practices
- Store in a dry, cool place.
- Remove the battery if storing for long periods.
- Keep the bike off damp ground.
- Hang the bike or use a stand to prevent tire damage.
If possible, store the battery at about 50% charge in a fire-safe location. This helps extend battery life and reduces risk.
Table: Storage Methods And Their Benefits
Here’s a comparison of storage options:
| Storage Method | Benefit | Drawback |
|---|---|---|
| Hanging on wall | Saves space, keeps bike dry | Requires hooks or mounts |
| Bike stand | Stable, easy access | Takes floor space |
| On ground | Simple | Risk of tire and frame damage |
If you store the bike for a season, check tire pressure and battery condition monthly to catch problems early.
Practical Tips For Busy Riders
If you don’t have time for a full clean, quick maintenance can keep your bike in shape.
- Wipe down the frame and wheels after every ride.
- Check the chain and apply lubricant weekly.
- Inspect brakes and gears monthly.
A quick 10-minute wipe-down can prevent bigger problems later. Always check the battery and connectors for dirt or moisture, even after short rides.
Non-obvious tip: Use baby wipes or bike wipes for fast cleaning in the field. They’re gentle, portable, and great for quick cleanups after a commute or short trail ride.
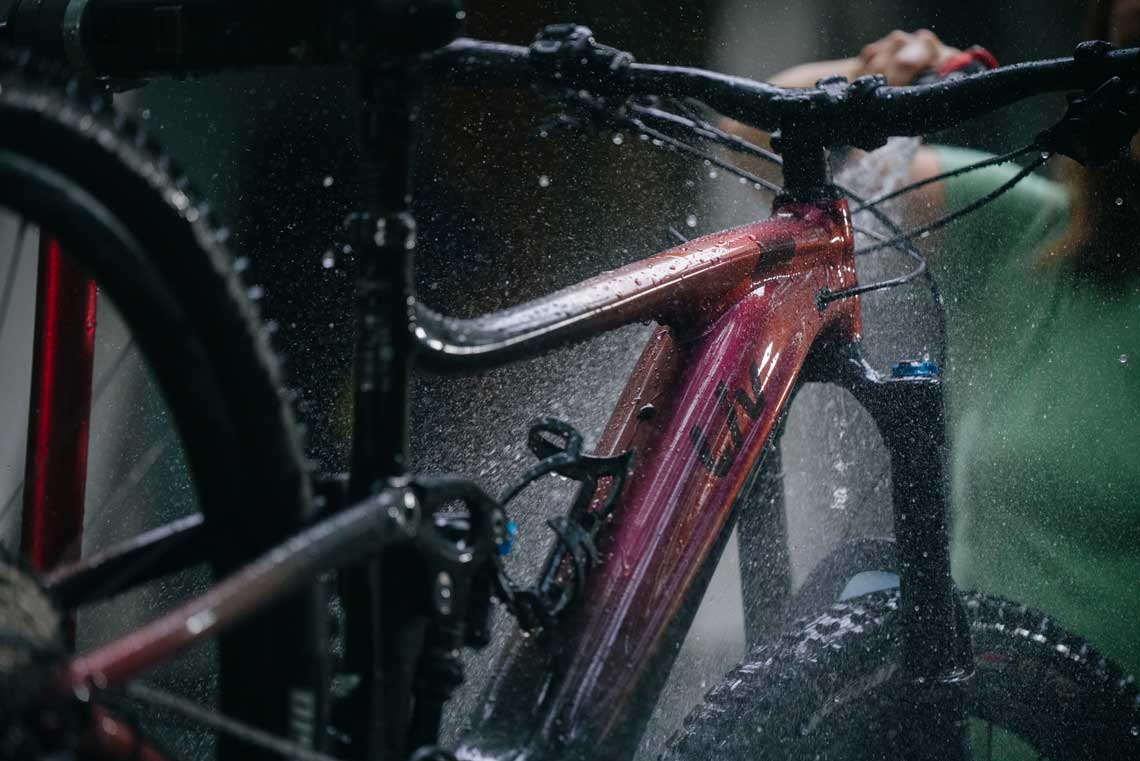
Credit: www.liv-cycling.com
Troubleshooting: What If Something Goes Wrong?
Sometimes, cleaning reveals issues like strange noises or weak brakes. Here’s what to do:
- Unusual noises: Check for dirt in gears, loose screws, or dry chain. Listen carefully during your test ride for anything that sounds out of place.
- Weak brakes: Clean rotors and pads, avoid oil or soap contact. If the problem continues, inspect for worn pads.
- Battery won’t connect: Dry terminals and check for corrosion. Sometimes, even a thin film of moisture can block electrical contact.
- Display not working: Check for loose wires, moisture inside connectors.
If problems persist, consult a bike mechanic or your bike’s manual. For electrical issues, professional help is best. Don’t try to open sealed electric components yourself, as this can void warranties and cause more damage.
Environmental Considerations
Cleaning your electric mountain bike can be eco-friendly. Here’s how:
- Use biodegradable bike cleaners.
- Collect dirty water and dispose of it properly.
- Avoid wasting water; use a bucket instead of a running hose.
Some cities have bike washing stations with special drains. These help protect the environment and keep your bike safe. If you use your own garden, try to wash the bike on gravel or grass, not on pavement where runoff can go straight to storm drains.
Expert Advice: Maintaining Performance
Maintaining your electric mountain bike is easier if you set a routine. Here are expert tips:
- Schedule cleaning after tough rides.
- Keep a cleaning kit ready at home.
- Record cleaning dates in a log or app.
- Check for updates from your bike’s manufacturer—some offer maintenance guides online.
You can learn more about electric bike care at Bicycling.com, which offers expert tutorials and advice.
Another expert tip: periodically inspect all bolts and fittings for tightness after cleaning. Water can sometimes loosen parts or reveal issues you didn’t see before.
Frequently Asked Questions
How Often Should I Clean My Electric Mountain Bike?
Clean after every muddy or wet ride. For dry rides, clean every 1–2 weeks. Monthly cleaning is enough for light use.
Can I Use A Pressure Washer To Clean My E-bike?
No, never use a pressure washer. It can force water into electronics and cause damage.
What Is The Best Way To Clean The Battery?
Remove the battery and wipe with a damp cloth. Never submerge or spray it directly.
What Kind Of Lubricant Should I Use?
Use bike-specific lubricant for chains and moving parts. Avoid automotive or household oils.
How Do I Avoid Damaging The Motor Or Display?
Cover these parts with plastic bags during cleaning. Use soft, dry cloths and avoid direct water contact.
Keeping your electric mountain bike clean is not just a chore—it’s a smart habit that protects your investment and ensures every ride is safe and enjoyable. With the right tools, careful steps, and regular attention, your e-bike will stay in top shape for years to come.
Whether you ride on muddy trails or smooth roads, a clean bike is a fast, reliable bike.

Hello Guys! I am John Reese, a professional biker and my hobby is biking! I have been biking for last 12 years and I love using bikes while outing as well. Based on my experiences with the different type of bikes (mountain bikes, road bikes and hybrid bikes); I am sharing my opinion about various bikes so that a beginner can get started right away. Happy reading!