
Riding a mountain bike is more than just pedaling and steering. The way your bike feels on rough trails can make the difference between a fun ride and a frustrating one. One of the most powerful ways to improve your ride is by learning how to adjust your spring suspension. Whether you’re a weekend trail explorer or pushing limits on downhill runs, knowing how to fine-tune your suspension can boost comfort, control, and safety. Many riders skip this, thinking it’s too technical. But with the right approach, adjusting spring suspension is both possible and rewarding—even if you’re new to bike mechanics.
In this guide, you’ll get clear, step-by-step advice for adjusting your mountain bike’s spring suspension. We’ll cover the basics, explain key terms, walk through the full adjustment process, and highlight common mistakes. You’ll also find practical tips from real riders and useful comparison tables to help you make confident choices.
By the end, you’ll know not just how to turn a knob or twist a dial, but why each change matters to your ride.
Understanding Spring Suspension On Mountain Bikes
Before making any adjustments, it’s important to know what spring suspension is and why it matters. Mountain bikes use suspension to absorb bumps and keep your wheels in contact with the ground. There are two main types: air suspension and spring suspension (also called coil suspension).
Spring suspension uses a metal coil (often steel or titanium) inside the fork or rear shock. When you hit a bump, the spring compresses, soaking up the impact. As the spring expands, it pushes the wheel back down. This system is simple, reliable, and easy to maintain.
Key Benefits Of Spring Suspension
- Consistent performance: Coil springs don’t lose pressure in cold weather or over time.
- Smooth feel: Many riders say coil suspension offers a more “plush” and predictable response.
- Low maintenance: Fewer seals and less air mean fewer leaks and breakdowns.
Main Components
Knowing your bike’s suspension parts helps when adjusting:
- Coil spring: The metal spiral that compresses.
- Preload adjuster: Changes the initial tension on the spring.
- Rebound damper: Controls how fast the spring returns after compression.
- Compression damper: Controls how easily the spring compresses under force.
- Lockout lever: Temporarily disables movement for climbing or road riding.
Understanding these basics will make each adjustment step clearer.
When And Why To Adjust Spring Suspension
Many riders leave their suspension at factory settings. But if you want your bike to perform its best, you need to adjust for your weight, riding style, and terrain. Here’s why:
- Personal fit: Suspension works best when set for your body weight. Too stiff or too soft can cause discomfort and loss of control.
- Different trails: Rocky descents, smooth singletrack, and rooty climbs each call for different setups.
- Changing loads: Adding a backpack or water means more weight. Suspension should match.
Signs your suspension needs adjusting:
- Bottoming out: Suspension compresses fully (metal hitting metal) on bumps.
- Topping out: Suspension extends too far, making a clunking sound.
- Unstable handling: Bike feels bouncy, drifts in corners, or loses grip.
- Excessive arm or leg fatigue: You’re absorbing bumps instead of the bike.
Making small adjustments can solve these problems and let you ride safer and faster.
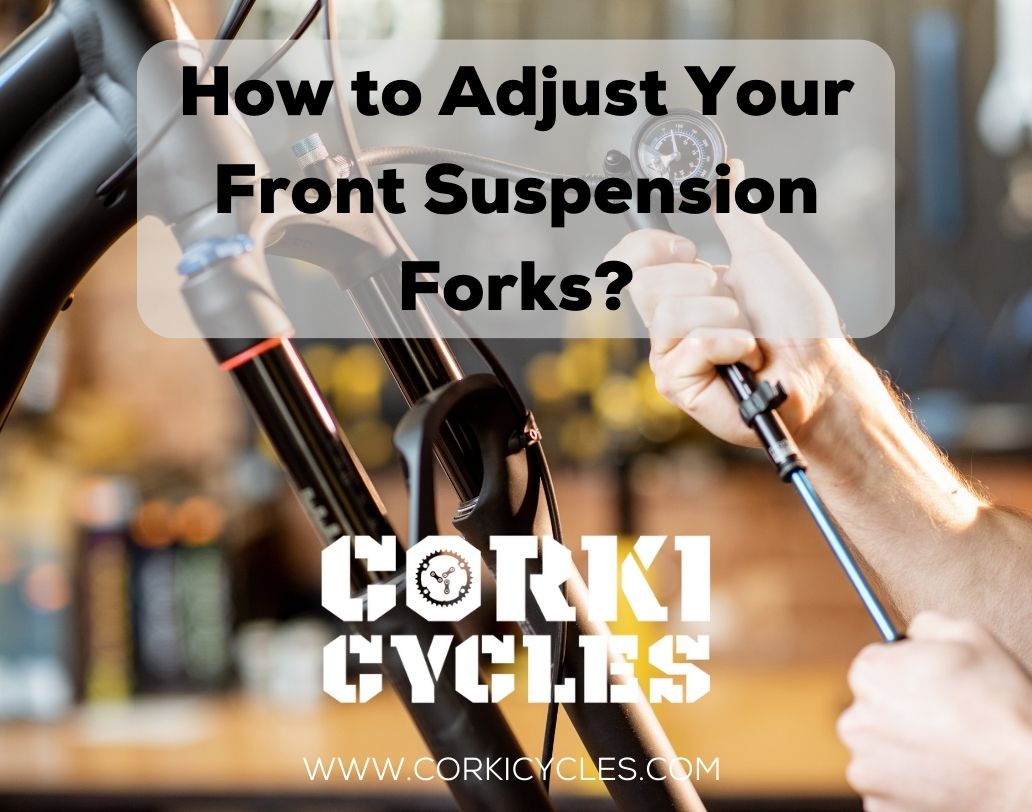
Credit: www.corkicycles.com
Tools And Preparation
Before you start, gather a few simple tools:
- Shock pump (for air assist, if your coil shock has one)
- Hex wrenches or Allen keys (for removing covers or adjusting bolts)
- Ruler or tape measure (for sag measurement)
- Zip tie or rubber band (to measure travel)
- Bike stand (optional, for easier access)
- Owner’s manual (for your bike’s specific recommendations)
Pro tip: Always write down your settings before changing anything. If you don’t like the new feel, you can return to your old setup easily.
Key Terms: Sag, Preload, Rebound, And Compression
Many beginners get confused by suspension terms. Here’s a quick explanation of the four most important ones:
Sag
Sag is how much the suspension compresses when you sit on the bike. It’s measured as a percentage of total travel. Correct sag keeps your wheels on the ground for better grip.
- Cross-country: 15–20% sag
- Trail/all-mountain: 25–30% sag
- Downhill: 30–35% sag
Preload
Preload sets how much the spring is compressed at rest. More preload means a stiffer ride, less preload means softer. Adjust preload to get the right sag for your weight.
Rebound
Rebound controls how quickly the suspension returns after compressing. Too fast and the bike feels bouncy; too slow and it feels sluggish.
Compression
Compression controls how easily the suspension compresses under force. Higher compression is firmer (good for pedaling), lower is softer (better for absorbing bumps).
Knowing these terms makes the adjustment process much easier.
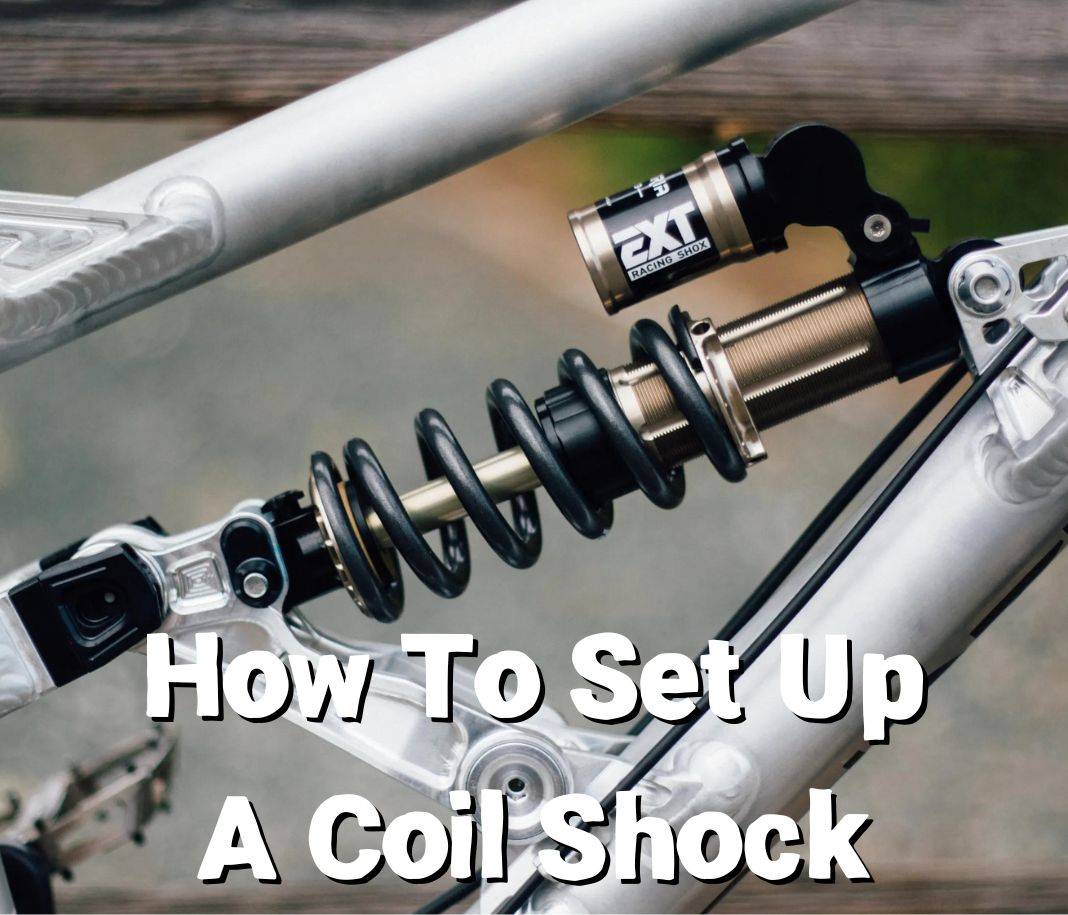
Credit: thelostco.com
Step-by-step: How To Adjust Spring Suspension
Now let’s get hands-on. Follow these steps for both front fork and rear shock if your bike has them.
1. Find The Right Spring Rate
The spring rate is the stiffness of the coil, matched to your weight. Most bikes come with a medium-rate spring, but heavier or lighter riders may need to swap for a different one.
How to check:
- Remove the spring and look for a number (e.g., 450 lbs/in).
- Check your bike manual for recommended spring rates by weight.
- If your sag can’t be set correctly (see below), you may need a different spring.
Non-obvious insight: Many riders try to fix a soft or stiff ride by turning adjusters, when they actually need a different spring. The right spring is essential—no amount of adjustment can fix the wrong spring rate.
2. Setting Sag
Sag is the foundation of good suspension setup.
How to measure:
- Slide a zip tie or rubber band onto the fork stanchion or rear shock shaft.
- Sit on the bike in your riding gear, feet on pedals, hands on bars.
- Have a friend steady the bike, or lean against a wall.
- Carefully get off without moving the zip tie.
- Measure the distance from the seal to the zip tie (this is your sag).
- Divide by total travel and multiply by 100 to get sag percent.
Adjust preload:
- If sag is too much, increase preload (turn clockwise).
- If sag is too little, decrease preload (turn counterclockwise).
- Make small changes, then recheck.
Example:
If your fork has 120mm travel and the sag measures 30mm:
30/120 = 0. 25 → 25% sag (ideal for trail riding).
3. Setting Preload
Preload affects sag, but also the first part of the suspension stroke. Too much preload makes the ride harsh and can cause topping out. Too little makes the bike wallow and bottom out easily.
- Set preload so you reach correct sag with the minimum tension.
- Avoid cranking preload beyond 2–3 full turns from minimum, as this can damage the spring or threads.
4. Adjusting Rebound
Rebound is usually set by a red knob (sometimes labeled “+” and “–”).
How to adjust:
- Push down hard on the handlebars or saddle.
- Watch how quickly the suspension returns.
- Start in the middle setting.
- Turn knob toward “–” for faster rebound, “+” for slower.
Goal: The suspension should return quickly but not so fast that it bounces you up. Too slow and the bike will “pack down” over bumps, losing travel.
Example:
On repeated bumps, if the suspension doesn’t recover in time and keeps getting lower, add rebound speed (turn to “–”).
5. Adjusting Compression (if Available)
Some coil shocks and forks have compression adjustment (often a blue knob).
- For smooth trails or climbing, add compression for a firmer ride.
- For rough descents, reduce compression for more comfort.
Pro tip: Not all spring forks/shocks have compression adjustment. If yours doesn’t, focus on sag, preload, and rebound.
6. Testing And Fine-tuning
After each adjustment, ride a familiar trail. Notice how the bike feels in corners, over bumps, and when braking.
- If you bottom out on small bumps, add preload or try a stiffer spring.
- If you bounce off roots, slow down rebound.
- If the bike feels harsh and skips, reduce preload or compression.
Make only one change at a time. Take notes on each setting.
Common Suspension Setups: Comparison Table
Here’s a quick reference showing typical suspension setups for different riding styles:
| Riding Style | Sag (%) | Spring Rate (lbs/in) | Rebound | Compression |
|---|---|---|---|---|
| Cross-country | 15-20 | 350-400 | Medium-fast | Medium |
| Trail | 25-30 | 400-450 | Medium | Low-medium |
| Downhill | 30-35 | 450-550 | Slow-medium | Low |
Remember, these are starting points. Always adjust for your own weight and preferences.
Troubleshooting: Problems And Solutions
Sometimes, even after careful setup, your bike doesn’t feel right. Here’s a guide to common problems:
| Problem | Possible Cause | Solution |
|---|---|---|
| Bottoming out | Sag too high, spring too soft, preload too low | Add preload, try stiffer spring, check for worn parts |
| Bouncing/skipping | Rebound too fast, compression too high | Slow rebound, reduce compression |
| Suspension not moving enough | Too much preload, rebound too slow | Reduce preload, speed up rebound |
| Clunking noise | Spring not seated, topping out, loose parts | Check spring position, reduce preload, tighten hardware |
Non-obvious insight: Sometimes, strange handling comes from a combination of small mistakes. Always check your tire pressure and wheel condition before blaming the suspension.
Advanced Tips For Spring Suspension Tuning
Once you’ve mastered the basics, there’s more you can do to get the perfect feel.
Matching Front And Rear Suspension
Balance is key. If the fork is soft but the rear is stiff (or vice versa), the bike will handle poorly in corners and jumps. Aim for similar sag percentages front and rear.
Upgrading Springs
Many coil shocks offer titanium springs for lighter weight or progressive springs that get stiffer as they compress. These can change the ride feel dramatically.
Using Volume Spacers
Some modern coil shocks allow for volume spacers. These change how the suspension behaves at the end of its travel, making it less likely to bottom out. Check your manual to see if this applies.
Lubrication And Maintenance
A sticky or dry suspension won’t move smoothly. Keep the stanchions clean, lubricate according to your manual, and service the fork/shock yearly. Dirt buildup is a common cause of poor suspension feel.
Recording Your Settings
Keep a small notebook or use your phone to record your sag, preload turns, rebound clicks, and compression clicks. This makes it easy to return to a good setup if you experiment.
Common Mistakes To Avoid
Many riders fall into these traps when adjusting spring suspension:
- Ignoring the spring rate: Trying to “fix” ride feel with adjusters instead of swapping the spring.
- Over-tightening preload: This can cause premature wear and harsh ride.
- Not measuring sag in full gear: Your pack, shoes, and helmet all add weight.
- Making multiple changes at once: Hard to know what improved or got worse.
- Neglecting maintenance: Dirty or dry suspension can’t perform, no matter the settings.
- Forgetting tire pressure: Too-soft tires can mimic poor suspension.
Understanding these mistakes can save time and frustration.
Real-world Examples
Let’s look at a couple of scenarios:
Example 1: Heavier rider, trail use
- Rider weight: 210 lbs
- Bike came with 400 lbs/in spring. Even with max preload, sag is 40% (too much).
- Solution: Swap to 500 lbs/in spring. Sag now 28% with minimal preload. Bike handles better, no more bottoming out.
Example 2: Lighter rider, cross-country
- Rider weight: 130 lbs
- With stock spring, even with preload at minimum, sag is only 10% (too stiff).
- Solution: Install 300 lbs/in spring. Sag now 18%. More comfort, less arm fatigue.
These examples show why matching spring rate to rider weight is so important.

Credit: www.youtube.com
Table: Coil Vs. Air Suspension—which Is Easier To Adjust?
Some riders ask if they should switch to air suspension for easier adjustment. Here’s a quick comparison:
| Feature | Coil (Spring) Suspension | Air Suspension |
|---|---|---|
| Initial setup | Install correct spring | Set pressure with pump |
| Fine-tuning | Preload, rebound, compression | Air pressure, volume spacers, rebound, compression |
| Adjust for weight change | Change spring (takes time) | Add/remove air (fast) |
| Feel | Plush, consistent | Adjustable, can be firmer |
| Maintenance | Low | Higher (seals, leaks) |
For most riders, coil is set-and-forget after initial setup, while air is easier to adjust on the fly.
When To Seek Professional Help
If you’ve tried all the above and your bike still feels wrong, it might be time to see a pro. Reasons to visit a bike shop:
- Spring swapping requires special tools on some shocks
- Internal damper problems (oil leaks, loss of function)
- You want a custom tune for racing or special terrain
A professional suspension tune can transform a bike, but for most riders, the above steps solve 90% of issues.
Frequently Asked Questions
How Often Should I Adjust My Spring Suspension?
You should check your suspension setup at the start of each riding season, after major weight changes, or when you notice handling problems. For most, small adjustments every few months are enough.
Can I Use An Air Spring In A Coil Fork Or Shock?
No, coil and air suspension use different designs. Some modern shocks can swap internals, but usually, you need a new fork or shock for air. Always check your manufacturer’s recommendations.
What If My Bike Feels Harsh Even After Correct Sag And Rebound?
Check for dry or dirty suspension parts, incorrect tire pressure, or worn bearings. Sometimes, the spring rate is still too high. If all else fails, consult a suspension expert.
Is It Possible To Adjust Spring Suspension For Carrying Extra Gear?
Yes, but it’s less flexible than air suspension. If you often carry heavy loads, consider a stiffer spring or increase preload slightly before a big trip.
Where Can I Find Recommended Spring Rates For My Mountain Bike?
Your owner’s manual is the best source. You can also check the manufacturer’s website or ask at a reputable bike shop. For more details, see this Pinkbike guide.
Fine-tuning your mountain bike’s spring suspension isn’t just for pros—it’s an important skill for anyone who wants better control and more fun on the trails. With a bit of patience, the right tools, and the tips above, you’ll transform how your bike feels and rides.
Each trail is different, and so is every rider. Don’t be afraid to experiment, record your results, and ask for help if you hit a wall. The confidence you gain is worth every minute spent dialing in your suspension. Happy riding!

Hello Guys! I am John Reese, a professional biker and my hobby is biking! I have been biking for last 12 years and I love using bikes while outing as well. Based on my experiences with the different type of bikes (mountain bikes, road bikes and hybrid bikes); I am sharing my opinion about various bikes so that a beginner can get started right away. Happy reading!