Building your own mountain bike stand is a rewarding project for anyone who loves cycling. Whether you ride often, do your own repairs, or just want a safe place to store your bike, a stand makes life easier. Many people pay high prices for store-bought stands, but making one yourself gives you control over the design, materials, and cost. This guide will walk you through every step, from choosing the right materials to building, customizing, and maintaining your stand. Along the way, you’ll learn practical tips and common mistakes to avoid, plus see real examples and comparisons. By the end, you’ll have a strong, reliable stand for your mountain bike, and the confidence to tackle similar DIY projects.
Why Build Your Own Mountain Bike Stand?
Buying a bike stand from the store seems simple, but there are several reasons to make your own. First, cost savings are clear. Store-bought stands can range from $50 to $200, while a homemade version often costs less than $30 in materials. Second, you get to customize the stand to fit your bike and your space. Many commercial stands are made for road bikes or generic sizes, but mountain bikes often have bigger tires, unique frames, and heavy builds.
You also gain practical skills by building your own stand. You learn about tools, materials, and problem-solving. This can help you with other home projects or bike repairs. Finally, making your own stand is rewarding. You get something useful, and you know every piece and part.
Store-bought Vs Diy: A Quick Comparison
Here’s a side-by-side look at store-bought vs homemade stands:
| Feature | Store-Bought | DIY Stand |
|---|---|---|
| Cost | $50-$200 | $10-$30 |
| Customization | Limited | Full control |
| Strength | Varies | Can be made stronger |
| Skill Needed | None | Basic DIY skills |
| Fun/Reward | Low | High |
Choosing The Right Stand Design
Before you start, pick a design that fits your needs and skills. There are three main types:
- Floor Stand: Holds the bike upright by the wheel or frame.
- Work Stand: Lifts the bike off the ground for repairs.
- Wall-Mount Stand: Uses wall brackets or hooks.
Each design has pros and cons. For most mountain bikes, a floor stand is easiest to build and works well for storage and light repairs. If you plan to do more complex repairs, a work stand is better. Wall-mount stands are good for saving space but require strong walls and careful installation.
Floor Stand Vs Work Stand: Which Is Best?
Let’s compare these two options:
| Feature | Floor Stand | Work Stand |
|---|---|---|
| Build Difficulty | Easy | Medium |
| Cost | Lower | Higher |
| Use | Storage | Repairs |
| Space Needed | Small | Medium |
| Stability | Good for most bikes | Very stable |
Most beginners start with a floor stand. It’s simple, cheap, and works for nearly all mountain bikes.

Credit: www.youtube.com
Planning Your Build: What You’ll Need
Before you start building, gather your tools and materials. Planning saves time and prevents mistakes.
Tools
- Saw (hand saw or power saw)
- Drill and drill bits
- Screwdriver
- Tape measure
- Sandpaper
- Pencil for marking
- Wrench (optional, for bolts)
- Clamps (optional, for holding pieces)
Materials
- Wood (2×4 or 2×6 boards are strong and easy to work with)
- Screws (2.5–3 inches, wood screws)
- Bolts and nuts (for extra strength)
- Glue (wood glue for extra hold)
- Protective pads (foam, rubber, or old carpet)
- Paint or finish (optional)
For most floor stands, you’ll need about 2–3 boards, each 6–8 feet long. Screws and bolts should match the thickness of your wood.
Safety Gear
Always use eye protection and gloves when cutting or drilling. Dust masks help if you’re sanding a lot.
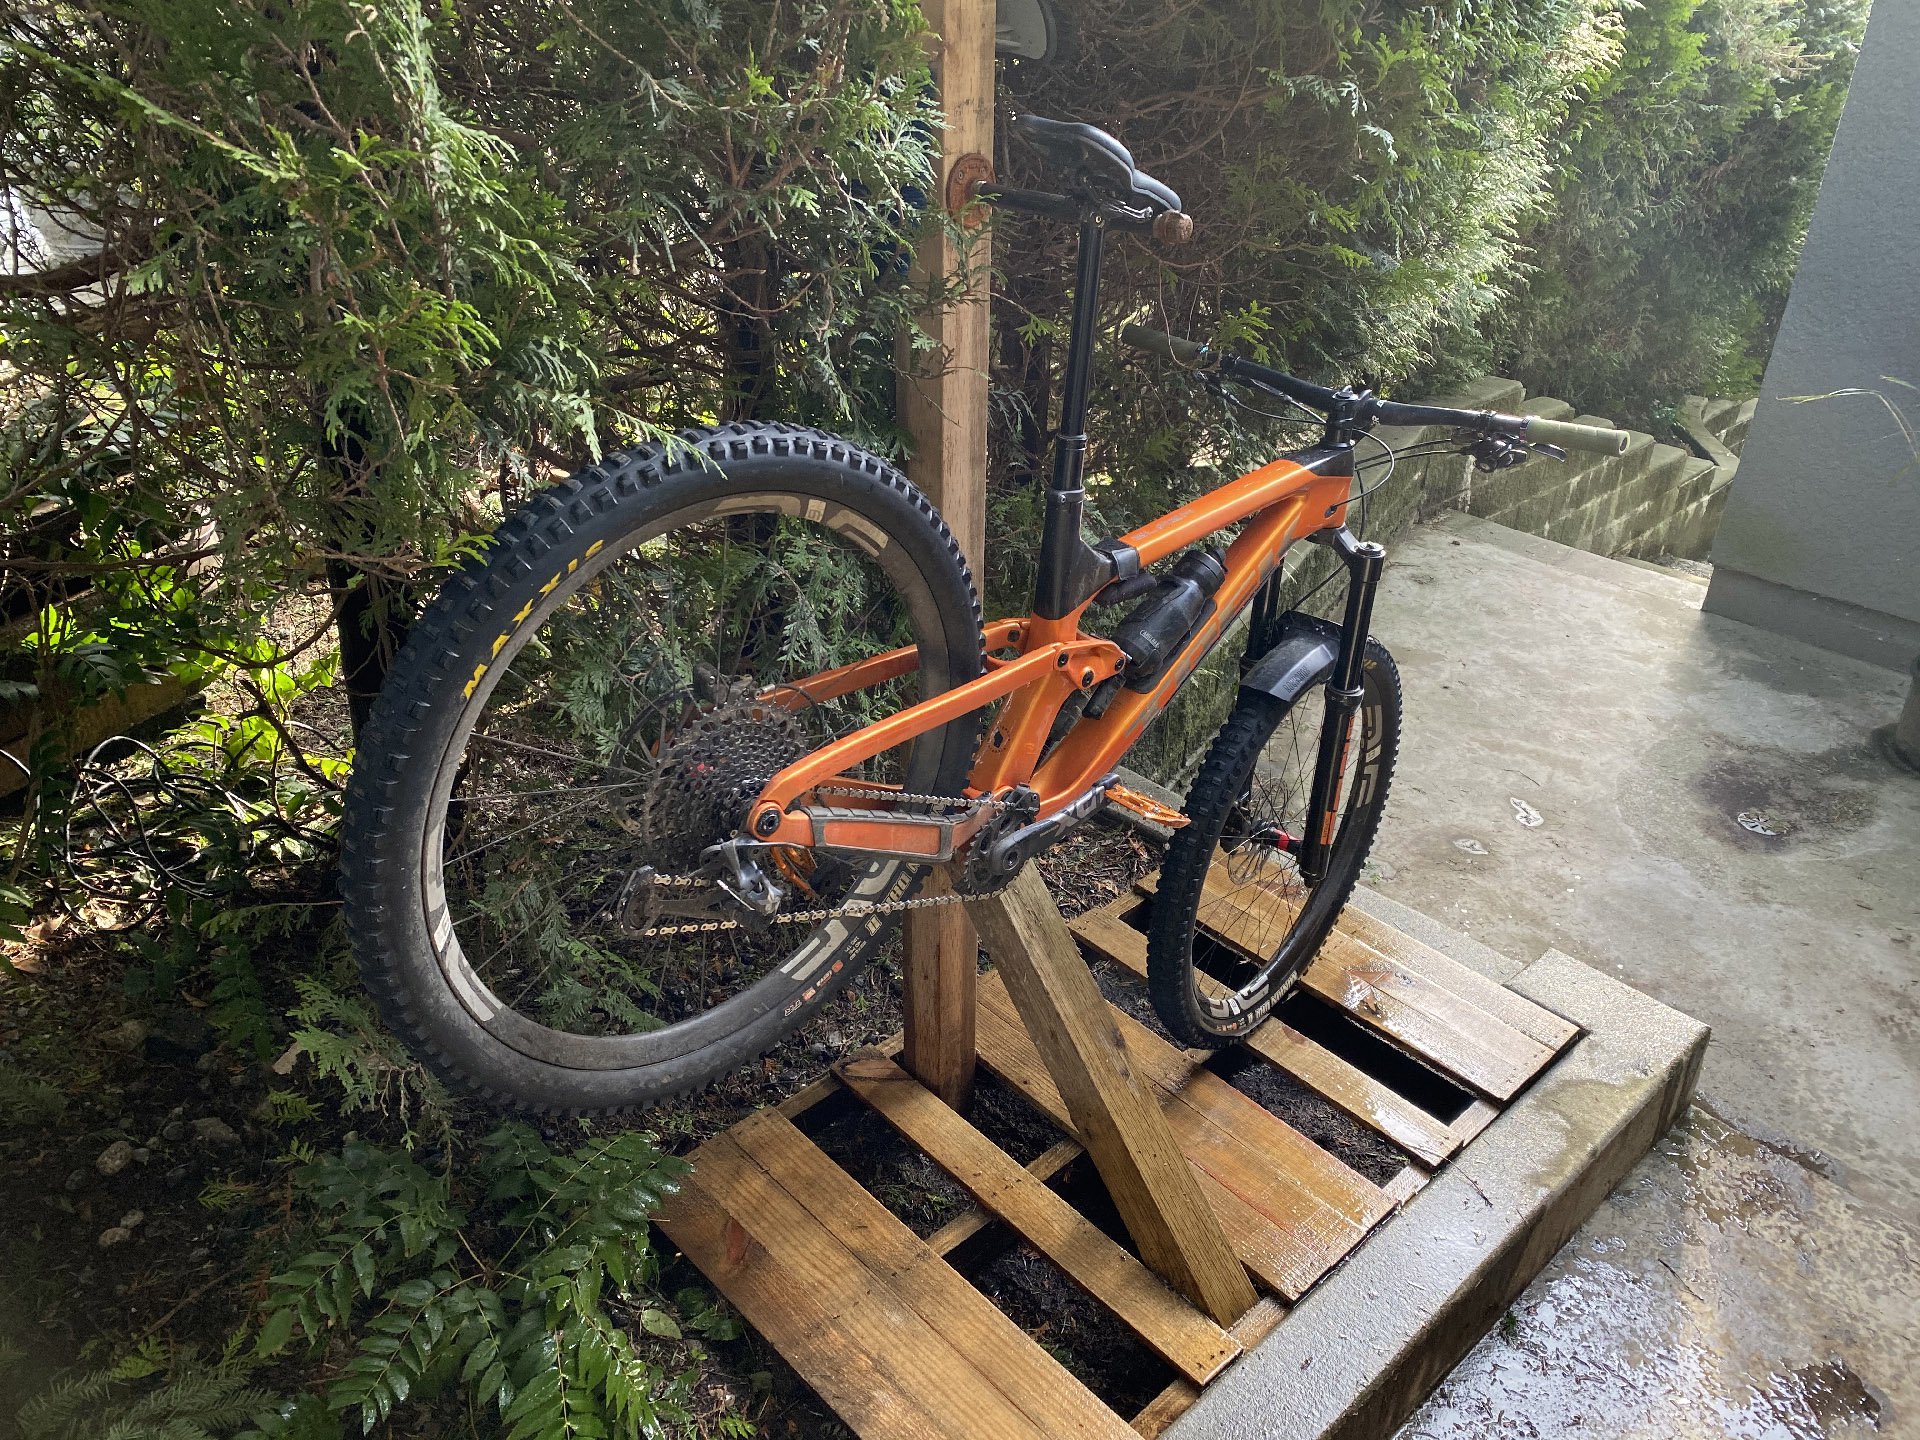
Building A Simple Floor Stand: Step-by-step Guide
Let’s build a basic floor stand that holds your mountain bike upright by the rear wheel. This design works for most bikes, including those with wide tires.
Step 1: Measure Your Bike
Start by measuring your rear wheel width. Most mountain bikes have tires between 2.0 and 2.6 inches wide. Measure the total width from outside to outside.
Also, measure the wheel diameter (usually 26–29 inches) and the frame height.
Tip: Add 0.5–1 inch to your tire width so the stand fits easily, but not too loose.
Step 2: Cut Your Wood
Cut your boards as follows:
- Base pieces: 2 boards, each 18–24 inches long
- Vertical supports: 2 boards, each 16–18 inches tall
- Cross piece: 1 board, 12–14 inches long
Sand the edges to remove splinters.
Step 3: Build The Base
Lay the two base pieces parallel, about 4–5 inches apart (depending on your tire width). Place the cross piece across the ends, forming a “U” shape.
Screw or bolt the cross piece to the base. This keeps the base strong and stable.
Step 4: Attach The Vertical Supports
Stand the two vertical supports at the open end of the “U”, one on each base piece. These will hold the wheel upright.
Screw or bolt each support to the base. Use two screws per joint for extra strength.
Tip: Angle the supports slightly outward for more stability. This prevents the bike from tipping.
Step 5: Add Protective Padding
Attach foam or rubber pads to the inside of the vertical supports. This protects your bike’s paint and prevents scratches.
You can use old carpet pieces, foam strips, or rubber from a yoga mat. Glue or staple them in place.
Step 6: Test Fit Your Bike
Place your mountain bike’s rear wheel between the supports. The wheel should fit snugly, with the frame upright and the tire resting on the base.
If the fit is too tight or loose, adjust the supports. It’s easier to fix now than later.
Step 7: Paint Or Finish (optional)
Paint your stand or add a wood finish to protect it from moisture. This makes it last longer and look better.
Let everything dry fully before using the stand.
Step 8: Use Your Stand
Roll your bike in and out of the stand as needed. It should hold the bike upright, even with heavy mountain frames.
Credit: www.eventusrecruitmentgroup.com
Upgrading Your Stand: Advanced Options
Once you build a basic floor stand, you can add features for more convenience and strength.
Adding Wheels
Attach small casters to the base so you can roll the stand around. This is helpful in garages or workshops.
Adjustable Supports
Use sliding brackets or slots to adjust the width for different bikes. This is useful if you have more than one bike.
Tool Holders
Add hooks or trays for tools and spare parts. This makes repairs easier.
Foldable Design
Use hinges so your stand folds flat when not in use. This saves space.
Stronger Materials
Try using metal pipes or PVC for a lighter, stronger stand. Metal stands last longer but require special tools.
Building A Work Stand For Repairs
For more serious bike maintenance, a work stand holds the bike off the ground and lets you spin the wheels or reach all parts.
Materials
- Metal pipes (1–1.5 inch diameter, steel or aluminum)
- Pipe clamps (for holding the frame)
- Bolts, nuts, washers
- Wood base (for stability)
Basic Design
- Vertical pipe: 3–4 feet tall, attached to the base.
- Horizontal arm: 18–24 inches long, attached at the top.
- Clamp: Holds the bike frame securely.
Building Steps
- Bolt the vertical pipe to the base.
- Attach the horizontal arm with a strong joint.
- Install the clamp at the end of the arm.
- Test with your bike. Adjust height and angle as needed.
Tip: Use a quick-release clamp so you can remove the bike easily.
Diy Clamp Options
You can use a plastic clamp from a hardware store, or make your own with two pieces of wood and rubber pads.
Wall-mount Stand: Saving Space
Wall-mount stands are great if you have limited floor space. They use hooks or brackets to hold the bike by the wheel or frame.
Materials
- Heavy-duty hooks (coated for protection)
- Wall brackets
- Screws and anchors
Installation Steps
- Find a stud in the wall for strength.
- Mark the height you want (usually 4–5 feet from the ground).
- Screw the hooks or brackets into the stud.
- Hang your bike by the wheel or frame.
Tip: Use two hooks for the wheels to spread the weight.
Safety Note
Never install hooks in drywall alone. Always use a stud or strong wall beam.
Common Mistakes And How To Avoid Them
Many beginners make errors when building their first stand. Here’s how to avoid the most common issues:
- Wrong measurements: Always measure your bike before cutting. Double-check tire width and frame size.
- Weak joints: Use enough screws or bolts. Glue adds strength but shouldn’t be the only hold.
- No padding: Unprotected wood can scratch your bike. Always add foam or rubber pads.
- Unstable base: A narrow or short base tips easily. Make the base wide and heavy enough for your bike.
- Poor finish: Moisture can damage wood. Paint or seal your stand for longer life.
- Ignoring weight: Mountain bikes are heavy. Make sure your stand is strong enough.
Customizing Your Stand
DIY stands let you personalize the design for your needs and style.
Color And Finish
Paint your stand to match your bike or garage. Use waterproof paint for outdoor use.
Name Or Logo
Add your name, a logo, or bike club stickers for a personal touch.
Storage
Install hooks or trays for helmets, gloves, or tools. This keeps everything together.
Portable Options
Make your stand foldable or add wheels for easy transport.
Real-life Examples And Data
Many cyclists have built their own stands and shared their results online. Here are some examples:
- Alex from Colorado built a wooden floor stand for $18. It holds his 29-inch mountain bike and has lasted 3 years.
- Maria in California made a wall-mount stand for two bikes. She used heavy-duty hooks and spent less than $25.
- Jake in Texas built a metal work stand with old pipes. He does all his repairs at home and says it’s more stable than store-bought models.
A survey from BikeRadar showed that 32% of mountain bike owners do basic repairs at home, and 19% use homemade stands.
How Much Time Does It Take?
Building a simple floor stand takes about 2–3 hours for most people. Work stands and wall-mounts may take longer, especially if you use metal or advanced features.
Plan your work:
- Measuring and cutting: 30–45 minutes
- Assembly: 45–60 minutes
- Finishing: 30–60 minutes
- Testing and adjusting: 15–30 minutes
If you’re new to DIY, allow extra time for mistakes and learning.
How Much Money Can You Save?
Store-bought stands range from $50–$200. DIY stands often cost $10–$30 for wood and hardware. Metal stands may cost more, but still less than commercial options.
Here’s a cost comparison:
| Type | Store-Bought | DIY Cost |
|---|---|---|
| Floor Stand | $50–$120 | $10–$30 |
| Work Stand | $100–$200 | $25–$60 |
| Wall Mount | $40–$80 | $15–$25 |
Tip: Use leftover wood or recycled materials to lower costs.
Tips For Beginners
Building your first stand can feel challenging, but these tips will help:
- Start simple: Build a basic floor stand first. Upgrade later.
- Use quality materials: Strong wood and screws last longer.
- Double-check measurements: Mistakes cost time and money.
- Ask for help: Friends or online forums can guide you.
- Test the fit: Use your bike before finishing the stand.
A non-obvious insight: wood grain direction affects strength. Place boards so the grain runs along the length for maximum support.
Maintaining Your Stand
A bike stand needs some care to last.
- Check joints: Tighten screws and bolts every few months.
- Replace pads: If foam or rubber wears out, put new pads in.
- Clean: Wipe down the stand to remove dust and dirt.
- Repair damage: If you see cracks or splits, fix them before they get worse.
Tip: If your stand gets wet, dry it quickly to prevent rot.

Credit: www.singletracks.com
Safety Considerations
Safety is important for you and your bike.
- Use protective gear when building.
- Secure the stand: Make sure it’s stable before using.
- Don’t overload: Don’t hang extra bikes or heavy items on a single stand.
- Check for sharp edges: Sand or cover any rough spots.
Environmental Benefits
Making your own stand reduces waste and lets you use recycled materials. Many bike stands end up in landfills, but a homemade version can be reused or recycled.
Tip: Use old wood, pipes, or hardware from other projects.
Where To Get Materials
You can find most materials at a local hardware store. Lumber yards and home centers have wood, screws, and tools. For metal stands, look at plumbing supply stores. Recycled materials can come from old furniture or construction scraps.
For more ideas, check out Instructables, a popular DIY site.
Frequently Asked Questions
How Do I Know What Size Stand To Build?
Measure your mountain bike’s wheel width and frame size. Add 0.5–1 inch to the tire width for a snug fit. If you have more than one bike, build the stand to fit the largest.
Can I Use Pvc Or Metal Instead Of Wood?
Yes. PVC is lightweight and cheap, but not as strong as wood or metal. Metal pipes are strong but harder to work with. Choose materials based on your tools and skills.
How Can I Make My Stand More Stable?
Use a wide base and heavy materials. Angle the vertical supports outward. Add weight to the base (like sandbags) for extra stability, especially for heavy mountain bikes.
Is It Safe To Hang A Mountain Bike On The Wall?
Yes, if you use strong hooks and screw them into a wall stud. Don’t hang heavy bikes on drywall alone. Use padded hooks to protect your bike.
What If My Stand Breaks Or Doesn’t Fit?
Check your measurements and joint strength. Adjust the supports or add more screws/bolts. If a piece breaks, replace it. DIY stands are easy to repair and change.
Building your own mountain bike stand is a smart, budget-friendly project. You get a custom fit, save money, and learn new skills. With careful planning, quality materials, and some patience, your stand will serve you for years. Whether you choose a floor, work, or wall-mount design, you’ll have a stable, safe place for your bike. Remember to measure twice, build strong, and enjoy the process.

Hello Guys! I am John Reese, a professional biker and my hobby is biking! I have been biking for last 12 years and I love using bikes while outing as well. Based on my experiences with the different type of bikes (mountain bikes, road bikes and hybrid bikes); I am sharing my opinion about various bikes so that a beginner can get started right away. Happy reading!