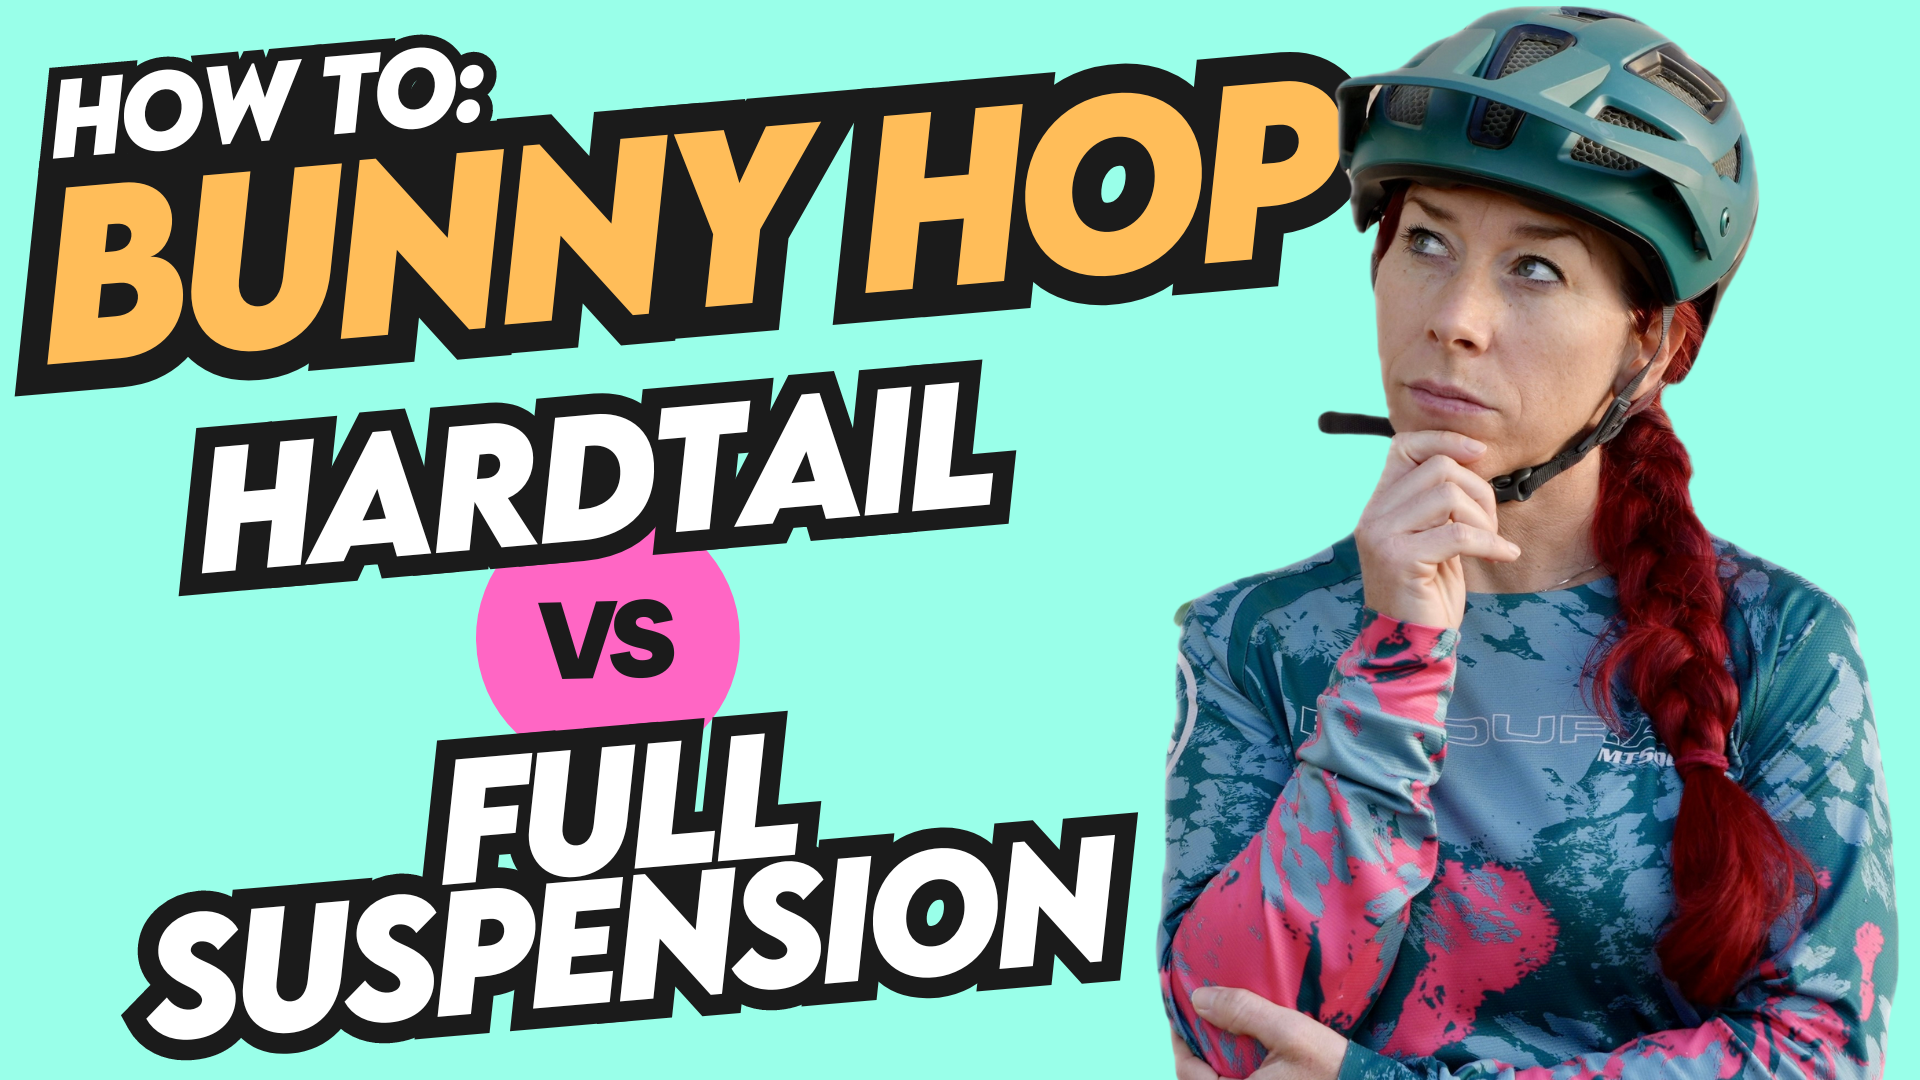
Bunny hopping is one of the most exciting and useful skills in mountain biking. If you ride a full suspension mountain bike, learning to bunny hop can help you clear rocks, roots, and even small logs without stopping. But, hopping a bike with front and rear suspension is different from hopping a hardtail or BMX. The extra movement in your suspension changes the timing and feel. Many riders struggle with the technique, especially when starting out. The good news is, with the right steps and practice, anyone can master this move. This guide breaks down everything you need to know to bunny hop a full suspension mountain bike—no matter your current skill level.
Why Bunny Hopping Matters In Mountain Biking
Bunny hopping isn’t just a cool trick. It’s a key skill for riding safely and confidently on trails. When you can lift both wheels over obstacles, you’ll:
- Avoid hitting rocks and roots that could throw you off balance
- Keep your speed and flow over rough terrain
- Reduce the risk of punctures or rim damage
- Tackle technical sections with confidence
Modern mountain biking trails often include natural and man-made features that require bunny hopping. Whether you ride cross-country, enduro, or downhill, this skill will help you ride smoother and safer.
What Makes Full Suspension Bunny Hops Different?
A full suspension mountain bike has both front and rear shocks. These absorb bumps and help with control, but they also add complexity to bunny hopping. Here’s how:
- Rear suspension compresses under your weight, so timing is different compared to a hardtail
- Energy gets absorbed by the shocks if you don’t use the right technique
- The bike’s weight is usually higher, making it harder to lift
- The balance point shifts as the suspension moves
Understanding these differences is important before you start practicing. If you try to bunny hop a full suspension bike like a BMX, you’ll probably lose power and height.
Essential Bike Setup For Bunny Hopping
Before you start, setting up your bike properly can make learning safer and easier. Here are the key things to check:
Suspension Settings
- Sag: Set your rear and front sag (the amount the suspension compresses under your weight) to the recommended range. Too much sag can make the bike feel “dead” during a hop.
- Rebound: Adjust rebound so the suspension returns quickly but doesn’t “kick” you off the bike.
- Compression: If your fork or shock has adjustable compression, use a medium setting for better support.
Tire Pressure
- Use higher tire pressure than normal trail riding. This gives a firmer base and less squish, making it easier to pop the bike up.
- For most riders, 28–34 psi works well, but adjust based on your weight and tire size.
Pedal And Cleat Setup
- Flat pedals with good grip are best for learning. If you use clipless pedals, make sure you’re comfortable unclipping quickly.
Handlebar And Brake Lever Position
- Set your brake levers so you can reach them easily.
- Adjust handlebar height for a comfortable, athletic stance.
A well-set bike will react better, making practice sessions more productive and less tiring.
The Key Body Positions
Good bunny hops start with the right body position. Here’s what you need to remember:
Ready (attack) Position
- Stand with pedals level (3 o’clock and 9 o’clock)
- Knees and elbows bent, body relaxed
- Hips back, weight centered over the bike
- Eyes looking ahead
This position gives you balance and lets you move the bike under your body.
Preload (compression) Position
- Crouch down deeper by bending your hips, knees, and elbows
- Push your weight down into the bike to compress the suspension
Preloading is how you “charge up” the suspension before the hop.
Extension (lift) Position
- Extend your legs and arms quickly
- Shift your weight up and slightly back to unweight the front wheel
This movement starts the hop and helps lift the front of the bike.
Tuck (leveling) Position
- Tuck your knees up and forward, pulling the bike under you
- Level the bike in the air so both wheels clear the obstacle
The tuck is what gets the rear wheel off the ground after the front.
Step-by-step Bunny Hop Technique For Full Suspension Bikes
Let’s break down the bunny hop into clear steps. Practicing each step separately will help you build the full motion.
1. Roll In With Momentum
Start at a comfortable speed—walking pace is enough at first, but a little faster helps later. Look ahead, not at your front wheel.
2. Preload The Suspension
As you approach the spot where you want to hop, crouch down into the preload position. Push down hard into the pedals and handlebars. This compresses both the fork and rear shock. On a full suspension bike, be deliberate—wait for the suspension to feel “loaded.”
3. Explode Up And Back
Quickly extend your legs and pull up on the handlebars. The goal is to unweight the front wheel first. Imagine “jumping” with the bike, but also pulling the bars up and back toward your hips.
4. The Rear Wheel Follows
After the front wheel lifts, scoop the rear wheel up by pointing your toes down and snapping your heels up. At the same time, bend your elbows and knees to pull the bike up and forward under your body. This “tuck” clears the rear wheel.
5. Level Out In The Air
Once both wheels are off the ground, tuck your knees and elbows to level the bike. Pull the rear wheel up higher if you need to clear a bigger obstacle.
6. Prepare To Land
Spot your landing and get ready to absorb the impact. Extend your arms and legs to soften the landing. Land on both wheels at the same time, or rear wheel first for bigger hops.
7. Roll Away Smoothly
Keep your body loose and ready to absorb bumps. Resume your neutral stance and keep looking ahead.
Visualizing The Full Suspension Bunny Hop
Seeing the movement can help you understand the timing. Here’s a simple comparison of the timing for a hardtail and a full suspension mountain bike:
| Step | Hardtail Timing | Full Suspension Timing |
|---|---|---|
| Preload | Short, sharp push | Deeper, longer push to load suspension |
| Front Wheel Lift | Immediate after preload | Slight delay as suspension rebounds |
| Rear Wheel Scoop | Quick upward pull | Needs extra tuck due to rear shock |
| Landing | Stiff, less absorption | Suspension smooths out impact |
Notice that on a full suspension bike, you must wait a split second longer after compressing before exploding upward. This lets the suspension help you, not absorb your power.
Common Mistakes And How To Fix Them
Even experienced riders make mistakes when learning to bunny hop a full suspension mountain bike. Here are the most common errors and ways to solve them:
Mistake 1: Suspension “swallowing” The Hop
- Why it happens: You push down, but the shocks absorb your energy instead of helping you pop up.
- How to fix: Pause at the bottom of your preload. Wait until you feel the suspension “spring back,” then explode upward.
Mistake 2: Lifting Both Wheels At Once
- Why it happens: You try to jump straight up, like on a BMX, without pulling the front wheel first.
- How to fix: Focus on lifting the front wheel before scooping the rear. Use the “manual” (front wheel lift) motion.
Mistake 3: Not Enough Speed
- Why it happens: Going too slow makes the bike harder to lift and less stable.
- How to fix: Start with walking speed, but as you improve, use more speed for bigger hops.
Mistake 4: Pulling Up With Arms Only
- Why it happens: Relying just on arm strength, not your whole body.
- How to fix: Use your legs to push and explode upward, not just your arms.
Mistake 5: Looking Down
- Why it happens: Focusing on your front wheel instead of the trail ahead.
- How to fix: Keep your head up, eyes looking where you want to land.
Practice Drills To Build Your Bunny Hop
Breaking down the bunny hop into smaller drills helps you master each part before putting it all together.
Drill 1: Front Wheel Lifts (manuals)
Practice lifting your front wheel by shifting your weight back and pulling up on the bars. Do this without pedaling—this is called a manual. Try to hold the front wheel up for a second or two.
Drill 2: Rear Wheel Lifts
While rolling slowly, push down on the pedals, then scoop your feet up and forward to lift the rear wheel. Keep your arms straight. This drill teaches you the “scoop” motion.
Drill 3: Preload And Pop
Find a line on the ground. Roll up, preload your suspension by crouching down, then explode up without trying to clear the line. Focus on feeling the suspension compress and rebound.
Drill 4: Full Bunny Hops
Start with small obstacles, like a stick or rolled-up towel. Combine the manual (front wheel lift) with the rear wheel scoop to clear the object. Increase the obstacle size as you gain confidence.
Drill 5: Landing Control
Set up two sticks or markers. Bunny hop over the first, and try to land before the second. This helps you control your landing spot and practice smooth landings.
Credit: roxybike.podia.com
Progression: From Small Hops To Bigger Obstacles
Don’t rush to clear big logs or rocks. Progression is key to safe and confident bunny hopping.
- Start with painted lines or sticks—just getting both wheels off the ground.
- Move to curbs or small roots (2–4 inches high).
- Try medium obstacles (6–8 inches), like trail logs.
- Work up to larger obstacles, but only when you can clear smaller ones easily.
Always wear protective gear—helmet, gloves, and pads. Practice in a safe area before trying on technical trails.
How Full Suspension Settings Affect Your Bunny Hop
Your suspension’s setup can dramatically change how your bunny hop feels and how high you can go. Here’s a closer look at the main factors:
Sag
- Too much sag (over 30%) will make the bike feel sluggish. Your energy gets lost in the suspension.
- Too little sag (under 20%) makes the bike harsh and harder to control.
- For most riders, 25–30% sag is ideal for bunny hopping and trail riding.
Rebound Speed
- Fast rebound helps the bike “pop” up, but if it’s too fast, it can feel unstable.
- Slow rebound absorbs your energy and reduces hop height.
- Adjust rebound so the bike returns quickly, but doesn’t bounce uncontrollably.
Compression Damping
- More compression gives more support for hopping.
- Too much, and the bike feels stiff; too little, and you sink too far.
- A medium compression setting works best for most riders.
| Sag (%) | Rebound Setting | Hop Height (inches, avg) |
|---|---|---|
| 20 | Fast | 14 |
| 25 | Medium | 17 |
| 30 | Slow | 11 |
As you can see, the right balance of sag and rebound gives you the best hop height and control.
Advanced Bunny Hop Techniques For Full Suspension Bikes
Once you’re comfortable with the basics, try these advanced moves to clear bigger obstacles and ride more confidently.
The “j-hop” Technique
The J-hop is the most efficient way to bunny hop. It’s different from the old “level lift” method. Here’s how:
- Preload and pull the front wheel up (manual)
- As the front wheel reaches its highest point, scoop the rear wheel up and forward
- Level the bike in the air
This method uses both your body and the bike’s suspension for maximum height.
Bunny Hop Over Drops
When you need to clear a drop or gap, use a bunny hop to “boost” off the edge. This helps you land further down the trail and avoid rough landings.
Bunny Hop To Manual
After hopping, land with your front wheel up and roll into a manual. This is useful for clearing a series of obstacles or rough terrain.
Bunny Hop With A Corner
Advanced riders can bunny hop while turning. This lets you clear obstacles that appear mid-corner, keeping your momentum and line.
How To Practice Safely
Bunny hopping can be risky if you’re not careful. Here’s how to stay safe while learning:
- Wear a helmet and gloves every session
- Use knee and elbow pads for extra protection
- Start small—never try big hops until you can easily clear small ones
- Practice on grass or soft dirt to reduce impact from falls
- Ride with friends so someone can help if you crash
- Warm up your muscles before each session
Most injuries happen when riders rush progression or don’t pay attention to their surroundings. Take your time and focus on technique.

Credit: theradavist.com
Real-world Examples: Bunny Hopping On The Trail
Let’s look at how bunny hopping helps in real trail situations:
- Rock Gardens: Instead of smashing through every rock, hop over the biggest ones to stay smooth and fast.
- Root Ladders: Hopping over a series of roots keeps your wheels from getting caught and losing speed.
- Water Bars and Trail Features: Many trails have built-in obstacles that require bunny hopping to clear without stopping.
- Technical Climbs: On steep, rocky climbs, a well-timed bunny hop can help you get over ledges without losing momentum.
How Suspension Design Affects Bunny Hops
Not all full suspension bikes are the same. The suspension design changes how the bike hops:
- Single Pivot: Simple design, but may feel less “poppy” as the rear end moves more freely.
- Horst Link/Four-Bar: Often more supportive, helps with bigger hops.
- VPP or DW-Link: Feels more “efficient,” can help transfer more energy to the hop.
A bike with a progressive suspension curve (firmer at the end of travel) is usually better for bunny hopping, as it gives more “snap” when you unload the suspension.
Comparing Hardtail Vs Full Suspension Bunny Hops
Here’s a simple table to compare the main differences:
| Feature | Hardtail | Full Suspension |
|---|---|---|
| Weight | Lighter | Heavier |
| Suspension Movement | Minimal | Significant |
| Energy Transfer | Direct | Some energy absorbed |
| Hop Height (avg) | Higher | Lower |
| Landing Impact | Harsher | Smoother |
This shows why technique and setup are more important on a full suspension bike.
Two Non-obvious Insights For Beginners
Many guides miss these key points:
1. Use The Suspension’s “rebound” To Your Advantage
Most beginners push down and instantly try to hop up. On a full suspension bike, wait for the suspension to start rebounding, then explode upward. This timing gives you free “pop. ”
2. Practice With And Without Clipless Pedals
If you always ride clipped in, you might accidentally “cheat” by pulling up with your feet. Practicing on flat pedals forces you to learn the right technique, which transfers better to all situations.
How To Measure Progress And Set Goals
Tracking your improvement keeps you motivated. Here’s how:
- Use a stick or tape measure to check your hop height each week
- Record your hops with a phone to analyze technique
- Set small goals (clear a stick, then a curb, then a small log)
- Practice three times a week for best results
Consistent practice and small victories build confidence.
When And Where To Use The Bunny Hop
Bunny hopping isn’t just for show. Use it in these situations:
- Clearing rocks, roots, and logs
- Skipping over puddles or mud
- Jumping water bars on climbing trails
- Hopping onto or off curbs in urban riding
- Navigating technical trail features safely
Knowing when to hop—and when to simply roll over—comes with experience.
Training Exercises To Improve Strength And Coordination
Physical fitness helps you bunny hop higher and more safely. Try these exercises:
- Squats and Lunges: Build leg power for the explosive part of the hop.
- Planks and Core Work: Keep your balance and control in the air.
- Box Jumps: Mimic the “pop” motion off the bike.
- Single Leg Hops: Improve coordination and ankle strength.
Spend 10–15 minutes per session on these, 2–3 times per week.
Mental Tips For Overcoming Fear
Fear is normal when learning to bunny hop. Here’s how to overcome it:
- Visualize Success: Picture yourself clearing the obstacle smoothly.
- Start Small: Begin with low, safe obstacles.
- Breathe and Relax: Tension makes technique worse.
- Accept Mistakes: Every failed attempt is a lesson.
Confidence grows as you build skills step by step.

Credit: www.youtube.com
Frequently Asked Questions
How High Can You Bunny Hop A Full Suspension Mountain Bike?
Most riders can bunny hop 10–18 inches (25–45 cm) with good technique. Some advanced riders clear over 24 inches (60 cm) on modern trail bikes. The exact height depends on your bike’s setup, body weight, and practice.
Is It Harder To Bunny Hop A Full Suspension Mountain Bike Than A Hardtail?
Yes, it is usually harder. Full suspension bikes absorb some of the energy you put into the hop, so timing and technique are more important. However, with practice and proper setup, you can still hop over most trail obstacles.
Should I Lock Out My Suspension For Bunny Hopping?
Locking out the fork or rear shock can make it easier to hop, especially when learning. However, most riders leave the suspension active for real trail riding. The suspension helps absorb the landing, making it safer and more comfortable.
Can I Learn To Bunny Hop If I’m Not Strong?
You don’t need to be extremely strong, but explosive power and coordination are important. Most of the hop comes from timing and technique, not raw strength. Practicing regularly will build the right muscles over time.
Are There Any Good Resources For Watching Bunny Hop Tutorials?
Yes! You can find excellent video tutorials on YouTube and on sites like Pinkbike, where professional riders break down the technique in detail.
Learning to bunny hop a full suspension mountain bike opens up new possibilities on the trail. With patience, smart practice, and attention to technique, you’ll soon be clearing obstacles with confidence and style. Remember, everyone learns at their own pace—focus on progress, not perfection, and enjoy the ride!

Hello Guys! I am John Reese, a professional biker and my hobby is biking! I have been biking for last 12 years and I love using bikes while outing as well. Based on my experiences with the different type of bikes (mountain bikes, road bikes and hybrid bikes); I am sharing my opinion about various bikes so that a beginner can get started right away. Happy reading!