Changing the front sprocket, also called the chainring, on a mountain bike might sound technical, but it’s a skill every cyclist can learn. Whether you want better climbing gears, your current sprocket is worn out, or you’re upgrading your entire drivetrain, knowing how to replace your front sprocket saves money and deepens your connection with your bike. With the right tools, a bit of patience, and some clear guidance, you can do the job in under an hour—even if you’ve never tried before.
This guide will walk you through every step, from understanding why and when to change your front sprocket, to choosing the right replacement, and finally, installing it safely. Along the way, you’ll get practical tips, learn to avoid common mistakes, and see real-world examples that make the process clearer.
If you’re ready to make your mountain bike perform better and last longer, let’s get started.
Why Change Your Front Sprocket?
Most mountain bikers replace their front sprocket for one of three reasons: wear and tear, performance upgrades, or to suit specific riding conditions. Over time, the teeth on your chainring can become sharp, bent, or even broken. This leads to poor shifting, chain skipping, and extra wear on other parts. If you ride often or in muddy, sandy conditions, your sprocket may wear out in as little as 1,500-3,000 miles.
Sometimes, you want a different gear range. Swapping to a larger sprocket increases your top speed but can make climbing harder. A smaller sprocket means easier pedaling on steep trails, though you’ll lose some speed on flat ground. Modern mountain bikes often use single front chainrings (1x drivetrains), but older bikes may have two or three.
Upgrading to a lighter, stronger, or more stylish chainring is also common.
Ignoring a worn sprocket causes more than rough rides—it can damage your chain and rear cassette, leading to expensive repairs. Changing it early keeps your drivetrain running smoothly and extends the life of your bike.
Tools And Materials You’ll Need
Having the right tools makes the job easier and safer. You don’t need a full workshop, but a few key items are essential.
- Allen (hex) wrenches: Usually sizes 4mm, 5mm, or 6mm.
- Chainring nut wrench: Holds the back of the chainring bolts (especially on double/triple chainrings).
- Torque wrench: Ensures bolts are tightened to the correct level.
- Pedal wrench: Needed if you must remove the crank arm.
- Crank puller: For some cranksets, especially square taper or ISIS types.
- Bottom bracket tool: Sometimes required if you’re removing the crankset completely.
- New front sprocket (chainring): Make sure it matches your crank and chain type.
- Bike grease: Reduces friction and prevents bolts from seizing.
- Rag and degreaser: For cleaning parts before reassembly.
- Gloves: To keep your hands clean and safe.
Not every job will require all these tools. The exact list depends on your bike’s crankset style. If you’re not sure which parts you have, check your owner’s manual or look for markings on the crank and chainring.
Understanding Your Bike’s Crankset
Before you start, it’s important to know which kind of crankset your mountain bike uses. There are several main types:
- Square taper: Older bikes; crank arms attach to a square spindle.
- ISIS/Octalink: Uses a splined spindle for a stronger fit.
- External bottom bracket (Hollowtech II, GXP, etc. ): Modern bikes, with bearings outside the frame.
- Direct mount: Chainring attaches directly to the crank arm, often with a lockring.
The process for changing the front sprocket is similar for most types, but some require extra steps to remove the crank arm. Check which crankset you have, as this affects which tools and replacement parts you’ll need.
Here’s a quick comparison to help you identify your crankset:
| Crankset Type | Main Features | Removal Difficulty | Common on Bikes |
|---|---|---|---|
| Square Taper | Square spindle, bolt in center | Moderate | Older/Entry-level |
| ISIS/Octalink | Spline interface, external bolts | Moderate | Mid-2000s models |
| External (Hollowtech II, GXP) | Bearings outside frame, two-piece crank | Easy | Modern bikes |
| Direct Mount | Chainring mounts directly, often with lockring | Easy | High-end/1x drivetrains |
Knowing your crankset saves time and helps you buy the right replacement sprocket.
Choosing The Right Front Sprocket
Picking the correct front sprocket is more than just counting teeth. You’ll need to match your new chainring to your crank’s bolt circle diameter (BCD), number of bolts, and compatibility with your chain.
Key Factors To Consider:
- Bolt Circle Diameter (BCD): This is the distance between the mounting holes. Common BCDs for mountain bikes are 104mm, 110mm, or direct mount (no BCD).
- Number of teeth: Affects your gear range. Typical MTB chainrings range from 28 to 38 teeth for 1x setups.
- Number of bolts: Most MTB chainrings use 4 or 5 bolts.
- Chain compatibility: Make sure your new sprocket matches your chain speed (e.g., 9, 10, 11, or 12-speed).
- Material: Aluminum is light and strong, steel is durable, and some high-end rings use carbon for weight savings.
- Special features: Look for narrow-wide tooth profiles if you run a 1x drivetrain, as these help prevent chain drops.
Here’s a handy comparison of common chainring sizes and their typical uses:
| Teeth Count | Best For | Climbing Ease | Top Speed Potential |
|---|---|---|---|
| 28-30 | Steep trails, technical riding | Very Easy | Low |
| 32-34 | All-around, XC, trail | Moderate | Medium |
| 36-38 | Flat, fast trails, racing | Hard | High |
Pro tip: If you’re unsure, choose a chainring with the same number of teeth as your current one. If you want to change your gear range, move up or down by 2-4 teeth for a noticeable difference.
Step-by-step Guide: Changing The Front Sprocket
Ready to get your hands dirty? Follow these steps carefully to remove your old chainring and install a new one. The process works for most mountain bikes, with small changes depending on your crankset.
Step 1: Prepare Your Bike
Start by shifting your chain onto the smallest front chainring (or the only one, for 1x setups) and the smallest rear cog. This releases tension on the chain, making removal easier. Place your bike in a stand if possible, or flip it upside down for better access.
Remove the pedals if they block access to the crank bolts. Use a pedal wrench and remember that the left pedal is reverse-threaded.
Step 2: Remove The Crankset (if Needed)
Some modern cranksets allow you to change the chainring without removing the crank arm. For others, you’ll need to take the crank off the bike. Check your crankset—if the chainring bolts are easy to reach, you can skip this part.
If removal is necessary:
- Locate the crank bolt in the center of the crank arm.
- Use the correct-sized Allen key to remove the bolt.
- For square taper and ISIS/Octalink types, thread in a crank puller and turn the handle until the arm pops free.
- For external bottom bracket cranks, loosen the pinch bolts and use the preload cap tool to slide the crank out.
Set the crank arm and chainring aside. Wipe off any dirt and old grease.
Step 3: Remove The Old Front Sprocket
Now, focus on the chainring itself.
- Use the correct Allen key to loosen the chainring bolts. There are usually 4 or 5.
- If the bolts spin in place, hold the back with a chainring nut wrench.
- Once all bolts are removed, slide the chainring off the crank spider or direct mount interface.
If the sprocket is stuck, gently tap it with a rubber mallet or use a little penetrating oil. Avoid bending the crank or damaging the threads.
Step 4: Clean And Inspect
Before installing the new sprocket, clean the crank spider and bolts with degreaser. Check for cracks or damage. If any bolts are worn or stripped, replace them. Apply a thin layer of bike grease to the threads to prevent future seizing.
Step 5: Install The New Front Sprocket
- Align the new chainring with the crank spider or direct mount fitting. Make sure any logos or ramps face outward, and the pins (if present) line up with the crank arm to help with shifting.
- Insert the bolts and tighten them by hand in a star pattern (tighten opposite bolts, not consecutive ones).
- Use a torque wrench to finish tightening to the manufacturer’s recommended level (usually 8-12 Nm for chainring bolts).
For direct mount chainrings, use the special lockring tool to secure the sprocket. Don’t over-tighten—too much force can strip the threads.
Step 6: Reinstall The Crankset
If you removed the crank arm, slide it back onto the spindle. Tighten the main bolt (or pinch bolts) to the correct torque. Reinstall the pedals if needed.
Spin the cranks to check that everything moves smoothly. There should be no rubbing, wobbling, or tight spots.
Step 7: Refit The Chain And Test
Put the chain back onto the new chainring. For bikes with a front derailleur, shift through all gears to make sure the chain moves smoothly. You may need to adjust the front derailleur height or limit screws if you changed chainring size.
If you notice any skipping or noise, double-check the chainring bolts and chain alignment. Sometimes, a worn chain or cassette can cause problems after installing a new sprocket—if so, replace them too.
Common Mistakes And How To Avoid Them
Even experienced mechanics make errors when changing a front sprocket. Here are some pitfalls to watch for:
- Wrong BCD or chainring size: Always measure your old chainring or check your crank specs before buying a replacement.
- Over-tightening/under-tightening bolts: Use a torque wrench. Too loose and the bolts may come undone, too tight and you risk stripping threads.
- Chain too short/long: If you change to a bigger or smaller sprocket, check your chain length. A chain that’s too tight can damage your drivetrain, too loose can cause drops.
- Skipping derailleur adjustment: Switching chainring sizes often requires front derailleur tweaks for smooth shifting.
- Neglecting lubrication: Dry or dirty threads make bolts hard to remove and can cause creaking. Always grease them lightly.
A less obvious problem: some modern 1x chainrings have an offset (called “boost” or “standard”). Using the wrong offset can mess up your chainline, causing poor shifting and extra wear. Always check your frame and crank compatibility.

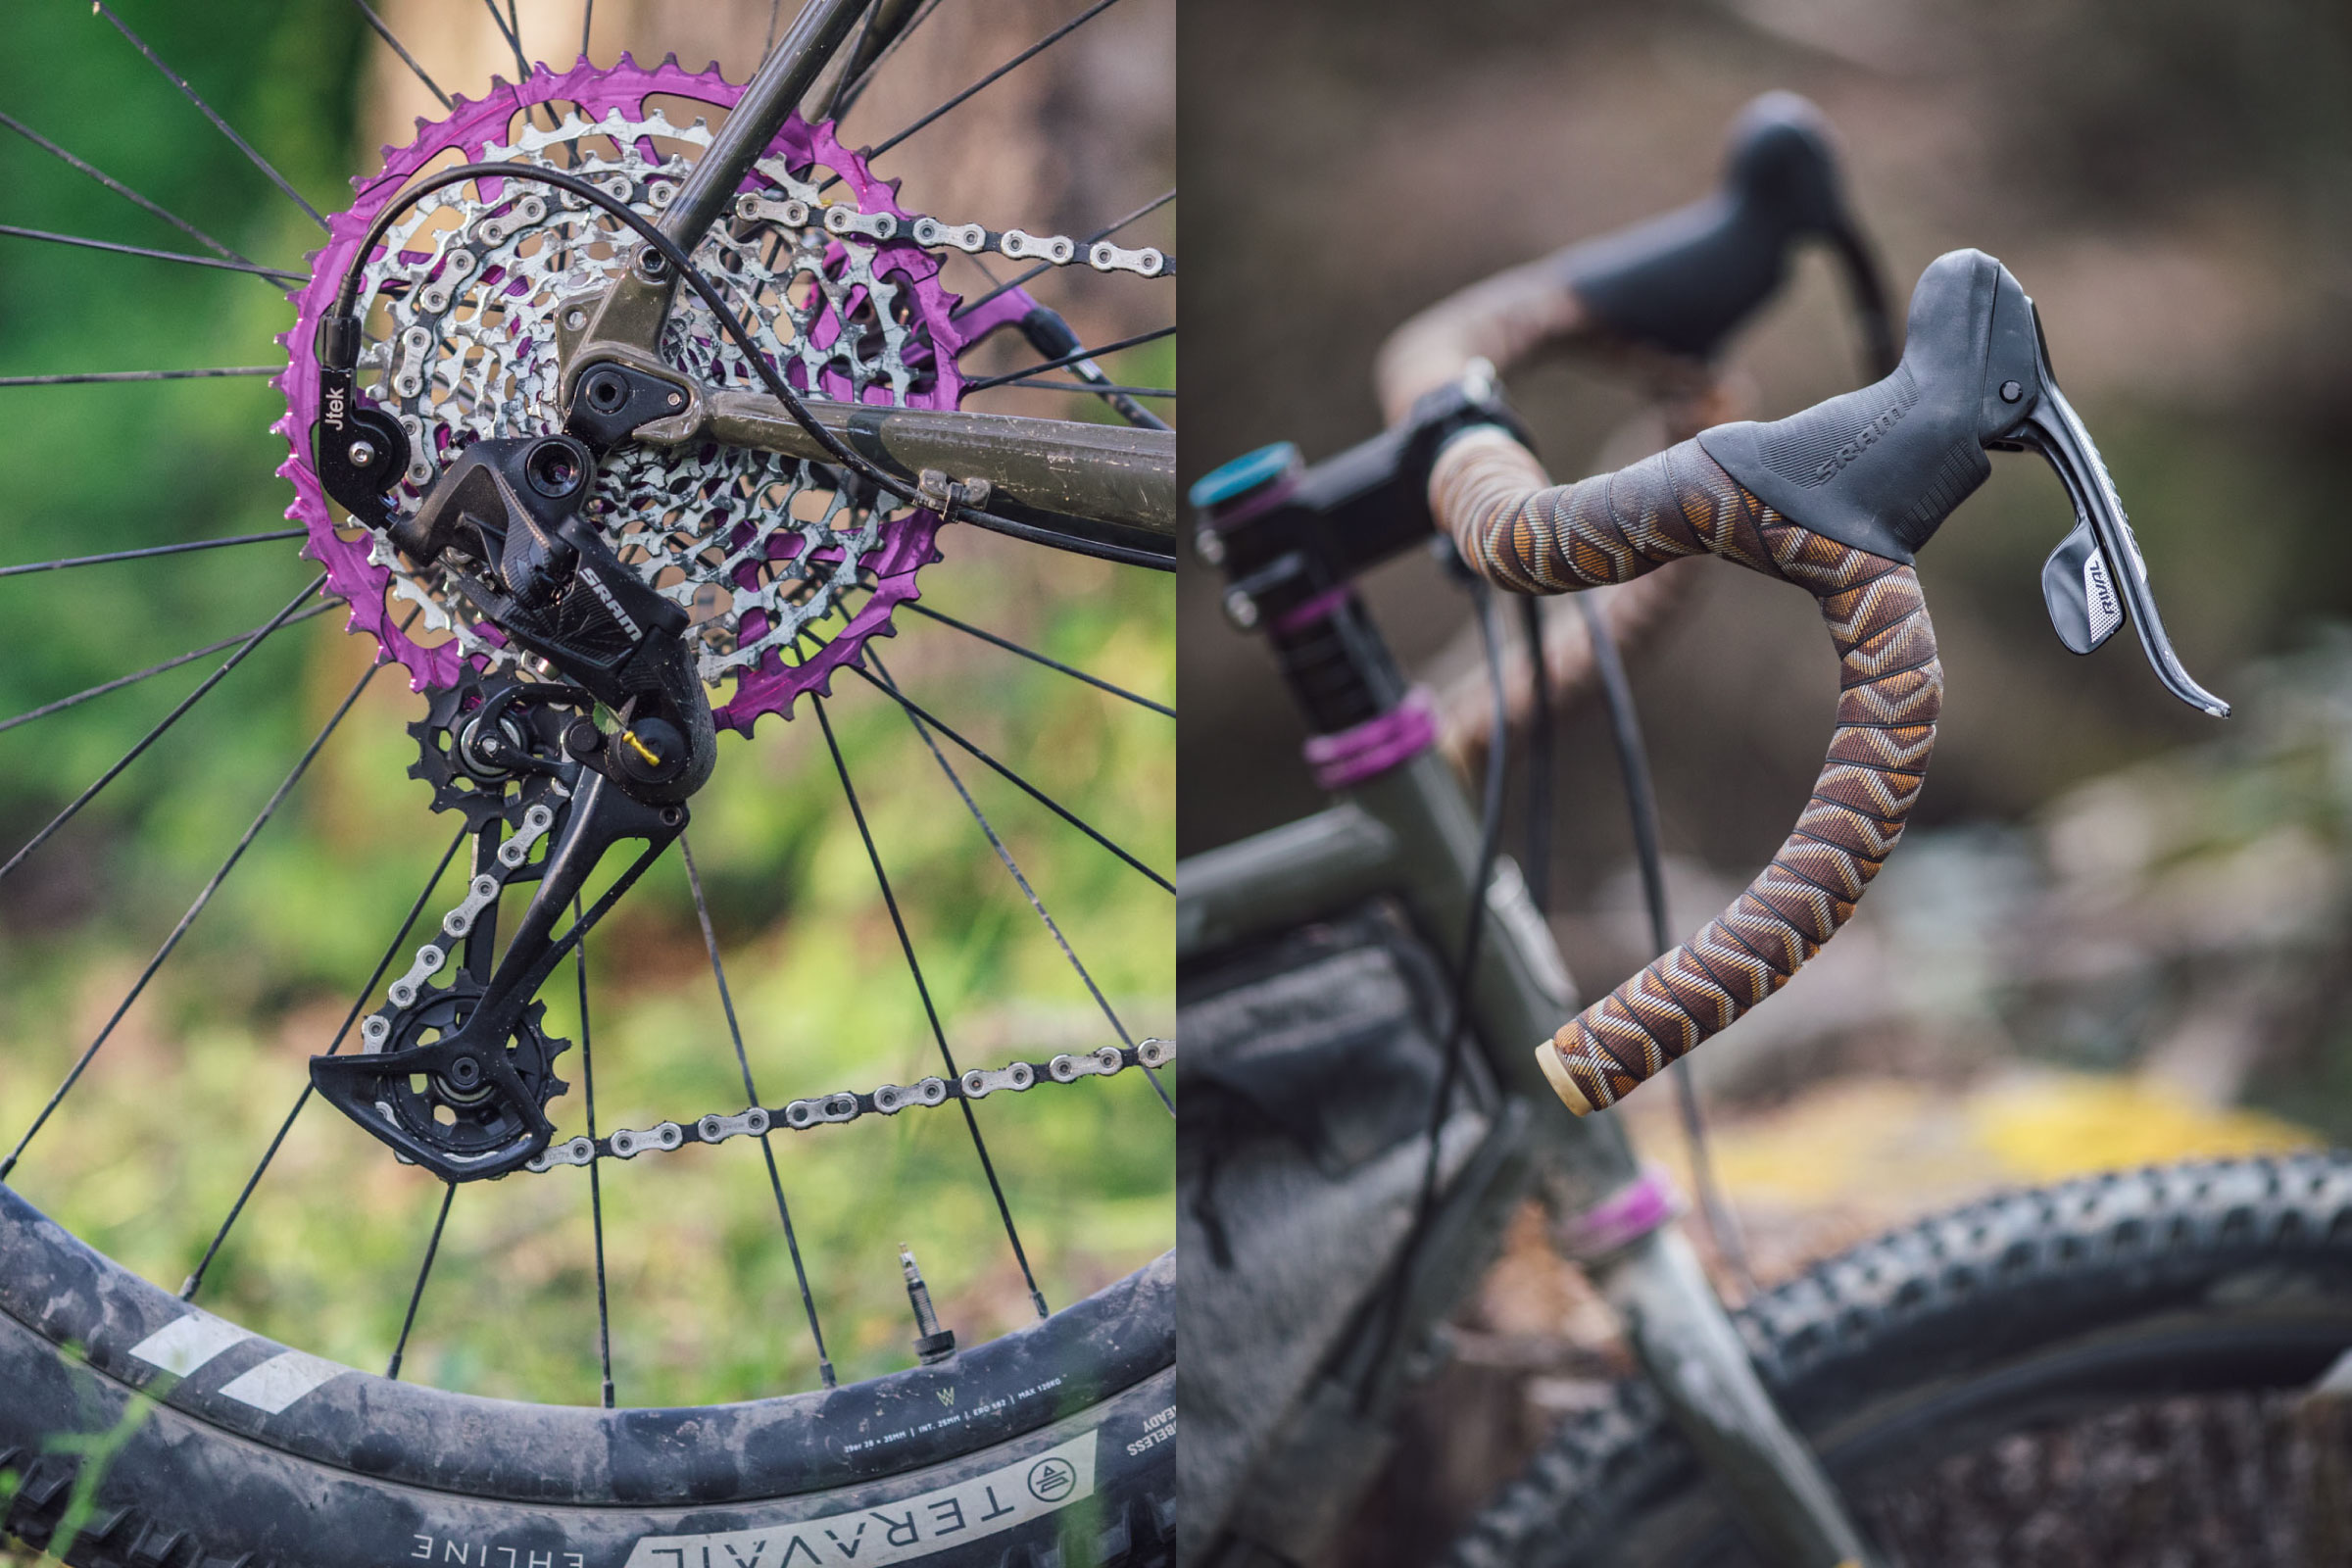
Credit: violet.production.am
When Should You Change Your Front Sprocket?
There’s no fixed mileage for replacing a chainring—it depends on your riding style, terrain, and maintenance habits. However, some clear signs mean it’s time for a change:
- Shark fin teeth: Worn teeth look sharp or hooked instead of flat.
- Chain skips or slips: Even with a new chain, if shifting is rough, the chainring may be the problem.
- Bent or broken teeth: Damaged sprockets can snap your chain or cause accidents.
- Visible wear: Deep scratches, grooves, or missing material.
- Frequent chain drops: Especially on 1x setups, this often means the narrow-wide profile is worn out.
If you ride in mud, rain, or sandy conditions, check your chainring every 2,000 miles. For dry, gentle riding, it may last over 5,000 miles.
Cost And Time Estimates
Changing a front sprocket is one of the more affordable bike repairs. Here’s what you can expect:
- New chainring: $25–$80 for most aluminum models, up to $150+ for top-end or carbon.
- Chainring bolts: $5–$15, if you need replacements.
- Tools: If you have basic bike tools, you may only need a chainring nut wrench ($5–$10). A torque wrench is a good investment ($30–$50).
- Shop labor: If you let a shop handle it, expect $30–$60 for the job.
Most home mechanics can complete the process in 30–60 minutes. Add extra time if you’re learning or have a tough, dirty crankset.
Credit: bikepacking.com
Safety Tips And Environmental Impact
Working with bike parts means dealing with sharp edges, greasy components, and sometimes strong cleaners. Always use gloves and eye protection. Don’t force parts—if something won’t budge, check for hidden bolts or corrosion first.
Dispose of old chainrings and packaging responsibly. Most metal bike parts can be recycled. Avoid pouring old degreaser down the drain; use a proper waste container or recycling facility.
One less obvious insight: a well-maintained drivetrain not only rides better but also reduces your carbon footprint. Worn-out parts increase drag, so you use more energy (and may even burn more calories for the same ride). Keeping your bike in top shape is good for your wallet and the planet.
Upgrading: Should You Change More Than The Sprocket?
Sometimes, changing the front sprocket is a chance to upgrade other parts. If your chainring is badly worn, your chain and cassette may also be near the end of their life. Replacing the entire drivetrain at once can save time and reduce future problems.
Consider upgrading to a narrow-wide chainring for better chain retention, especially if you ride rough trails or have a 1x setup. If you’re still using a triple or double crankset, switching to a single ring setup can simplify maintenance and reduce weight.
Here’s a quick comparison of common mountain bike chainring setups:
| Setup | No. of Chainrings | Main Advantage | Main Drawback |
|---|---|---|---|
| 1x (single) | 1 | Simple, less to break, lighter | Smaller gear range |
| 2x (double) | 2 | Wider gear range, still light | More complex, needs front shifter |
| 3x (triple) | 3 | Maximum gear range | Heaviest, more shifting issues |
If you’re thinking of switching, check your frame and cassette compatibility first. Not every bike supports every setup.
Real-world Example: Swapping To A Smaller Chainring
Let’s look at how changing the front sprocket affects your ride. Suppose you’re riding a 1x drivetrain with a 34-tooth chainring. You find climbs too tough and want easier pedaling.
Switching to a 30-tooth chainring drops your lowest gear by about 12%. This means you can spin faster on climbs with less leg strain, though you’ll lose some speed on flat trails. For many riders, this simple swap makes a big difference in comfort and confidence—especially in hilly areas.
If you’re not sure which size to pick, ask local riders or visit a shop for advice. Many cyclists try different sizes before finding their perfect match.
Maintenance Tips For Longer Chainring Life
A new sprocket is an investment. With good care, it can last thousands of miles. Here are some simple habits to help:
- Clean your drivetrain regularly. Dirt and grit act like sandpaper, wearing out teeth faster.
- Lubricate your chain after every few rides, or after riding in rain or mud.
- Check bolt tightness monthly. Loose bolts can lead to noisy rides or even dropped chainrings.
- Inspect teeth for wear every few months. Catching problems early saves money.
- Replace your chain before it stretches too much. A worn chain wears out sprockets faster.
Most beginners overlook cleaning their chainring after wet or muddy rides. Even a quick wipe with a rag can make a difference.
Advanced Tips: Chainline And Drivetrain Tuning
Changing your front sprocket can affect your chainline—the straightness of the chain from front to back. If the new chainring sits closer or farther from the frame, shifting can become rough, and parts may wear faster.
- For 1x drivetrains, choose a chainring with the correct offset for your frame (standard, boost, or super boost).
- If you notice poor shifting or chain drop, measure your chainline and consult your crankset’s documentation.
- Fine-tune your front derailleur height and angle after changing chainring size on double or triple setups.
A less obvious tip: sometimes, chainring bolts loosen if you switch from a thicker to a thinner chainring. Always double-check bolt length and use threadlocker if needed.
Troubleshooting: What If Something Goes Wrong?
If your chain won’t stay on, makes grinding noises, or shifting is worse after changing your sprocket, don’t panic. Here are common issues and fixes:
- Chain keeps dropping: Check that the chainring is the right width for your chain. Narrow-wide rings help on 1x setups.
- Poor shifting: Adjust your front derailleur’s height and limit screws. On 1x bikes, check for bent teeth or damaged chain.
- Chain skips under load: This can mean the chain or rear cassette is worn and needs replacing.
- Bolts keep coming loose: Use a torque wrench and consider threadlocker. Replace worn bolts.
If you’re stuck, local bike shops are a good resource. Online guides and communities like Park Tool offer detailed diagrams and troubleshooting tips.

Credit: www.youtube.com
Frequently Asked Questions
How Do I Know If My Front Sprocket Is Worn Out?
Look for teeth that are sharp, hooked, or have missing sections. If your chain skips when pedaling hard, or you have trouble shifting, it’s likely time to replace the sprocket.
Can I Change My Front Sprocket Without Special Tools?
For some cranksets, yes. If the chainring bolts are easy to reach, you may only need Allen keys. However, many bikes require a crank puller or chainring nut wrench for safe removal.
Will Changing My Chainring Affect My Chain Length?
Yes, especially if you move to a much larger or smaller sprocket. A bigger chainring may need a longer chain, while a smaller one may require removing links for proper tension.
Do I Need To Replace My Chain And Cassette At The Same Time?
If your chain and cassette are not too worn, you can often keep them. However, mixing old and new parts can cause skipping or poor shifting. If in doubt, check for wear or consult a mechanic.
What Is The Best Size For A Mountain Bike Front Sprocket?
It depends on your terrain and fitness. Most riders choose between 30 and 34 teeth for all-around use. For steep climbs, go smaller; for faster, flatter trails, go larger.
Changing the front sprocket on your mountain bike is a straightforward way to improve your ride, save money, and learn more about your bike. With the right tools and careful steps, you can handle this repair at home, avoid common mistakes, and get back on the trail with confidence. Take your time, double-check your work, and enjoy the benefits of a smooth, reliable drivetrain.

Hello Guys! I am John Reese, a professional biker and my hobby is biking! I have been biking for last 12 years and I love using bikes while outing as well. Based on my experiences with the different type of bikes (mountain bikes, road bikes and hybrid bikes); I am sharing my opinion about various bikes so that a beginner can get started right away. Happy reading!