Mountain biking is a thrilling way to explore nature, push your limits, and enjoy a healthy lifestyle. One upgrade that has changed the experience for many riders is the tubeless tire system. Tubeless tires offer better grip, fewer flats, and a smoother ride. But switching from traditional tubes to tubeless can feel overwhelming for beginners. If you’re ready to install tubeless mountain bike tires, this guide will walk you through every step, highlight common mistakes, and share practical advice to make your ride safer and more fun.
Why Switch To Tubeless Mountain Bike Tires?
Tubeless systems have become popular for several reasons. First, they reduce the chance of pinch flats—those annoying sudden punctures caused by the inner tube getting pinched between the tire and the rim. Second, tubeless tires can run at lower air pressure, which gives better grip and control on rough trails. Finally, many tubeless setups include sealant, a liquid that automatically seals small punctures.
Most riders notice a difference right away. You’ll get a smoother ride, improved traction, and more confidence in challenging terrain. Studies show that tubeless tires can decrease flat tire incidents by up to 50%, especially on rocky or root-filled trails. If you ride often or want to enjoy technical sections without worry, tubeless is worth considering.
What You Need Before Starting
Installing tubeless tires is not difficult, but you need the right tools and parts. Here’s a checklist to help you prepare:
- Tubeless-compatible rims: Not all rims work with tubeless tires. Look for “tubeless-ready” or “UST” labels.
- Tubeless-ready tires: Tires must have strong beads that hold air without a tube. “Tubeless ready” or “TR” means they are designed for this.
- Tubeless valve stems: These special valves replace the inner tube and seal the rim.
- Rim tape: This seals the rim so air doesn’t escape through spoke holes.
- Tubeless tire sealant: A liquid that seals small holes and punctures.
- Air pump or compressor: A floor pump is usually enough, but a compressor makes the first inflation easier.
- Tire levers: These help remove and install tires.
- Clean rag and isopropyl alcohol: For cleaning the rim.
Some brands sell tubeless conversion kits with all these parts. Make sure everything matches your bike’s rim and tire size.
Step-by-step Guide: Installing Tubeless Mountain Bike Tires
Step 1: Remove The Old Tire And Tube
Start by taking the wheel off your bike. Use tire levers to remove the tire and pull out the tube. If your rim has old rim tape, remove it. Clean the rim with a rag and isopropyl alcohol to get rid of dirt and grease. This helps the new rim tape stick better.
Step 2: Install Tubeless Rim Tape
Rim tape is essential for tubeless systems. It prevents air from escaping through the rim’s spoke holes. Choose tape that matches your rim width—usually between 21 and 30 mm for mountain bikes.
- Begin at the valve hole.
- Stretch the tape as you go and press it firmly into the rim.
- Overlap the starting point by about 5 cm.
- Smooth out any bubbles.
A common mistake is using tape that’s too narrow. If the tape doesn’t fully cover the rim bed, air will leak. Don’t rush this step; careful taping means fewer problems later.
Step 3: Install The Tubeless Valve
Push the tubeless valve through the rim’s valve hole. The rubber base should sit snug against the rim tape. Secure it using the valve nut from outside the rim. Check that the valve is straight, and tighten the nut just enough to hold it in place.
Many beginners don’t realize how important a tight seal is here. If air leaks around the valve, you’ll never get your tire to inflate. To check, add a small drop of water around the base and pump a little air.
If you see bubbles, adjust the valve.
Step 4: Mount The Tubeless Tire
This part can be tricky, especially with new tires. Place one side of the tire bead onto the rim. Work your way around, then fit the second bead. Use your hands if possible; tire levers can damage the tire bead if used aggressively.
- Align the tire logo with the valve for easier location later.
- Make sure the tire bead sits evenly in the rim.
If you struggle, try warming the tire in the sun for 10–15 minutes. Warm rubber stretches easier, making installation smoother.
Step 5: Add Tubeless Sealant
Before fully installing the last section of the tire, add the sealant. Most brands recommend 60–120 ml of sealant per tire, depending on size. For 29” mountain bike tires, 90 ml is usually enough.
- Shake the sealant bottle well.
- If your tire is partly installed, pour the sealant directly inside.
- If the tire is fully installed, use a valve injector (remove the valve core).
Sealant is messy, but it’s crucial for sealing small leaks and punctures. Don’t skimp—too little sealant means more leaks.
Step 6: Seat The Tire Bead
Inflating tubeless tires for the first time is the hardest step. The tire bead must “snap” into place against the rim, creating a tight seal. Here’s how:
- Use a high-volume floor pump or compressor.
- Pump quickly and listen for popping sounds as the bead seats.
- Stop once you hear two or three pops.
If the tire won’t inflate, check that the bead is evenly placed, and there are no gaps. Sometimes, soapy water around the bead helps it slide into place.
A common beginner mistake is not cleaning the rim or bead before installation. Dirt prevents the bead from sealing. Also, don’t forget to remove the valve core when using a compressor—more air flows in quickly.
Step 7: Rotate And Shake
Once the tire is inflated, spin the wheel and shake it side to side. This spreads sealant around the inside, helping it seal tiny holes and gaps. Rotate for 2–3 minutes.
Check for leaks by listening for hissing sounds or feeling for escaping air. If you find a leak, shake the wheel again, or add more sealant.
Step 8: Reinstall The Wheel And Ride
Put the wheel back on your bike. Inflate to your desired pressure—most mountain bike tires run between 20–35 psi. Lower pressure gives more grip, but too low can risk “burping” (air escaping at the tire bead).
Go for a short ride near home. The motion helps sealant spread and seals any remaining leaks. After 24 hours, check the pressure again. A small drop is normal; large drops mean a leak.
Comparing Tubeless Vs Tube Tires
Understanding the practical advantages of tubeless is important. Here’s a direct comparison:
| Feature | Tubeless Tires | Tube Tires |
|---|---|---|
| Flat Protection | High (sealant seals punctures) | Low (tubes are vulnerable) |
| Air Pressure | Lower allowed (better traction) | Higher needed (avoid pinch flats) |
| Weight | Lower (no tube) | Higher (tube adds weight) |
| Maintenance | Regular sealant checks | Tube replacement |
| Cost | Higher upfront | Lower upfront |
Tubeless tires are a clear upgrade for performance and reliability, but they need more attention. Sealant dries out over time, and you’ll need to check it every 3–6 months.
Credit: bicyclewarehouse.com
How Much Does Tubeless Installation Cost?
Installing tubeless tires can cost more than regular tubes, but the savings add up over time. Here’s a breakdown:
| Item | Average Price (USD) |
|---|---|
| Tubeless rim tape (per wheel) | $5 – $7 |
| Tubeless valve stem (per wheel) | $7 – $15 |
| Tubeless sealant (per tire) | $8 – $12 |
| Tubeless-ready tire | $40 – $80 |
| Conversion kit (optional) | $30 – $50 |
If you already have tubeless-ready rims and tires, the cost is lower. Over time, fewer tube purchases and less time fixing flats can save money.
Common Problems And How To Fix Them
Switching to tubeless is not always smooth. Here are solutions to issues that beginners often face:
- Air leaks after installation: Check rim tape for gaps, valve for tightness, and add more sealant.
- Tire won’t seat: Use a compressor, remove valve core, and apply soapy water.
- Sealant dries up quickly: Store wheels in cool, dry places; check every 3 months.
- Burping (air loss when cornering): Try higher pressure or double-check bead seating.
- Difficulty removing tires: Warm tires before removal; use proper levers.
An insight many beginners miss: if a tire keeps leaking, sometimes the rim or tire is not truly tubeless-compatible. Always double-check before buying.
Practical Tips For Reliable Tubeless Setup
- Check compatibility: Not every rim and tire works with tubeless. Look for “tubeless ready” labels.
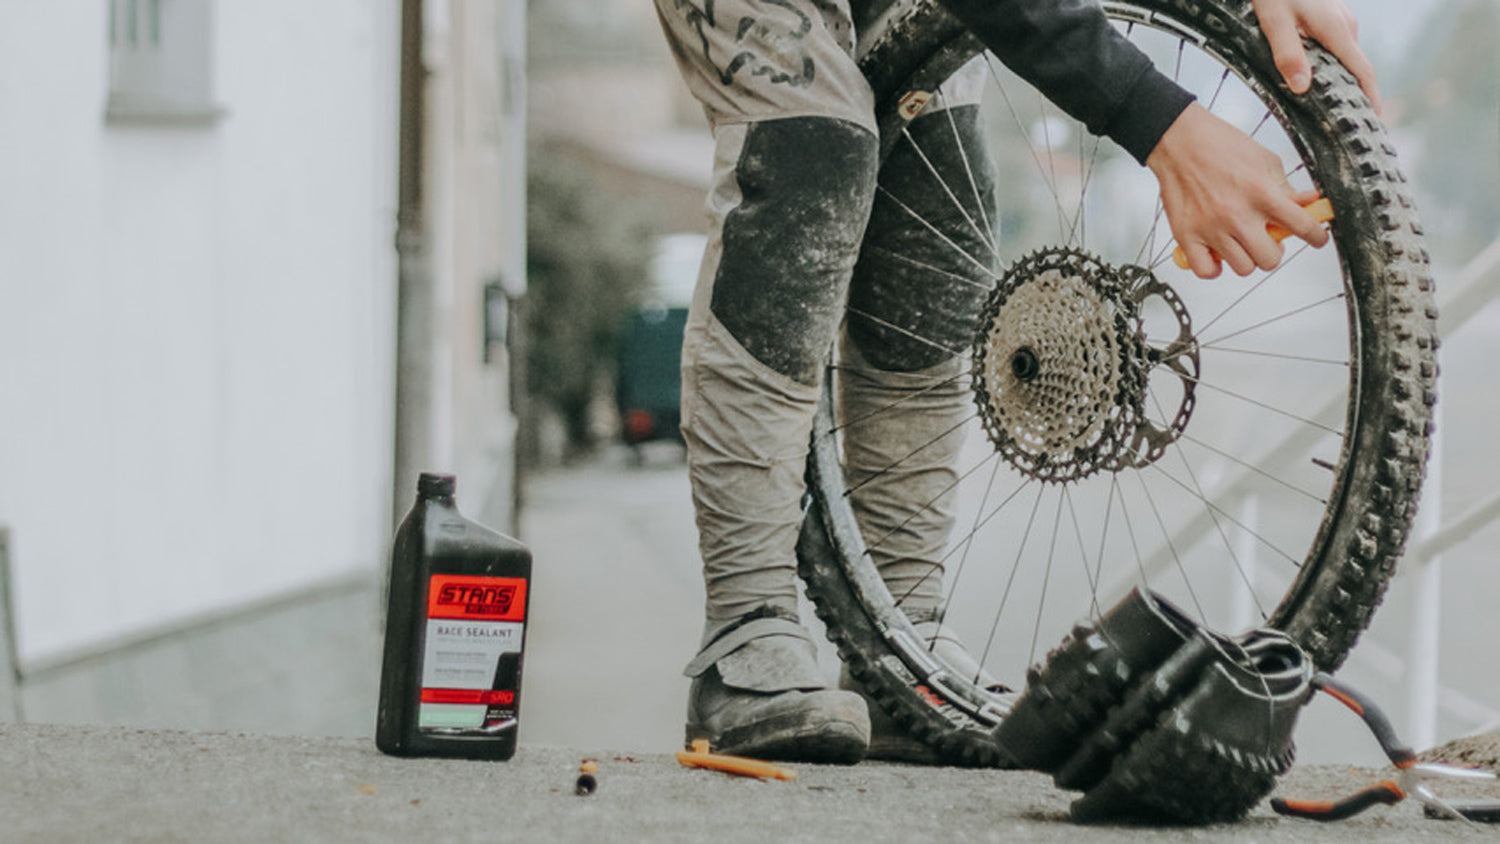
- Choose quality sealant: Cheaper sealants can dry out or fail to seal holes. Brands like Stan’s, Orange Seal, and Muc-Off are trusted by riders.
- Regular maintenance: Every 3–6 months, check sealant level and refresh it if needed.
- Carry a tube: Even tubeless systems can fail. Bring a spare tube and patch kit for emergencies.
- Use a digital gauge: Tubeless systems are sensitive to pressure. A digital gauge helps you run lower pressures safely.
- Avoid overfilling sealant: Excess sealant can clog the valve or bead area.
A non-obvious tip: after installation, mark the date on your calendar. It’s easy to forget when you last changed sealant—reminders keep your system reliable.
Data: Tubeless Tire Adoption In Mountain Biking
Tubeless systems have become standard for many riders. According to industry reports, over 60% of new mountain bikes sold in the US in 2023 featured tubeless setups. Trail and enduro riders are most likely to use tubeless, while cross-country racers sometimes prefer tubes for weight savings.
| Rider Type | % Using Tubeless (2023) |
|---|---|
| Trail | 73% |
| Enduro | 68% |
| Cross-country | 54% |
| Downhill | 61% |
The trend is clear: tubeless is becoming the norm, especially for aggressive riding.
Mistakes Beginners Make (and How To Avoid Them)
Many new riders struggle with tubeless installation. Here are mistakes you can easily avoid:
- Skipping rim cleaning: Dirt under rim tape causes leaks.
- Using wrong tape width: Tape must cover the entire rim bed.
- Not checking valve tightness: Loose valves leak air.
- Rushing bead seating: Take time to align beads evenly.
- Underfilling sealant: Use the recommended amount for your tire size.
- Ignoring pressure checks: Tubeless tires lose air faster than tubes.
An expert tip: after the first ride, always re-check pressure and bead seating. Small leaks can become big problems if ignored.
When Tubeless Isn’t The Best Choice
While tubeless has many benefits, it’s not always perfect. If you ride in areas with very sharp thorns or extreme cold, sealant can freeze or fail to seal large cuts. Budget bikes often have rims that don’t support tubeless. For occasional riders, tubes might be simpler and cheaper.
If you want the benefits of tubeless but worry about reliability, consider “tubeless-ready” tires with a tube inside. This gives some advantages, like stronger beads and easier upgrades later.

Credit: www.youtube.com
How Often Should You Replace Tubeless Sealant?
Sealant is not permanent. Most brands recommend changing or topping up sealant every 3–6 months. Climate affects this—hot, dry areas need more frequent checks. To check, remove the valve core and see if liquid remains. If it’s dry or clumpy, add new sealant.
Some riders add sealant before big races or trips, even if it’s not dry yet. Better safe than sorry.
Advanced Tips For Experienced Riders
Once you’re comfortable with tubeless, you can experiment with pressure, tire width, and sealant types.
- Lower air pressure: Try 18–20 psi for more grip on technical trails.
- Wide tires: Wider tires (2.4”+) work well with tubeless, but require careful bead seating.
- Custom sealant blends: Some riders mix brands or add glitter to seal big holes faster.
A non-obvious insight: if you ride in muddy conditions, check that your sealant is rated for low temperatures. Some brands lose effectiveness in cold.

Credit: www.youtube.com
Safety And Environmental Benefits
Tubeless tires are safer and more eco-friendly. Fewer tubes mean less rubber waste. Sealant is usually biodegradable. Flat tire repairs on the trail are faster, reducing risks of injury or getting stranded.
Many mountain bike groups recommend tubeless for its reliability and environmental benefits. You’ll spend less time fixing flats and more time riding.
Frequently Asked Questions
What If My Rim Isn’t Tubeless-ready?
You can use a tubeless conversion kit. It includes rim tape, sealant, and valves. However, some older rims may not seal well. If you struggle with leaks, consider upgrading to tubeless-ready rims.
How Much Air Pressure Should I Use With Tubeless Tires?
Most mountain bikers run 20–35 psi. For more grip, use lower pressure. Heavier riders or rocky trails may need more pressure. Experiment to find your ideal setting.
How Often Do I Need To Check Tubeless Sealant?
Check sealant every 3–6 months. Hot climates or frequent riding may require more frequent checks. Dry or clumpy sealant won’t seal punctures.
Can I Use Regular Tires For Tubeless Setup?
Only tubeless-ready tires are safe for tubeless setups. Regular tires may not seal, and beads can pop off. Always check for “tubeless-ready” or “TR” marking.
What Should I Do If I Get A Big Puncture With Tubeless Tires?
If the sealant can’t seal the hole, stop and install a tube. Carry a spare tube and patch kit for emergencies. For smaller holes, shake the wheel and let the sealant work.
Installing tubeless mountain bike tires is a smart upgrade for most riders. With careful setup, regular maintenance, and the right tools, you’ll enjoy fewer flats, better grip, and a smoother ride. For deeper technical details and industry trends, visit Wikipedia. Whether you’re a beginner or a seasoned rider, tubeless will help you ride farther and with more confidence.

Hello Guys! I am John Reese, a professional biker and my hobby is biking! I have been biking for last 12 years and I love using bikes while outing as well. Based on my experiences with the different type of bikes (mountain bikes, road bikes and hybrid bikes); I am sharing my opinion about various bikes so that a beginner can get started right away. Happy reading!