Want to impress your friends and take your mountain biking skills to the next level? Learning how to wheelie a mountain bike is a fun and exciting way to do just that.
It might seem tricky at first, but with the right steps, you can master this cool trick and feel more confident on your bike. You’ll discover simple tips and easy-to-follow advice that will help you pull off your first wheelie safely and smoothly.
Ready to start turning heads on the trail? Let’s dive in!
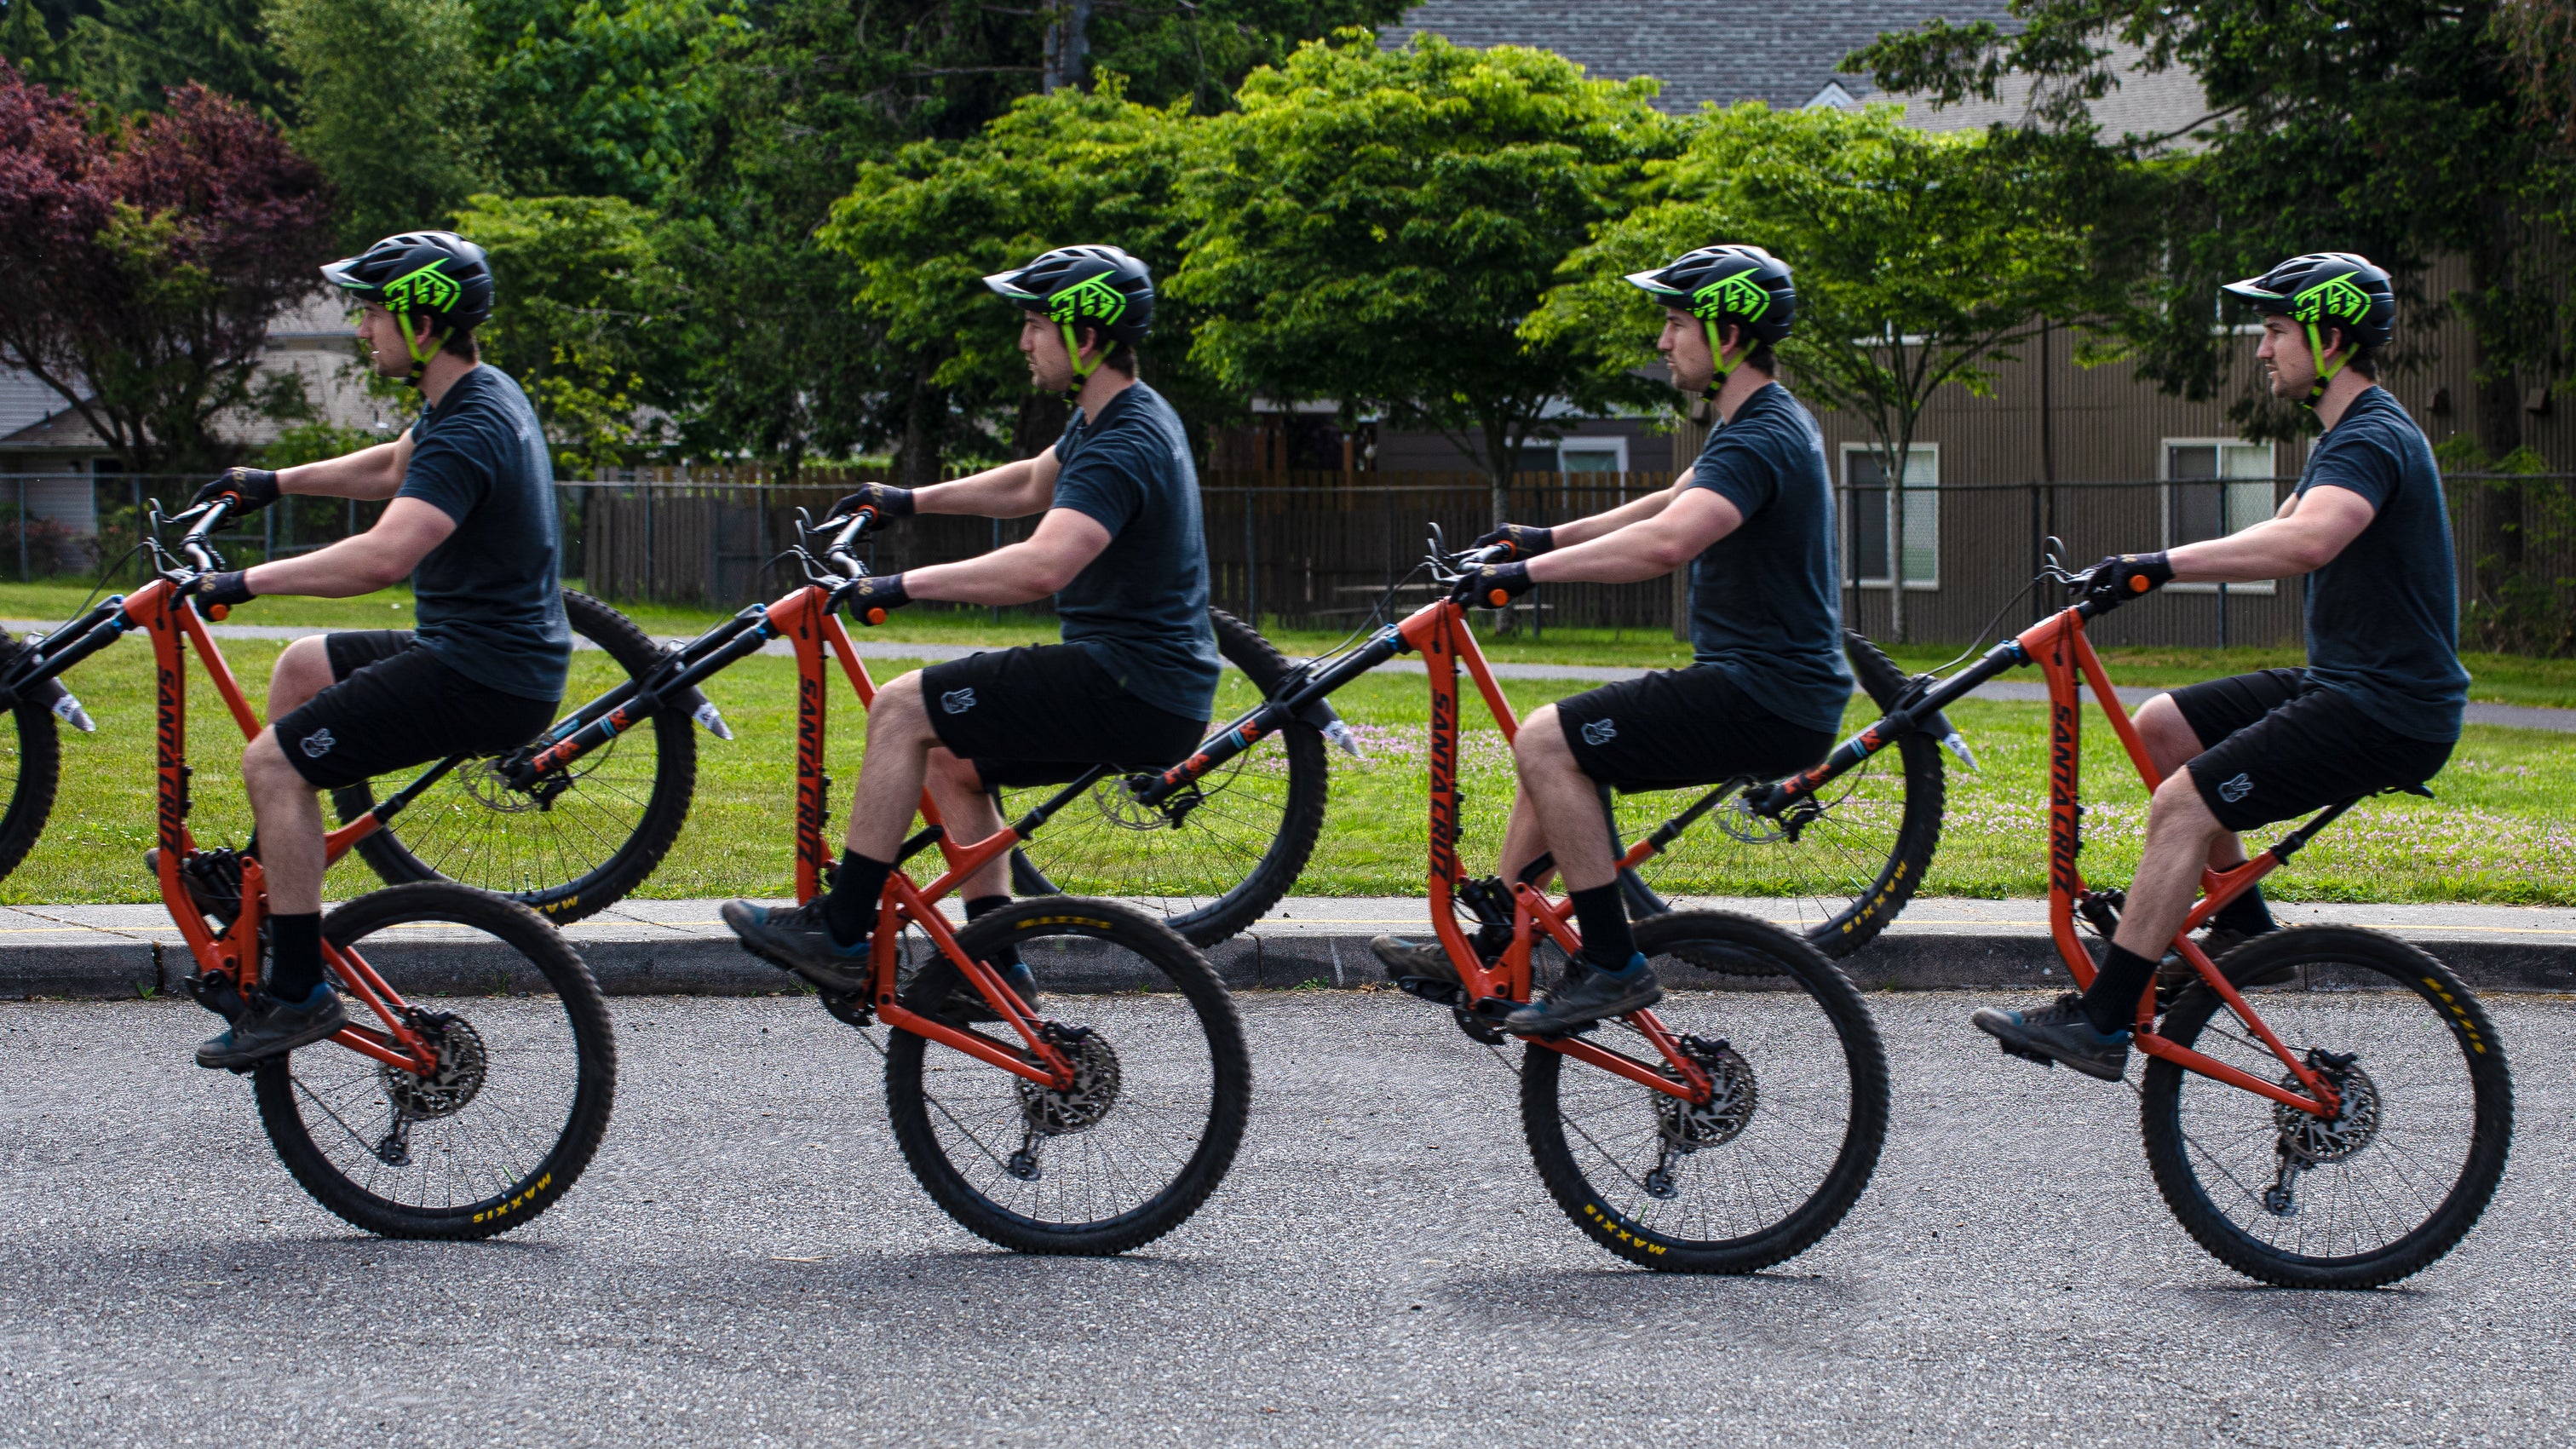
Credit: www.pnwcomponents.com
Choosing The Right Bike
Choosing the right bike is the first step to wheelie success on a mountain bike. The bike must suit your skill level and riding style. Picking a bike with the right features helps you control balance and power. A proper bike makes learning wheelies easier and safer. Focus on bikes designed for tricks or with strong frames and responsive brakes. Size also matters. A bike too big or small makes handling tough during a wheelie. Think about weight too; lighter bikes allow better control and easier lifting of the front wheel. Quality tires improve grip and stability on rough trails. Spend time finding a bike that fits well and feels comfortable. The right bike boosts confidence and lets you practice longer without strain.
Essential Features For Wheelies
Some bike features improve wheelie performance. These help you balance and control the bike better. Look for:
- Strong frame: A sturdy frame handles the stress of wheelies and rough landings.
- Lightweight design: Easier to lift the front wheel and maintain balance.
- Wide handlebars: Offer better control and stability during wheelies.
- Responsive brakes: Rear brake control is key to stopping the wheelie safely.
- Good tires: Tires with strong grip and durability help keep balance on different surfaces.
Here is a simple comparison of common mountain bike types for wheelies:
| Bike Type | Weight | Frame Strength | Handling | Wheelie Suitability |
|---|---|---|---|---|
| Hardtail | Light | Strong | Responsive | Good for beginners |
| Full Suspension | Heavier | Very Strong | Smooth | Better for rough trails |
| Trail Bikes | Medium | Strong | Balanced | Good all-around |
Adjusting Seat And Handlebars
Proper seat and handlebar settings improve wheelie control and comfort. Adjustments help you shift weight and balance easily. The seat height should be low enough to allow easy movement but high enough for efficient pedaling.
Handlebars need to be at a comfortable height and width. Wide bars give more leverage to pull the bike’s front wheel up. The angle of the handlebars also affects control; they should be angled slightly upwards for better grip.
Follow these steps to adjust your seat and handlebars:
- Lower the seat to let your body move freely during wheelies.
- Set handlebars to shoulder width for control and comfort.
- Check the brake levers are easy to reach without stretching.
- Test the bike by sitting and pulling the front wheel up gently.
- Make small adjustments as needed for better balance.
Here is a quick setup checklist:
- Seat height: Just below hip level.
- Handlebar width: Equal to or slightly wider than shoulders.
- Handlebar angle: Tilted slightly upward.
- Brake reach: Comfortable finger access.
Proper adjustments reduce strain and improve your ability to hold the wheelie longer. Take time to find the right settings before practicing tricks.
Safety Gear And Precautions
Learning how to wheelie a mountain bike is exciting and fun. Safety gear and precautions protect you from injuries and make the experience better. Wearing the right equipment and choosing a safe place to practice lowers the risk of accidents. Always prepare before attempting your first wheelie to stay safe on the trail or street.
Protective Equipment
Using proper protective gear is a must for wheelie practice. It helps guard your head, hands, and joints from impact. Here is a list of essential protective equipment:
- Helmet: A full-face or mountain bike helmet protects your head from falls.
- Gloves: Padded gloves improve grip and protect your palms from scrapes.
- Knee and elbow pads: These protect your joints from bruises and scratches.
- Body armor or chest protector: Offers extra protection for your torso during hard falls.
- Sturdy shoes: Shoes with good grip help control the pedals safely.
Wearing bright or reflective clothing can help others see you better. Make sure your gear fits well and is in good condition. Poorly fitted equipment can cause discomfort or fail in a crash.
| Gear | Purpose | Tip |
|---|---|---|
| Helmet | Protects head from injury | Check the fit and certification |
| Gloves | Protect hands, improve grip | Choose padded, breathable gloves |
| Knee/Elbow Pads | Protect joints from impact | Wear snug but not too tight |
| Body Armor | Protect chest and back | Use for advanced riding |
| Shoes | Improve pedal control | Use shoes with stiff soles |
Safe Practice Environments
Choosing the right place to practice wheelies is just as important as wearing gear. Start in areas with low traffic and soft ground to reduce injury risk. Avoid crowded or uneven places that can cause accidents.
Good practice spots include:
- Empty parking lots
- Flat dirt trails
- Grass fields
- Bike parks with beginner zones
Check the area for obstacles like rocks, sticks, or potholes. Clear debris to prevent falls. Practice away from cars and pedestrians to stay safe.
Here are some tips for a safe environment:
- Pick a flat surface with good traction.
- Practice during daylight for better visibility.
- Have a friend nearby for help if needed.
- Use cones or markers to set a practice zone.
- Start slow and increase difficulty gradually.
Following these guidelines helps you build confidence and skill safely. A safe environment reduces fear and lets you focus on improving your wheelie technique.
Basic Wheelie Techniques
Learning to wheelie a mountain bike starts with mastering the basic techniques. These skills help keep control and balance while lifting the front wheel off the ground. Practicing these basics builds confidence and prepares you for longer rides on one wheel. Two main points matter most: body positioning and pedal timing. Both need focus for a smooth, safe wheelie.
Body Positioning
Good body positioning is key to lifting the front wheel without losing balance. Start by sitting on the saddle with your pedals level. Keep your back straight and your eyes looking forward. This helps you stay steady and react quickly.
Shift your weight slightly back as you prepare to lift the wheel. Your arms should be bent but firm to control the handlebars. Keep your elbows out for better control and shock absorption.
- Keep your shoulders relaxed: Tension makes balance harder.
- Grip the handlebars firmly: Avoid a death grip that tires your hands.
- Look ahead: Helps maintain balance and direction.
- Keep your hips over the rear wheel: This gives better control.
Use the table below to check your body position before trying to wheelie:
| Body Part | Position | Reason |
|---|---|---|
| Back | Straight but relaxed | Maintains balance and control |
| Arms | Bent, elbows out | Absorbs shock and controls handlebars |
| Hips | Shifted backward over rear wheel | Helps lift front wheel and stay balanced |
| Head | Looking forward | Improves balance and direction |
Pedal Timing
Pedal timing controls the power needed to lift the front wheel. Push hard on the pedals at the right moment. This sudden power helps the bike pop up. Too early or too late, and the wheelie will fail or become unstable.
Start with one foot forward on the pedal, ready to push down. The other foot stays behind for balance. As you pedal, prepare to pull up on the handlebars while pushing down hard with your front foot.
- Begin pedaling slowly in a low gear.
- Just before pushing down, shift your weight back.
- Push down hard on the pedal with your front foot.
- At the same time, pull up gently on the handlebars.
- Balance your body to keep the wheel lifted.
Practice this timing repeatedly to get a smooth lift. Use this simple chart to time your pedal stroke:
| Action | Timing | Effect |
|---|---|---|
| Weight shift backward | Right before pedal push | Prepares bike to lift |
| Pedal push down | At highest pedal position | Creates power to lift front wheel |
| Pull handlebars up | Simultaneous with pedal push | Helps raise front wheel smoothly |

Credit: www.mbr.co.uk
Mastering Balance And Control
Learning to wheelie a mountain bike requires strong balance and control. These skills help you keep the front wheel up without falling or losing speed. Mastering balance means knowing how to adjust your body and bike in small ways. Control means using your brakes and weight to stay steady. Both work together to make your wheelie smooth and safe.
Using Rear Brake For Stability
The rear brake is a key tool for staying stable during a wheelie. It helps you stop the bike from tipping too far backward. Using the rear brake gently can bring the front wheel down if you feel off balance.
- Light touch: Tap the rear brake softly to avoid sudden stops.
- Quick response: Use the brake quickly if the bike leans too far back.
- Practice control: Learn how much brake pressure works best for you.
Here is a simple table showing when to use the rear brake during a wheelie:
| Situation | Rear Brake Action |
|---|---|
| Front wheel too high | Gently tap rear brake |
| Front wheel dropping | Release brake to keep wheel up |
| Balanced wheelie | Minimal or no brake |
Practice using the rear brake in an open area. This helps you learn how it changes your bike’s balance. The brake gives you a safety net. It lets you correct mistakes without losing control.
Shifting Weight
Shifting your body weight is the main way to keep balance during a wheelie. Moving weight forward or backward changes the bike’s center of gravity. This helps you hold the front wheel up at the right height.
Focus on these points:
- Lean back: Move your hips backward to lift the front wheel.
- Lean forward: Shift weight forward to bring the wheel down.
- Use your arms: Pull the handlebars up and back.
- Keep knees bent: Absorb bumps and stay flexible.
Try this simple step-by-step weight shift:
- Start pedaling at a slow, steady speed.
- Pull up the handlebars while leaning back slightly.
- Find the balance point where the wheel stays up.
- Adjust your hips to keep the wheel steady.
- Shift weight forward if the bike tips too far back.
- Shift weight back if the wheel starts to drop.
Good balance depends on small, smooth movements. Sudden shifts can cause loss of control. Practice shifting weight slowly. This builds confidence and helps you hold longer wheelies.
Common Mistakes To Avoid
Learning how to wheelie a mountain bike takes practice and patience. Many riders make simple mistakes that slow down progress or cause falls. Avoiding these common errors helps improve your balance and control. Understanding what not to do keeps the experience fun and safe. Focus on smooth movements and steady control to get better faster.
Overpulling The Handlebars
One of the biggest mistakes is pulling the handlebars too hard. This causes the bike to flip backward quickly, losing control and balance. Instead of a smooth lift, you get a sudden jolt that makes it hard to stay on the bike.
Why overpulling happens:
- Trying to lift the front wheel too high too fast
- Using only arm strength without shifting your body weight
- Nervousness or impatience to wheelie
Effects of overpulling:
| Problem | Result |
|---|---|
| Sudden backward tilt | Loss of balance and potential fall |
| Stiff arms | Difficulty adjusting the bike angle |
| Front wheel too high | Hard to maintain wheelie for long |
How to avoid overpulling:
- Use your body weight to help lift, not just arms.
- Pull the handlebars smoothly and gently.
- Practice small lifts before trying higher wheelies.
Ignoring Speed And Momentum
Many riders think a wheelie can start at any speed. This mistake makes it harder to balance and keep the front wheel lifted. Too slow or too fast can both cause problems.
Why speed matters:
- Speed creates momentum needed to lift the front wheel.
- Too little speed makes the lift slow and wobbly.
- Too much speed makes it hard to control the bike.
Ideal speed range for wheelies:
| Speed | Effect on Wheelie |
|---|---|
| Below 5 mph | Difficult to lift front wheel; unstable |
| 5 to 10 mph | Best range for controlled wheelies |
| Above 10 mph | Hard to balance; risk of falling forward |
Tips to control speed and momentum:
- Start at a comfortable pedaling pace around 6-8 mph.
- Keep a steady rhythm while pulling up the front wheel.
- Adjust speed slowly as you gain confidence.

Credit: www.youtube.com
Advanced Wheelie Skills
Wheelies on a mountain bike are fun and show skill. After learning the basics, it’s time for advanced wheelie skills. These skills need more balance, control, and confidence. They help you ride longer and handle tricky paths. Practice them safely and slowly increase difficulty.
Manual Wheelies
A manual wheelie is a wheelie without pedaling. It uses body movement to lift and keep the front wheel up. This skill is great for tough trails and jumps. It feels smoother and saves energy.
Key points for manual wheelies:
- Body position: Shift your weight backward and pull the handlebars up.
- Brake control: Use the rear brake to stop the bike from flipping over.
- Balance: Use your arms and legs to keep steady.
- Practice: Start on flat ground, then try small hills or bumps.
Practice steps for manual wheelies:
- Roll at a slow speed, around 5-8 mph.
- Pull up on the handlebars while shifting weight to the back.
- Use the rear brake lightly to control the wheel height.
- Keep your eyes ahead and adjust body position.
- Land softly by letting the front wheel down gently.
| Common Mistakes | How to Fix |
|---|---|
| Pulling too hard and flipping over | Use rear brake to control height and lean back slowly |
| Not shifting weight back enough | Focus on pushing hips back while pulling handlebars |
| Looking down, losing balance | Keep eyes forward, look at where you want to go |
Wheelie Turns And Tricks
Turning while in a wheelie adds fun and challenge. It needs good balance and control. Start with small turns and increase angle as you improve. Tricks make wheelies exciting and test your skills.
Basic tips for wheelie turns:
- Lean your body and bike in the turn direction.
- Keep your weight centered and adjust with the handlebars.
- Use small rear brake taps if the front wheel rises too high.
- Practice slow speed turns before faster ones.
Popular wheelie tricks include:
- Wheelie Bunny Hop: Lift the rear wheel after the manual.
- Wheelie Endo: Shift weight forward to lower the front wheel quickly.
- 180 Wheelie: Turn the bike 180 degrees while in the wheelie.
Tips for learning wheelie tricks:
- Start with basic wheelies and manual skills.
- Practice each trick slowly and in a safe area.
- Use protective gear to avoid injury.
- Build confidence by repeating moves.
Training Drills And Practice Tips
Learning to wheelie a mountain bike takes patience and regular practice. Training drills and practice tips build strength, balance, and control. Consistent practice lets riders improve step by step without risking injury or frustration. The right approach breaks the skill into small parts, making it easier to learn. Practice sessions focus on body position, bike control, and timing. Using helpful tools like video feedback speeds up progress. Here are two key ways to practice effectively.
Progressive Practice Sessions
Start with simple drills and increase difficulty over time. This method prevents overwhelming yourself. Progressive practice builds confidence and skill gradually.
- Step 1: Practice lifting the front wheel slightly while riding slowly.
- Step 2: Hold the wheel up longer by shifting your weight back.
- Step 3: Balance the wheelie for a few seconds, focusing on smooth throttle control.
- Step 4: Try riding longer distances on the back wheel.
Use a flat, open area for practice, like an empty parking lot. It reduces risk and distraction. Start with short sessions of 10-15 minutes. Rest between sessions to avoid fatigue.
| Practice Stage | Focus | Duration |
|---|---|---|
| Wheel Lift | Lifting front wheel smoothly | 5-10 minutes |
| Balance Hold | Maintaining balance on back wheel | 10-15 minutes |
| Distance Riding | Riding longer wheelies | 15-20 minutes |
Repeat these drills regularly. Track progress by noting how long and far you wheelie. Use a journal or app for motivation.
Using Video Feedback
Recording your practice sessions helps spot mistakes and improve faster. Video lets you see body position and bike angle clearly.
Set up a phone or camera at a good angle. Record several attempts from different views. Watch the videos to check:
- Body posture and balance
- Throttle and brake control
- Wheel lift timing
- Overall smoothness
Compare videos over time to see improvements. Ask friends or instructors for feedback on your form. Use slow motion to analyze quick movements.
A simple checklist can guide video review:
Wheelie Video Review Checklist ------------------------------ 1. Front wheel lifts smoothly. 2. Rider leans back correctly. 3. Throttle control is steady. 4. Rear brake use is controlled. 5. Balance is maintained. 6. Wheelie duration increases. Regular video review helps build muscle memory and confidence. It also reduces bad habits early. Keep practicing and reviewing to improve wheelie skills safely.
Frequently Asked Questions
How Do I Balance While Doing A Mountain Bike Wheelie?
To balance a wheelie, shift your weight backward and use your rear brake gently. Keep your arms relaxed and eyes forward to maintain control.
What Gear Should I Use For A Mountain Bike Wheelie?
Use a low to mid gear for better control and easier pedaling. This helps you lift the front wheel smoothly and maintain the wheelie.
How Can I Prevent The Bike From Flipping Over Backward?
Control your wheelie height by feathering the rear brake. Lean forward slightly if you feel the bike tipping back too far.
Is Practice Necessary To Master Mountain Bike Wheelies?
Yes, consistent practice builds balance and confidence. Start slow on flat ground and gradually increase your wheelie duration and height.
Conclusion
Practicing often helps you improve your wheelie skills fast. Keep your balance steady and your speed controlled. Start small and try to lift the front wheel gently. Watch your body position and use your arms well. Safety matters—wear a helmet and pads every time.
Enjoy the fun challenge and stay patient. Each try brings you closer to better wheelies. Keep riding, and your confidence will grow.

Hello Guys! I am John Reese, a professional biker and my hobby is biking! I have been biking for last 12 years and I love using bikes while outing as well. Based on my experiences with the different type of bikes (mountain bikes, road bikes and hybrid bikes); I am sharing my opinion about various bikes so that a beginner can get started right away. Happy reading!