Adjusting the gears on your Huffy mountain bike can make your ride smoother, safer, and more enjoyable. Many riders struggle with shifting that feels rough or noisy, especially after a few months of use. If you’re new to bike maintenance, gear adjustment can seem tricky. But with the right guidance, you can do it yourself and save money on repairs.
This guide is designed for riders who want clear, simple steps. You’ll learn how gears work, what tools you need, and how to fix common problems. Whether your bike skips gears, makes clicking sounds, or refuses to shift, you’ll find practical help here.
By the end, your Huffy will shift cleanly, and you’ll feel more confident about basic bike care.
Let’s dive in and make your mountain bike ride like new.
Understanding Gears On A Huffy Mountain Bike
Most Huffy mountain bikes use derailleur systems. These include a front and rear derailleur, which move the chain onto different cogs. The front gears (chainrings) give you big changes in resistance, while the rear gears (cassette) offer fine adjustments. Knowing how your gears work is the first step to fixing them.
Gear Components
- Shifters: Located on handlebars, they control gear changes.
- Cables: Connect shifters to derailleurs. They move when you shift.
- Front Derailleur: Moves the chain between chainrings.
- Rear Derailleur: Moves chain across cassette cogs.
- Cassette: Set of gears at the back wheel.
- Chainrings: Gears at the pedals.
All these parts must work together. If one is out of alignment, shifting suffers. Most problems start with the cables stretching or derailleurs going out of position after regular use.
How Gears Affect Riding
Huffy mountain bikes often have 18, 21, or 24 speeds, depending on model. More gears mean more options for hills and flat roads. Proper gear adjustment helps you:
- Shift quietly and smoothly
- Climb hills with less effort
- Ride faster on flat roads
- Avoid chain drops or jams
Many beginners don’t realize that poor shifting can slow you down or even damage your bike. Regular adjustment keeps your bike healthy and your rides enjoyable.
Tools And Preparation
Before starting, gather the right tools. This makes the job faster and avoids damage.
Essential Tools
- Phillips screwdriver: Adjusts derailleur limit screws.
- 5mm Allen wrench: Used for derailleur mounting bolts.
- Needle-nose pliers: Help with cable tension.
- Bike lubricant: For chain and moving parts.
- Clean rag: Wipe off dirt and oil.
- Bike stand (optional): Holds bike steady while you work.
Many beginners skip the bike stand. It’s not required, but makes adjustment easier, as you can turn pedals and shift gears without balancing the bike.
Preparation Steps
- Shift to the smallest chainring and smallest rear cog. This releases cable tension.
- Clean your drivetrain. Dirt can hide problems.
- Check for damage. Look for bent derailleurs, frayed cables, or worn cogs.
- Inspect the chain. If it’s rusty or stretched, gear adjustment won’t help much.
If you notice any broken parts, replace them before adjusting gears. Adjusting a damaged system is a waste of time.
Step-by-step Gear Adjustment
Adjusting gears involves setting limit screws, correcting cable tension, and fine-tuning shifting. Follow these steps carefully for best results.
Rear Derailleur Adjustment
Most shifting problems happen at the rear derailleur. Here’s how to fix them:
1. Set The Limit Screws
Limit screws stop the derailleur from moving the chain too far. There are two: High (H) and Low (L).
- Find the screws marked “H” and “L” on the derailleur.
- Shift to the smallest cog (highest gear).
- Turn the “H” screw so the derailleur lines up with the smallest cog.
- Shift to the largest cog (lowest gear).
- Turn the “L” screw so the derailleur lines up with the largest cog.
If the chain falls off or won’t reach the biggest/smallest cog, adjust these screws.
2. Adjust Cable Tension
Cable tension controls how quickly the derailleur moves.
- Shift to the smallest cog.
- Use the barrel adjuster (near shifter or derailleur) to add or release tension.
- Turn clockwise to decrease tension, counterclockwise to increase.
- Shift through all gears, listen for clicking or slow movement.
If the chain hesitates to move up to bigger cogs, add tension. If it struggles to shift down, reduce tension.
3. Fine-tune Shifting
Once limit screws and cable tension are set:
- Shift through all gears, one at a time.
- If gears skip or chain jumps, adjust barrel in small increments.
- Check for smooth, quiet shifting.
Example: If you shift from gear 3 to gear 4, but the chain lags, increase cable tension slightly.
Front Derailleur Adjustment
The front derailleur moves the chain between chainrings. Problems here cause chain drops or poor shifting.
1. Set The Limit Screws
Like the rear, there are “L” and “H” screws.
- Shift to the smallest chainring.
- Adjust the “L” screw so derailleur sits close (but not touching) the chain.
- Shift to largest chainring.
- Adjust the “H” screw so derailleur clears the chain without pushing it off.
If the chain rubs or falls off, fine-tune these screws.
2. Adjust Cable Tension
- Shift to the middle chainring.
- Use barrel adjuster to tweak tension until shifting is smooth.
- Too much tension: Chain won’t drop to smallest ring.
- Too little: Chain won’t climb to biggest ring.
3. Test Shifting
- Shift through all front gears while pedaling.
- Listen for rubbing or lag.
- Make small adjustments to barrel or limit screws as needed.
Chain And Cassette Care
Your chain and cassette must be clean and in good shape. Even perfect adjustment won’t fix a worn chain.
- Check for rust, stiff links, or stretching.
- Replace chain if it skips even after adjustment.
- Lubricate chain after cleaning.
Data: Chains usually last 1,500–2,000 miles before needing replacement. Cassette cogs can last longer, but check for teeth that look sharp or uneven.
Common Problems And Solutions
Many riders face gear issues even after basic adjustment. Here are solutions for problems you might see:
Chain Skipping
- Caused by worn chain, poor tension, or bent derailleur.
- Replace chain if worn.
- Check derailleur alignment; straighten if bent.
- Adjust cable tension.
Noisy Shifting
- Often from dirty parts or misaligned derailleur.
- Clean drivetrain.
- Realign derailleur.
- Lubricate chain.
Gear Won’t Shift
- Check for frayed or rusted cables.
- Lubricate cable housing.
- Replace cables if damaged.
Chain Drops
- Usually from poor limit screw adjustment.
- Set “L” and “H” screws correctly.
- Check chainring for damage.
Stiff Shifting
- Cables may be sticky or old.
- Lubricate cables.
- Replace if still stiff.
Many beginners miss the importance of clean cables and housing. Dirt inside can make shifting impossible, even if adjustment seems correct.
Data Table: Gear Adjustment Symptoms And Solutions
Here’s a quick reference for common issues:
| Symptom | Possible Cause | Solution |
|---|---|---|
| Chain skips | Worn chain, poor tension | Replace chain, adjust cable |
| Noisy shifting | Dirty drivetrain, misalignment | Clean, realign derailleur |
| Gear won’t shift | Damaged cable | Replace cable |
| Chain drops | Wrong limit screw setting | Adjust screws |
| Stiff shifting | Old cables | Lubricate or replace cables |
Mistakes To Avoid When Adjusting Gears
Even experienced riders sometimes make errors. Avoid these mistakes for best results:
- Ignoring cable stretch: Cables stretch after a few weeks of riding. Always check tension before adjusting derailleurs.
- Over-tightening limit screws: Too tight and the derailleur won’t move. Only turn screws in small increments.
- Skipping cleaning: Dirty parts make adjustments harder. Always clean before you start.
- Forgetting to check alignment: A bent derailleur hanger can cause endless shifting issues. Check alignment if gears won’t work.
- Using wrong tools: Improvised tools can strip screws or damage bolts. Use the proper screwdriver and Allen wrench.
- Adjusting with the bike upside down: Many beginners flip the bike over. This changes cable tension and alignment. Work with the bike upright whenever possible.
- Not testing under load: Shifting can seem fine while spinning pedals by hand, but may skip under real riding. Test gears while riding, if safe.
Data Table: Tool Comparison For Gear Adjustment
Choosing the right tool can make adjustment faster and safer.
| Tool | Use | Beginner-Friendly? |
|---|---|---|
| Phillips screwdriver | Limit screws | Yes |
| 5mm Allen wrench | Derailleur bolts | Yes |
| Needle-nose pliers | Cable tension | Yes |
| Bike stand | Hold bike steady | No, but helpful |
| Lubricant | Chain/cables | Yes |
Example: Adjusting Gears On A 21-speed Huffy
Let’s look at a typical adjustment for a 21-speed Huffy mountain bike. You have three front chainrings and seven rear cogs.
- Shift to smallest front ring and smallest rear cog.
- Adjust rear derailleur “H” screw until aligned.
- Shift to largest rear cog, adjust “L” screw.
- Set cable tension with barrel adjuster.
- Shift through all rear gears, tweak tension as needed.
- Shift front derailleur between rings, adjust “L” and “H” screws for front.
- Test every combination (3×7) to check for smooth shifting.
Many riders forget to test all gear combinations. Skipping this can leave hidden problems that only appear during tough rides.

Credit: www.walmart.com
Advanced Adjustments: Fine-tuning For Performance
If you want even better shifting, try these advanced tips:
Derailleur Hanger Alignment
A bent hanger can ruin gear adjustment. Use a derailleur alignment tool to check and straighten.
- Place tool in derailleur mount.
- Compare alignment at different points of wheel.
- Adjust until straight.
This tool is expensive, but some bike shops will check alignment for free if you ask.
Upgrading Cables And Housing
Stock cables on Huffy bikes are usually basic. Upgrading to stainless steel cables and better housing can make shifting smoother.
- Replace old cables with new, lubricated ones.
- Use quality cable housing.
Upgraded parts last longer and resist rust.
Chain Lubrication
Proper lubrication matters. Use a bike-specific lubricant, not motor oil or WD-40.
- Apply to chain while spinning pedals.
- Wipe excess with rag.
- Lubricate every 100–200 miles or after wet rides.
Beginners often over-lubricate. Too much oil collects dirt and makes shifting worse.
Data Table: Huffy Gear System Types
Huffy offers a range of mountain bikes with different gear systems.
| Model | Gear Count | Front Derailleur? | Rear Derailleur? |
|---|---|---|---|
| Stone Mountain | 21 | Yes | Yes |
| Summit Ridge | 18 | Yes | Yes |
| Hardtail | 24 | Yes | Yes |
| Escalate | 21 | Yes | Yes |
If you’re not sure which model you have, check the sticker on the frame or look up your bike on Huffy’s official website.
Maintenance Tips For Long-term Gear Health
Keeping your gears in good shape is easier if you follow basic maintenance.
- Clean your drivetrain every month, or after muddy rides.
- Check cable tension every few weeks.
- Inspect chain and cassette for wear.
- Replace cables every year, even if they look fine.
- Lubricate chain regularly.
Many beginners don’t realize that regular maintenance prevents expensive repairs. Small steps save money and keep your bike reliable.
Real-world Data
According to bike repair shops, 80% of shifting problems come from dirty parts or stretched cables. Only 20% are from actual mechanical damage. So, cleaning and checking tension solves most issues.
When To Visit A Bike Shop
Sometimes, DIY adjustment isn’t enough. Visit a professional if you notice:
- Persistent gear skipping after adjustment
- Bent derailleur hanger you can’t fix
- Broken shifter or derailleur
- Chain keeps dropping, even with correct screws
A shop can diagnose hidden problems and use special tools. If your bike is new, Huffy offers limited warranty repairs. Check the warranty terms on their website or your manual.
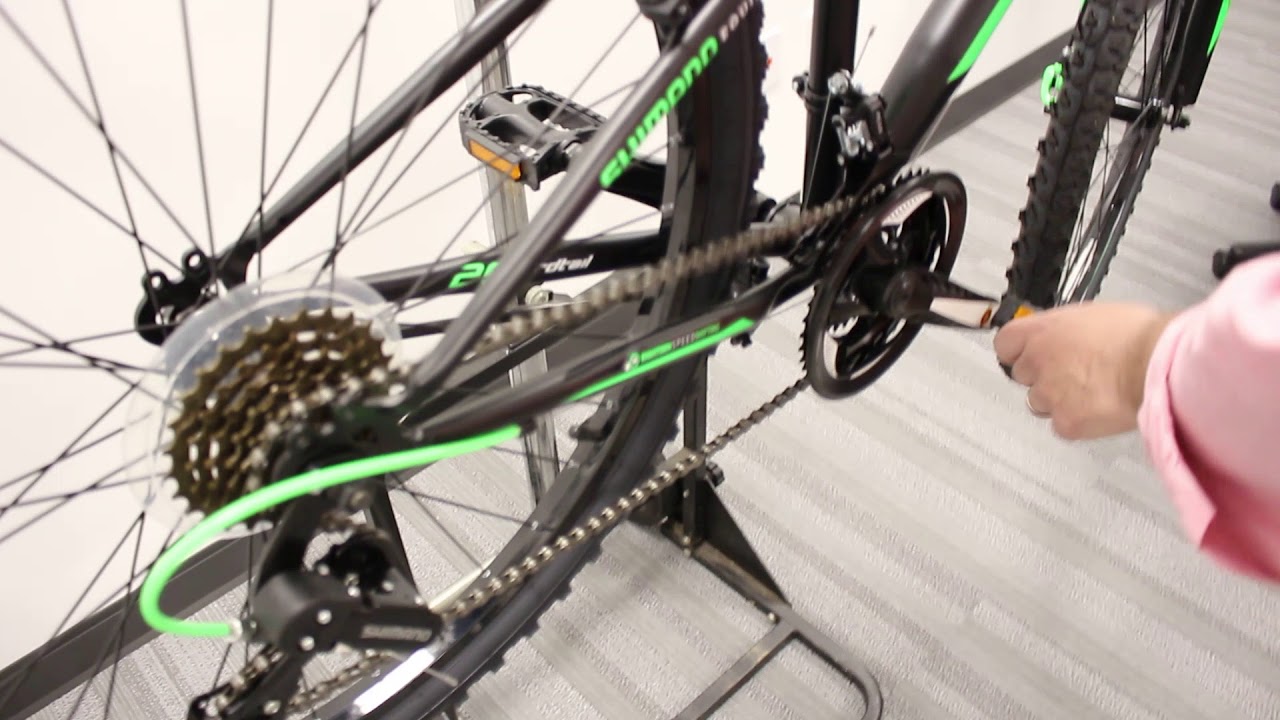
Credit: www.youtube.com
Non-obvious Insights For Better Results
Many guides miss these points:
- Always adjust gears with the bike upright and wheels on the ground. Gravity affects cable tension and derailleur position.
- After adjustment, test gears under real riding load. Sometimes, shifting works on the stand but fails on the road.
- If you ride in wet conditions, lubricate cables as well as the chain. Water can seep inside and cause rust.
- Mark your barrel adjuster position before starting. If adjustments make things worse, you can return to your starting point.
- Take a photo of your derailleur position before adjusting. This helps you remember original settings.
Frequently Asked Questions
How Often Should I Adjust Gears On My Huffy Mountain Bike?
You should check and adjust your gears every 1–2 months if you ride often. After long or muddy rides, inspect for dirt and cable stretch. If shifting feels rough, adjust sooner.
What If My Chain Keeps Coming Off During Rides?
Chain drops are usually from poor limit screw settings or bent derailleurs. Adjust “L” and “H” screws first. If the problem continues, check for a bent derailleur hanger or worn chain.
Can I Use Wd-40 To Lubricate My Bike Chain And Gears?
WD-40 is not a good chain lubricant. It’s mainly a cleaner and water repellent. Use a bike-specific lubricant for chain and moving parts. This keeps shifting smooth and prevents rust.
Is It Safe To Adjust Gears If I Am Not Experienced?
Yes, gear adjustment is safe if you follow clear steps. Start slow, use proper tools, and test changes before riding hard. If you’re unsure, ask a friend or visit a bike shop.
Where Can I Find Official Huffy Maintenance Guides?
Huffy’s official website has manuals and maintenance tips for each model. You can also check Wikipedia’s Bicycle Gear page for in-depth gear information.
Adjusting gears on your Huffy mountain bike is a practical skill every rider can learn. With patience, the right tools, and a bit of practice, you’ll enjoy smoother rides and more confidence on any trail. Regular care not only fixes problems but prevents them, making your bike last longer and perform better.
If you ever feel stuck, don’t hesitate to ask for help or visit a professional. Happy riding!

Credit: www.walmart.com

Hello Guys! I am John Reese, a professional biker and my hobby is biking! I have been biking for last 12 years and I love using bikes while outing as well. Based on my experiences with the different type of bikes (mountain bikes, road bikes and hybrid bikes); I am sharing my opinion about various bikes so that a beginner can get started right away. Happy reading!