Getting ready for a ride and realizing your mountain bike tire is flat can be frustrating. But inflating a mountain bike tire is a simple skill that every rider should know. Whether you’re out on the trail or prepping at home, learning this task will keep you rolling smoothly and help you avoid unnecessary trips to the bike shop.
This guide will show you every step, explain the different tools, and help you avoid common mistakes so you can inflate your mountain bike tire with confidence.
Why Proper Tire Inflation Matters
Keeping your mountain bike tires at the right pressure is more important than many riders think. Proper inflation affects:
- Grip: Under-inflated tires can slip, especially on wet or loose surfaces.
- Comfort: Too much air makes the ride harsh; too little makes it sluggish.
- Puncture Resistance: Low pressure increases pinch flats; high pressure can cause blowouts.
- Efficiency: Correct pressure helps you pedal with less effort.
A tire inflated just right can make the difference between a fun ride and a tough one. Let’s dive into the details.
Understanding Your Mountain Bike Tire And Valve Types
Before you start pumping, it’s important to know what kind of valve your tire has. This affects the type of pump you’ll need and how you’ll inflate your tire.
Common Mountain Bike Tire Valves
Most mountain bikes use one of two valve types:
- Presta Valve: Slim, tall, with a small lock nut at the top. Most common on modern mountain bikes.
- Schrader Valve: Wider, similar to car tires. Used on some mountain bikes, especially older models or entry-level bikes.
A quick way to tell: If the valve is skinny and has a little nut you unscrew before pumping, it’s Presta. If it’s wide and flat-topped, it’s Schrader.
Why Valve Type Matters
- Pump Compatibility: Not all pumps fit both valve types. Some pumps have two holes, a switch, or an adapter.
- Pressure Range: Presta valves can usually handle higher pressures, but mountain bike tires rarely need them.
Tubeless Vs. Tubed Tires
Many modern mountain bikes use tubeless tires. These don’t have an inner tube, making them lighter and less prone to flats. The inflation process is similar, but seating a tubeless tire sometimes requires a high burst of air.
Non-obvious insight: If your tire keeps losing air, check the valve core. Sometimes, it just needs to be tightened with a small tool called a valve core wrench.
Tools And Equipment You’ll Need
You don’t need a workshop full of tools, but using the right equipment makes inflating your tire easier and safer.
Essential Items
- Bike pump: Floor pump, mini-pump, or CO₂ inflator.
- Pressure gauge: Built into some pumps, or separate.
- Valve adapter: If your pump doesn’t match your valve.
- Soapy water (for tubeless setup): Helps seat the bead.
Comparing Pumps
Not all pumps are equal. Here’s how the most common types compare:
| Pump Type | Best For | Pros | Cons |
|---|---|---|---|
| Floor Pump | Home use, accurate inflation | Fast, precise, built-in gauge | Bulky, not portable |
| Mini Pump | On the trail repairs | Lightweight, portable | Slow, hard work, less precise |
| CO₂ Inflator | Quick emergency inflation | Instant, very compact | Single use, no pressure control |
Practical tip: For home use, a floor pump is best. Always carry a mini pump or CO₂ inflator when riding.
How To Check Your Mountain Bike Tire Pressure
Before you add air, you need to know how much pressure is in your tire and what the correct range is.
Finding The Recommended Pressure
Look on the side of your tire. You’ll see numbers like “30-50 PSI” printed there. PSI stands for pounds per square inch—the standard for tire pressure.
Mountain bike tire pressure usually ranges from 25 to 40 PSI, but this depends on:
- Rider weight
- Tire width
- Terrain
- Tubed or tubeless setup
Non-obvious insight: Heavier riders need higher pressure. Wider tires can use less pressure for more grip.
Measuring Tire Pressure
You can use:
- Pump gauge: Many floor pumps have a built-in gauge.
- Digital pressure gauge: More precise, fits both valve types.
- Thumb test: Squeeze the tire. It should feel firm but not rock-hard. This is not very accurate but useful on the trail if you don’t have a gauge.
Example: A 180-pound rider using 2.4” wide tubeless tires might start with 28 PSI front, 30 PSI rear.
Step-by-step: How To Inflate A Mountain Bike Tire
Now let’s get to the actual process. The steps are similar for Presta and Schrader, with a few small differences.
1. Remove The Valve Cap
Unscrew and set aside the plastic cap on the valve. Don’t lose it—it keeps dirt out.
2. Prepare The Valve
- For Presta valves: Unscrew the small brass nut at the top until it stops. Press it down briefly to release a puff of air—this ensures it’s open.
- For Schrader valves: No need to unscrew anything. Just make sure the valve is clean.
3. Attach The Pump
- If your pump head has two holes, pick the correct one.
- Some pumps have a switch to change between Presta and Schrader.
- Push the pump head firmly onto the valve and lock it in place (usually by flipping a lever).
4. Inflate The Tire
- Pump steadily: Use both hands for a floor pump. Mini pumps take more strokes.
- Watch the gauge: Stop when you reach your target PSI.
- For CO₂ inflators, follow the instructions—usually twist or press to release the air in a burst.
Practical example: Pump to 30 PSI for the rear tire, then check with your thumb. If it feels too soft, add a little more.
5. Remove The Pump Carefully
Unlock the pump head and pull it off straight. A little hiss of air is normal. If you lose a lot of air, the head wasn’t seated properly—try again.
6. Close The Valve
- For Presta: Screw the brass nut back down. Replace the valve cap.
- For Schrader: Just put the cap back on.
7. Double-check Pressure
If you have a separate gauge, check again. Sometimes gauges on pumps aren’t exact.
Pro tip: It’s better to be a little under than over. You can always add more air.
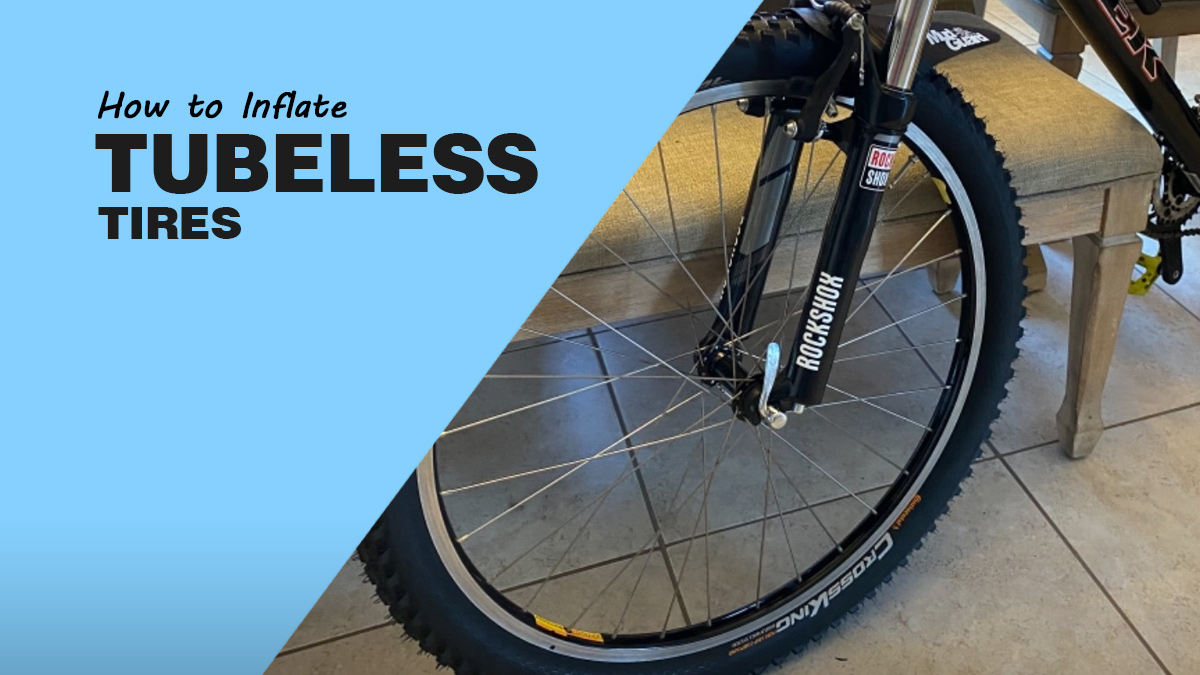
Special Tips For Tubeless Mountain Bike Tires
Tubeless tires require some extra care, especially when first installing or if they lose air often.
Seating The Bead
A tubeless tire must “seat” on the rim, which means the tire edge fits tightly against the rim. If not seated, the tire won’t hold air.
- Use a floor pump with high volume.
- Spray a little soapy water around the tire bead to help it pop into place.
- If the tire won’t seat, try a “blast” of air from a tubeless-specific pump or an air compressor.
Common mistake: Using a mini pump on a flat tubeless tire. You might never get enough air to seat the bead—use a floor pump instead.
Adding Sealant
Tubeless tires need sealant inside to stop small leaks.
- Remove the valve core (with a small tool).
- Squeeze in the recommended amount (usually 2-4 ounces).
- Reinstall the core, inflate, and shake the wheel to spread the sealant.
Tip: Check your sealant every 2-3 months. It dries out over time.
Credit: www.safebasementsinc.com
How Often Should You Check And Inflate Your Tires?
Mountain bike tires naturally lose air over time, especially tubeless setups.
- Before every ride: Squeeze your tires or check with a gauge.
- Weekly: Use a gauge for accuracy.
- After fixing a flat: Check pressure right away.
A tire can lose 1-2 PSI per week, sometimes more if it’s very hot or cold.
Pro advice: Don’t wait for your tire to look flat. By then, you’re already too low for safe riding.
Troubleshooting: When Things Go Wrong
Even simple tasks can go sideways. Here’s how to handle common problems.
Tire Won’t Inflate Or Holds No Air
- Check the valve: Sometimes the core is loose or clogged.
- Inspect the bead: The tire must be seated all the way around.
- Look for punctures: Spray soapy water and look for bubbles.
- Try a different pump: Some small pumps can’t add enough air.
Air Leaks After Inflating
- Tighten the valve core: Use a small tool.
- Check the rim tape: Tubeless tires need airtight tape inside the rim.
- Replace the valve: Valves can wear out and are cheap to swap.
Pump Won’t Fit The Valve
- Use an adapter: These are cheap and small, great for emergencies.
- Check your pump’s head: Some have a reversible insert for both valve types.
Real-world example: After a muddy ride, a small stone can get stuck in the valve. Always check for debris before pumping.

Credit: www.gabinetedelaorden.com
Optimizing Tire Pressure For Different Terrains
One of the best things about mountain biking is adjusting your ride for the trail ahead. Tire pressure is a big part of this.
Pressure For Different Surfaces
| Terrain | Recommended PSI Range | Notes |
|---|---|---|
| Loose Dirt/Sand | 22-28 PSI | Lower pressure for grip; avoid pinch flats |
| Rocky Trails | 26-32 PSI | Mid pressure to prevent rim strikes |
| Wet/Muddy | 22-26 PSI | Extra grip, but beware of too low pressure |
| Paved Roads | 30-40 PSI | Higher pressure for speed and efficiency |
Key point: Always adjust based on your weight, tire width, and comfort.
How To Fine-tune
- Start with manufacturer’s recommended pressure.
- Go lower for more grip, higher for less rolling resistance.
- Change in 1-2 PSI steps and test ride.
Pro tip: Mark your favorite settings with a sticker on your frame or in your phone.
Mistakes To Avoid When Inflating Mountain Bike Tires
It’s easy to make small errors that affect your ride or even damage your bike.
Overinflating
Too much air can cause:
- Less grip on rough trails
- A harsh, bumpy ride
- Increased risk of blowouts
Tip: Never go over the maximum PSI listed on your tire.
Underinflating
Too little air can lead to:
- Pinch flats (the tube gets pinched by the rim)
- Poor handling and slow speed
- Damage to the rim
Ignoring Valve Compatibility
Trying to force a pump on the wrong valve can bend or break it. Always double-check before connecting.
Forgetting Regular Checks
Tires lose air naturally. Make checking pressure part of your routine.
Using The Wrong Pump
A mini pump is great on the trail but slow at home. For regular inflation, a floor pump is best.
Mountain Bike Tire Pressure And Rider Weight
Rider weight plays a big role in choosing the correct tire pressure. Heavier riders need more pressure to avoid flats, while lighter riders can use less for better grip.
Example Pressure Ranges
| Rider Weight | Front Tire PSI | Rear Tire PSI |
|---|---|---|
| 120–150 lbs | 22–25 | 24–28 |
| 150–180 lbs | 24–27 | 26–30 |
| 180–210 lbs | 26–29 | 28–32 |
| 210+ lbs | 28–32 | 30–36 |
Practical insight: Always test on your home trail. What works in your driveway may feel very different in the woods.
Essential Trailside Repair Kit For Inflation
It’s not enough to know how to inflate your tire—you should also be ready to fix a flat or top up pressure during a ride.
What To Carry
- Mini pump or CO₂ inflator
- Spare tube (even for tubeless riders)
- Tire levers
- Valve adapter
- Patch kit
- Small pressure gauge (optional but helpful)
- Multi-tool (with valve core remover)
Real-world tip: Store a $5 bill in your kit—it works as an emergency tire boot if you tear the sidewall.

Credit: www.safebasementsinc.com
When To Visit A Bike Shop
Sometimes, home fixes aren’t enough. Go to a shop if:
- Tire won’t seat after many tries
- Valve is damaged or leaking badly
- Rim is bent or cracked
- You need advice on tubeless conversions
Bike shops have air compressors and expert staff who can quickly solve stubborn problems.
Learning From Experienced Riders
Ask fellow mountain bikers about their tire setups. You’ll find that everyone has preferences, but most agree: regular checks, the right tools, and knowing your gear make all the difference.
A simple task like inflating your tire is the foundation for safe, fun mountain biking. Practice at home, experiment with pressure, and soon you’ll be ready for any trail.
If you want to learn more about how tire pressure affects mountain biking, the Wikipedia page on bicycle tires is a great resource.
Frequently Asked Questions
How Do I Know If My Tire Needs More Air?
If your tire feels soft when squeezed, looks visibly flat, or makes the bike hard to pedal, it likely needs more air. Check with a pressure gauge to be sure.
What Happens If I Ride With Too Much Or Too Little Pressure?
Too much pressure reduces grip and makes the ride uncomfortable. Too little pressure increases the risk of flats and can damage your rim.
Can I Use A Car Tire Pump On My Mountain Bike?
You can use a car tire pump for Schrader valves, but they often over-inflate quickly. For Presta valves, you need an adapter.
How Often Should I Check My Tire Pressure?
Check before every ride, and use a gauge at least once a week. Tubeless tires and extreme temperatures may require more frequent checks.
What Is The Easiest Way To Inflate A Tubeless Mountain Bike Tire?
A high-volume floor pump or an air compressor works best for seating tubeless tires. Adding soapy water around the bead helps, and always make sure to add sealant for a proper seal.
With these steps and tips, inflating your mountain bike tire becomes a simple routine. You’ll ride safer, faster, and with more confidence—no matter where the trail takes you.

Hello Guys! I am John Reese, a professional biker and my hobby is biking! I have been biking for last 12 years and I love using bikes while outing as well. Based on my experiences with the different type of bikes (mountain bikes, road bikes and hybrid bikes); I am sharing my opinion about various bikes so that a beginner can get started right away. Happy reading!