Carrying a mountain bike on your back might sound like something only an extreme adventurer would do. But for many riders, it’s a practical skill—especially when you hit a trail that turns into a rocky climb, an impassable river, or a section too technical to ride.
Sometimes, the only way forward is to carry your bike. Whether you’re a bikepacker, a trail builder, or a weekend warrior seeking new ground, knowing how to carry your mountain bike on your back can save the day and open up new possibilities for your rides.
This guide gives you everything you need to master this technique. You’ll learn about the best carrying methods, what gear makes it easier, how to prepare your bike, and how to avoid common mistakes that can lead to injury or a damaged bike. We’ll cover real-life examples, compare carrying methods, and answer the most frequent questions beginners have. By the end, you’ll have a complete understanding of how to carry a mountain bike on your back—safely, efficiently, and comfortably.
Why Carry A Mountain Bike On Your Back?
Most mountain bikers hope to ride every part of a trail, but reality is different. Sometimes, you encounter:
- Steep hike-a-bike sections where riding is impossible
- Deep mud, snow, or water crossings
- Obstacles like fallen trees or giant rocks
- Remote backcountry trails with unridable stretches
Carrying your bike is often the only way to keep moving. In some mountain races or adventure events, this skill is not just useful—it’s essential. Even if you mostly ride local trails, knowing how to carry your bike means you’re prepared for anything the outdoors can throw at you.
Understanding The Weight And Size Of A Mountain Bike
Before learning how to carry a mountain bike, you need to know what you’re dealing with. Mountain bikes are heavier and bulkier than road bikes, and their weight distribution can make carrying tricky.
Typical Mountain Bike Weights
Most adult mountain bikes weigh between 25 and 35 pounds (11–16 kg). Lightweight carbon racing bikes can be around 22 pounds (10 kg), while e-mountain bikes can weigh 50 pounds (23 kg) or more. The weight depends on the frame material, suspension type, wheels, and accessories.
Size And Shape
Mountain bikes have wide handlebars (often 27–32 inches), large tires, and sometimes a dropper seatpost. The center of gravity is usually around the bottom bracket area. Knowing this helps you choose the best lifting and carrying methods.
Weight Distribution Comparison
Here’s a quick comparison of bike types and their typical weights:
| Bike Type | Average Weight (lbs) | Main Challenge When Carrying |
|---|---|---|
| Hardtail Mountain Bike | 25–30 | Wide handlebars |
| Full-Suspension Mountain Bike | 28–35 | Bulky frame, pivot points |
| E-Mountain Bike | 44–55 | Heavy battery and motor |
| Road Bike | 16–21 | Delicate frame, easier to carry |
Understanding your bike’s weight and shape helps you choose a carrying method that won’t exhaust you or risk injury.
Preparing Your Bike For Carrying
Before you lift your mountain bike onto your back, a bit of preparation will make things easier and safer. Skipping these steps is a common beginner mistake.
Secure Loose Items
- Remove water bottles and any loose gear from your bike frame.
- Check your saddle bag and make sure it’s zipped or clipped securely.
- Lock the wheels with quick-release or thru-axle levers if possible. This keeps them from spinning and hitting you.
Adjust The Handlebars And Pedals
- If your handlebars are very wide, consider turning the front wheel slightly to angle them for a better fit on your back.
- Rotate the cranks so the pedals point down. This reduces the chance of them digging into your back.
Clean Off Mud And Debris
- Muddy bikes are slippery and can ruin your clothes.
- If you’re crossing water or mud, wipe down the frame before lifting.
Lighten The Load
- Remove extra gear if you can carry it in a backpack instead.
- Detach heavy accessories like a pump or lock.
Quick Preparation Checklist
- Remove water bottles and loose items
- Angle handlebars if possible
- Rotate pedals for comfort
- Wipe off mud and water
- Lighten bike by removing heavy accessories
Many new riders forget to angle the pedals, which often leads to bruises or discomfort. Another missed step is removing water bottles—these can fall out or poke you while carrying.
Essential Gear For Carrying A Mountain Bike
While you can carry a mountain bike with no extra gear, some equipment makes the process much easier, especially on long hikes or tough terrain.
Backpacks With Bike Carry Systems
Some hiking or mountain biking backpacks have built-in bike carry straps. These let you secure the frame to the pack, keeping your hands free and distributing weight evenly.
- Osprey Raptor Pro and Evoc Trail Pro are popular choices.
- Look for padded shoulder straps and a hip belt for comfort.
- Make sure the pack fits your torso length.
Frame Pads Or Shoulder Protectors
A simple foam pad or even a rolled-up jacket can protect your shoulder from the bike’s top tube. This is especially helpful if you have a heavy or angular frame.
Gloves
Wearing cycling gloves helps you grip the frame and keeps your hands clean and blister-free.
Lightweight Straps Or Webbing
Some riders use Velcro straps or webbing to tie the wheels or handlebars in place. This prevents swinging and makes the bike more compact.
Comparing Carry Gear
Here’s a quick look at how different gear can help when carrying your mountain bike:
| Gear Type | Main Benefit | Drawback |
|---|---|---|
| Bike Carry Backpack | Hands-free, balanced load | Expensive, extra weight |
| Frame Pad | Protects shoulder | Can slip out of place |
| Gloves | Better grip, clean hands | Minimal padding |
| Straps/Webbing | Secures moving parts | Extra setup time |
A common mistake is to carry a bike without gloves—sharp chainrings or dirty frames can leave cuts or stains.

Credit: www.welovecycling.com
Main Carrying Methods
There are several ways to carry a mountain bike on your back. The best method depends on your bike, body size, and how far you need to go. Here are the most effective techniques, with step-by-step instructions.
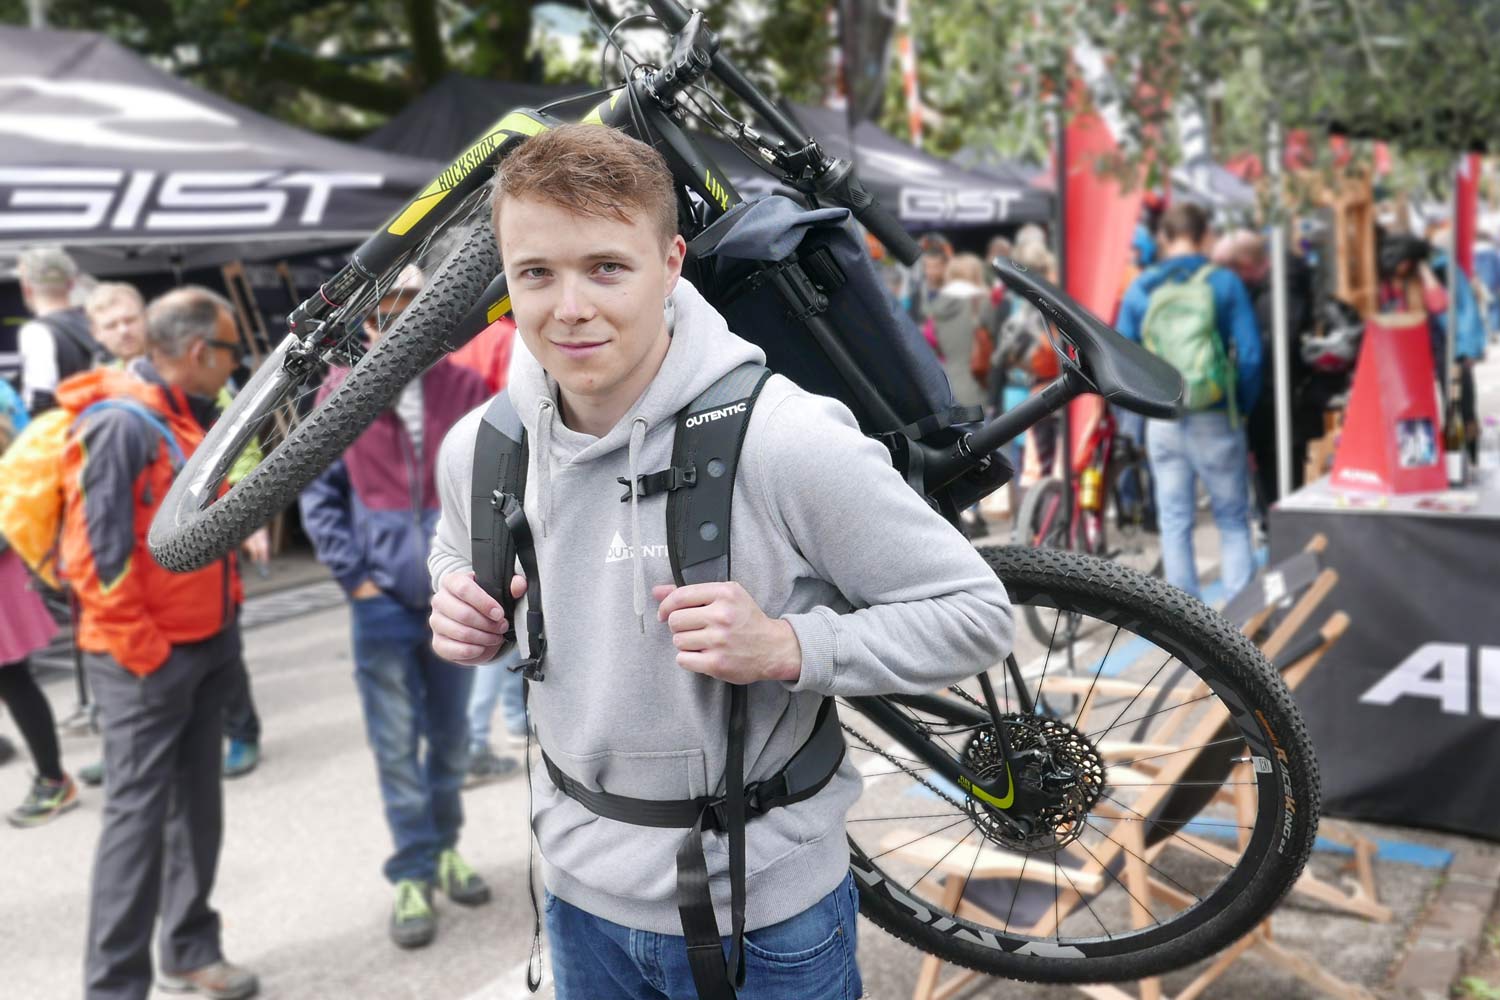
1. Over-the-shoulder Carry
This is the classic “cyclocross” method. It’s quick, simple, and works for short distances or steep climbs.
Steps:
- Stand on the left side of your bike.
- Grab the down tube (the lower frame tube) with your right hand.
- Swing the bike up so the top tube rests on your right shoulder.
- Use your right hand to hold the handlebar for stability.
- The front wheel should be in front of you, the rear wheel behind.
Tip: Adjust the pedal so it doesn’t hit your back. For longer carries, use a pad or jacket under the top tube.
Pros And Cons
- Pros: Fast to learn, no extra gear needed.
- Cons: Can get uncomfortable over long distances, especially with heavy bikes.
2. Backpack Carry (piggyback Method)
If you have a backpack with bike-carry straps, you can secure the frame to your pack. This method is used by bikepackers and adventure racers.
Steps:
- Lay the bike on its side.
- Open the straps on your backpack.
- Place the top tube or seat tube against the back of the pack.
- Tighten the straps to secure the frame.
- Stand up and adjust the load so it’s balanced.
Tip: Make sure the wheels are secured to avoid swinging. If your pack doesn’t have built-in straps, use webbing or bungee cords.
Pros And Cons
- Pros: Hands-free, spreads weight evenly.
- Cons: Requires special backpack, slower to set up.
3. Fireman’s Carry
This method puts the bike across both shoulders, like a fireman carrying a hose. It’s useful for very heavy bikes or long, steep climbs.
Steps:
- Kneel beside the bike.
- Lift the frame so the top tube goes across both shoulders, with the head tube in front.
- Use one hand to steady the handlebars, the other on the seat or frame.
Tip: Keep your neck in a neutral position to avoid strain. This method is best with a pad or soft clothing under the frame.
Pros And Cons
- Pros: Distributes weight, good for long hikes.
- Cons: Awkward with wide handlebars, can block vision.
4. Push And Drag (when Carry Is Not Practical)
Sometimes, the terrain lets you push or drag your bike instead of carrying. For example, on a wide but rocky path, pushing the bike upright may be easier than lifting.
- Push the bike upright by the handlebars, keeping the rear wheel rolling.
- Drag the bike backward by the seat if the front wheel keeps getting stuck.
Tip: Never drag the bike upside down—this can damage the controls and saddle.
Comparing Carrying Methods
Choosing the right method depends on the terrain, your strength, and how long you’ll be carrying the bike. Here’s a comparison for quick reference:
| Method | Best For | Comfort Level | Speed |
|---|---|---|---|
| Over-the-Shoulder | Short climbs, obstacles | Medium | Fast |
| Backpack Carry | Long hikes, technical terrain | High | Slow |
| Fireman’s Carry | Heavy bikes, long carries | High | Medium |
| Push/Drag | Wide, rocky paths | High | Fast |
One overlooked detail: Switching methods mid-carry is normal and often smart. If your shoulders are getting sore, try switching sides or using a different technique for a while.
Step-by-step Guide: Carrying Your Mountain Bike Safely
Let’s walk through the actual process with practical tips. This will help you avoid injury and carry your bike efficiently.
Step 1: Assess The Terrain
Before lifting your bike, look at the path ahead. How far do you need to carry? Is it steep, rocky, or muddy? Choose your method based on this.
Step 2: Prepare Your Bike
- Remove or secure all loose items.
- Wipe off mud.
- Adjust pedals and handlebars.
Step 3: Position Your Body
Stand with feet shoulder-width apart. Bend your knees, not your back. Get a firm grip on the frame.
Step 4: Lift With Your Legs
Always lift using your legs, not your back. Mountain bikes are awkward—using your back can lead to injury.
Step 5: Settle The Bike On Your Shoulder Or Pack
- For over-the-shoulder, let the top tube rest on your muscle, not directly on the bone.
- For backpack carry, check that the straps are tight.
Step 6: Balance And Move
Keep your back straight and look ahead. Take small steps, especially on uneven ground. If you feel unsteady, stop and adjust.
Step 7: Rest And Switch Sides
On long carries, rest every few minutes. Switch the bike to your other shoulder to avoid fatigue.
Insider tip: Many riders forget to rest, leading to sore muscles and poor balance. Short breaks keep you safer and let you carry farther.
Advanced Carry Techniques
For long expeditions or tough terrain, a few extra tricks can make a big difference.
Using Two People
If you’re riding with a friend, consider carrying the bike together. Each person grabs an end of the frame or wheels. This splits the weight and reduces strain.
Carrying An E-mountain Bike
E-bikes are much heavier. If possible, remove the battery before carrying. Use the fireman’s carry or backpack method with extra padding.
Diy Carry Straps
Some riders make their own bike carry straps from webbing or old backpack belts. Attach these to the frame for a quick, custom solution.
Non-obvious insight: Most bike frames can handle being carried, but carbon frames can be slippery and have sharp edges. Always use padding with a carbon bike.
Common Mistakes And How To Avoid Them
It’s easy to make errors when you’re tired, stressed, or in a hurry. Here are the most frequent mistakes and how to fix them.
1. Lifting With Your Back
Many beginners bend over and lift the bike with their back muscles. This is a fast way to get injured. Always bend your knees and lift with your legs.
2. Ignoring Pedal Position
A pedal digging into your back will ruin your hike. Rotate the crank so the pedal is pointing down or away from your body.
3. Carrying For Too Long Without Rest
Even strong riders need breaks. Switching sides or resting every 5–10 minutes makes a big difference.
4. Not Securing Wheels And Handlebars
Loose wheels can swing and knock you off balance. Use a strap or your hand to keep them still.
5. Wearing The Wrong Clothing
A thin jersey can lead to bruises. Wear a jacket or use a pad under the frame for comfort.
Training And Conditioning For Carrying A Mountain Bike
Carrying a mountain bike is physically demanding. The following exercises help prepare your body for tough hike-a-bike sections:
Strength Training
- Deadlifts: Build lower back and leg strength for lifting.
- Shoulder presses: Help with supporting the bike on your shoulder.
- Core exercises: Planks and side bridges improve balance.
Flexibility
- Shoulder stretches: Prevent stiffness and injury.
- Hip mobility: Makes lifting and squatting easier.
Practice With Your Actual Bike
Try carrying your own bike on a short, easy trail before your first big hike. Adjust your technique based on comfort and balance.
Practical tip: Even 5–10 minutes of practice at home can reveal weak spots in your technique or gear setup.
When Not To Carry Your Mountain Bike
While carrying your bike is sometimes necessary, there are situations when it’s safer or smarter to find another way:
- If you’re too tired: Carrying a heavy bike when exhausted can lead to falls or injury.
- If the terrain is too dangerous: Wet, icy, or extremely steep areas may be better crossed without the bike.
- If you risk damaging the bike: Carrying over sharp rocks can scratch or dent the frame.
In these cases, wait for help, find a detour, or split the carry between riders.
Real-world Examples
Mountain Bike Races
In events like the Megavalanche or TransAlp, riders often face snowfields or rocky chutes. The fastest racers are those who can carry their bikes quickly and safely.
Bikepacking And Adventure Riding
On remote trails, carrying your bike is sometimes the only way to cross rivers or cliffs. Successful bikepackers practice carrying before big trips.
Trail Building
Mountain bikers who build new trails often carry bikes and tools into the backcountry. A good carry technique makes the job much easier.
Credit: bikerumor.com
Environmental Impact And Safety
When carrying your bike, always stay on the trail. Avoid trampling plants or creating new paths. If you need to leave the trail, stick to rocks or durable surfaces.
For safety, let someone know your route if you plan a hike-a-bike trip. Carry a phone, GPS, or map, and be prepared for sudden weather changes.
Extra Tips For Comfort And Efficiency
- Wear a wider, padded shoulder strap if possible.
- If the bike is muddy, cover it with a rain jacket before lifting.
- Use a sports tape on your shoulder for long carries to prevent chafing.
- Drink water before carrying—lifting a bike is hard work!
Uncommon advice: In cold weather, a bike frame can get icy or slippery. A layer of duct tape on the top tube can add grip in emergencies.
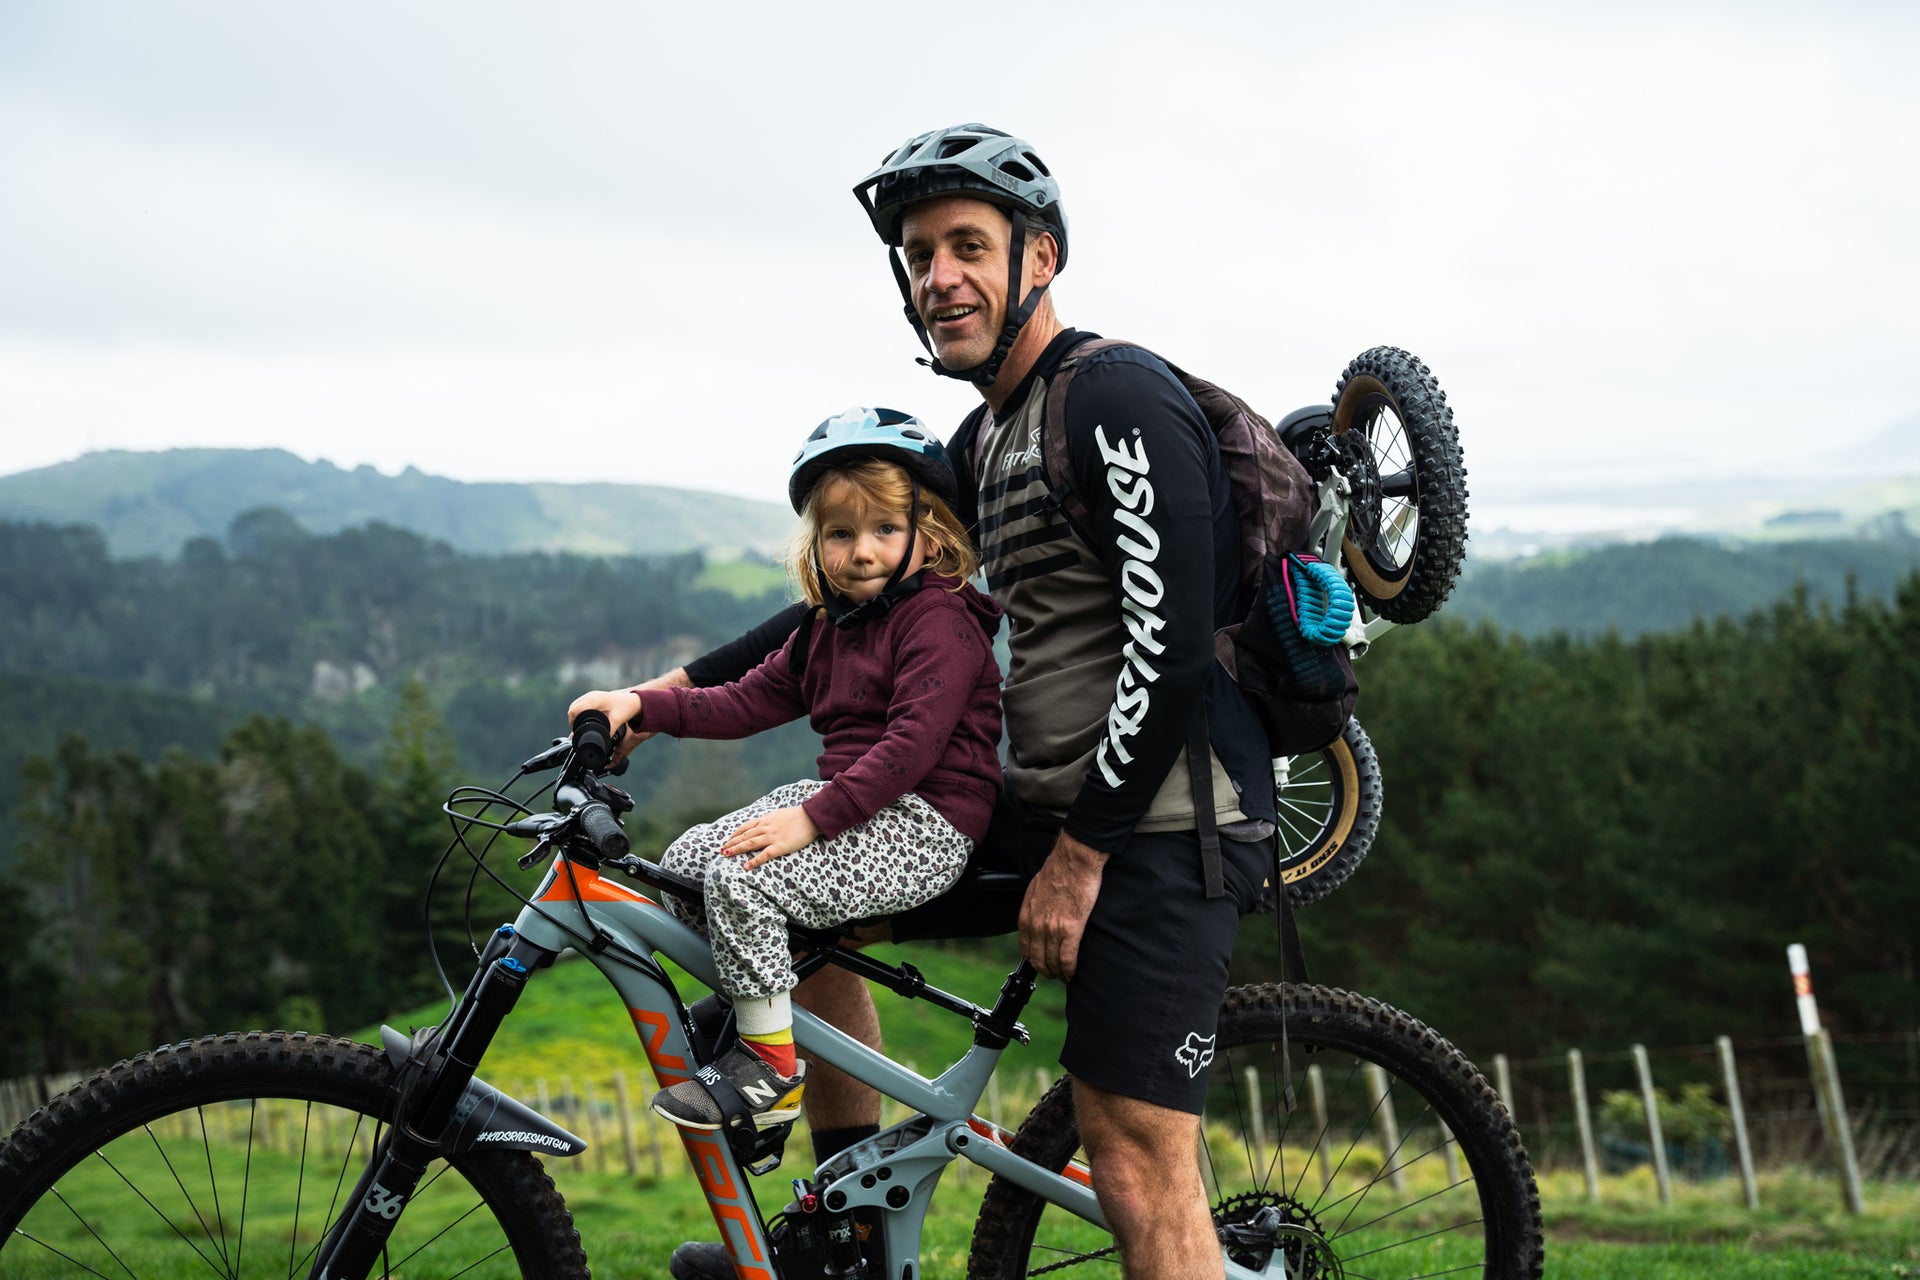
Credit: kidsrideshotgun.com
How To Carry A Mountain Bike In Urban Areas
Sometimes you need to carry your bike in the city—up stairs, through buildings, or into public transit. Use these tips:
- Use the over-the-shoulder method for short staircases.
- In crowded places, turn the handlebars parallel to the frame to avoid hitting people.
- If allowed, use elevators or ramps instead of stairs.
Many cities have rules about carrying bikes on public transport. Check local guidelines before you travel.
For more on bike carrying rules in cities, see NACTO: Bike Carrying Guidelines.
Frequently Asked Questions
How Much Weight Can A Person Safely Carry On Their Back?
Most healthy adults can carry about 20–25% of their body weight comfortably for a short distance. For a 160-pound (73 kg) person, that’s about 32–40 pounds (14–18 kg). If your mountain bike is heavier, take extra breaks or carry with a partner.
Can I Carry An Electric Mountain Bike On My Back?
It’s possible but much harder. E-bikes can weigh 45–55 pounds (20–25 kg) or more. If you must carry an e-bike, remove the battery first, and use the fireman’s carry or a padded backpack. Avoid long carries unless absolutely necessary.
Will Carrying My Bike Damage The Frame?
If you use the top tube or seat tube to carry and avoid dropping the bike, most frames will not be damaged. Carbon frames are tougher than they look, but use padding to avoid scratches or chips.
What Is The Best Way To Carry A Bike Up Stairs?
For short flights, the over-the-shoulder method is fastest. For long staircases, use both hands—one on the top tube, one on the fork or seat tube—for better balance.
Is There A Special Backpack For Carrying Bikes?
Yes, brands like Evoc, Osprey, and Deuter make bike-carry backpacks with straps for securing the frame. These packs are designed for mountain bikers and hikers who need to carry bikes over long distances.
Carrying a mountain bike on your back is a skill that every adventurous rider should learn. It opens up new trails, helps you handle unexpected obstacles, and gives you more freedom on your rides. Practice the techniques, use the right gear, and you’ll be ready for whatever the trail throws at you.
With preparation and smart carrying, even the toughest hike-a-bike sections become part of the adventure.

Hello Guys! I am John Reese, a professional biker and my hobby is biking! I have been biking for last 12 years and I love using bikes while outing as well. Based on my experiences with the different type of bikes (mountain bikes, road bikes and hybrid bikes); I am sharing my opinion about various bikes so that a beginner can get started right away. Happy reading!