Mountain biking is all about adventure, speed, and control. But there’s one small detail that often decides how much you enjoy your ride: air pressure in your tires. Many riders—especially beginners—don’t realize how much tire pressure affects grip, comfort, and even safety. If your tires are too soft, you risk pinch flats and sluggish handling. If they’re too hard, you lose traction and feel every bump. Finding the right air pressure isn’t just about numbers; it’s about matching your riding style, terrain, and even the weather. This guide will help you understand how much air you really need in your mountain bike tires, with practical examples, expert tips, and a few surprising facts most riders miss.
Why Tire Pressure Matters For Mountain Biking
Getting the right tire pressure is more than a routine step. It shapes your experience on the trail. Low pressure increases grip and comfort, but too little leads to tire damage. High pressure reduces rolling resistance but makes the ride harsh and slippery.
A mountain bike’s tires are wider and softer than those on road bikes. This means the pressure range is much lower. Most mountain bike tires run between 20–35 psi (pounds per square inch), but the ideal number depends on several factors. Let’s look at why this matters:
- Traction: Lower pressure allows the tire to spread and grip rocks, roots, and dirt.
- Comfort: Softer tires absorb bumps and vibrations, keeping your hands and back happy.
- Protection: The right pressure prevents pinch flats, where the tire compresses so much it pinches the inner tube.
- Efficiency: Too much pressure makes the tire bounce and lose contact with the trail, costing speed and control.
An overlooked insight: Tire pressure isn’t just about what feels good. It’s about balance—finding the sweet spot between grip and efficiency for your riding style.
Recommended Tire Pressure For Mountain Bikes
Many riders ask, “How much air should I put in my mountain bike tires? ” The answer isn’t one-size-fits-all. Different bikes, tires, and riders need different pressures.
Here’s a quick reference for typical mountain bike tire pressures:
| Rider Weight | Tire Type | Recommended Pressure (psi) |
|---|---|---|
| Under 130 lbs | Standard (Tube) | 20–25 |
| 130–170 lbs | Standard (Tube) | 22–28 |
| 170–210 lbs | Standard (Tube) | 25–35 |
| 210+ lbs | Standard (Tube) | 28–40 |
| Any weight | Tubeless | 18–25 |
These numbers are starting points. Always adjust for your trail conditions and tire width.
Factors That Affect Mountain Bike Tire Pressure
Many riders think pressure is just about their weight, but there’s more to consider. Here are the main factors:
Tire Width
Wider tires need less pressure because they have more air volume. For example, a 2.1-inch tire may require 30 psi, while a 2.5-inch tire might work well at 23 psi. Using too much air in a wide tire makes it bouncy and less stable.
Rider Weight
Heavier riders compress tires more, so they need higher pressure to avoid flats. Lighter riders can go softer for better grip.
Tubeless Vs. Tubed Tires
Tubeless tires can run lower pressure safely. They resist pinch flats, so you can go as low as 18 psi. Tubed tires need a little more air to prevent tube damage.
Terrain Type
- Rocky trails: Lower pressure for grip and shock absorption.
- Hard-packed dirt: Higher pressure for speed.
- Wet/muddy: Softer tires help stick to slippery surfaces.
Weather
Cold weather makes air contract, lowering pressure. Hot weather expands air, increasing pressure. Always check tire pressure before each ride.
Riding Style
Aggressive riders who jump or corner hard should use more pressure for support. Casual riders can go lower for comfort.
Tire Construction
Some tires have thick sidewalls or special materials. These can handle lower pressures without deforming.
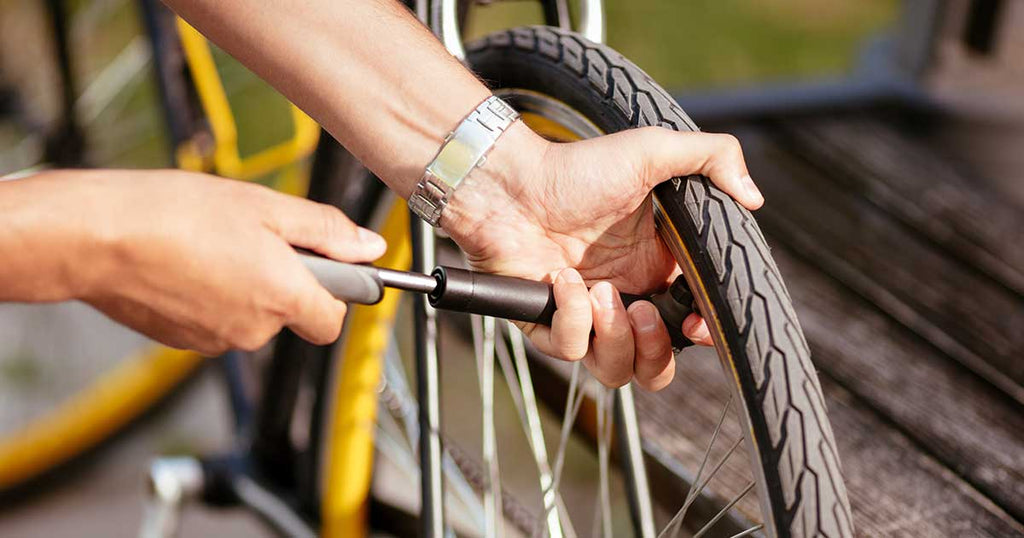
How To Check And Adjust Tire Pressure
Knowing your ideal psi is only half the battle. Checking and adjusting tire pressure is a habit every rider should develop.
What You Need
- Floor pump with a pressure gauge
- Digital or analog tire pressure gauge
- CO2 inflator (optional for emergencies)
Steps To Check Pressure
- Remove the cap from the valve (Schrader or Presta).
- Attach the pump or gauge.
- Read the pressure. If it’s too low, add air. If it’s too high, release air.
- Recheck to confirm accuracy.
- Replace the valve cap.
A common mistake: Many riders only check pressure by squeezing the tire. This isn’t reliable. Always use a gauge for accuracy.
How Often To Check
- Before every ride, especially after storage or temperature changes.
- After long rides, as tires can lose air slowly.
- When switching terrain or tire type.
Credit: spokester.com
Real-world Examples: Finding The Right Psi
Let’s look at how riders adjust pressure for different scenarios.
Example 1: Lightweight Rider, Tubeless, Rocky Trails
- Rider weighs 120 lbs
- Tire: 2.3-inch tubeless
- Terrain: Rocky, uneven
Ideal pressure: 18–20 psi. This gives maximum grip and comfort without risking tire damage.
Example 2: Heavy Rider, Standard Tube, Hardpack
- Rider weighs 200 lbs
- Tire: 2.1-inch, standard tube
- Terrain: Hard-packed dirt
Ideal pressure: 30–35 psi. Higher pressure prevents flats and rolls faster.
Example 3: Average Weight, Wide Tires, Muddy Conditions
- Rider weighs 160 lbs
- Tire: 2.5-inch, tubeless
- Terrain: Wet, muddy
Ideal pressure: 20–22 psi. Lower air helps the tire stick to slippery surfaces.
Example 4: Aggressive Downhill Rider
- Rider weighs 170 lbs
- Tire: 2.4-inch, tubeless
- Terrain: Steep descents, jumps
Ideal pressure: 23–25 psi. Enough to support hard impacts but still grip the ground.
Comparing Tire Pressure Choices: Tubeless Vs. Tubed
Tubeless technology changes the game for mountain bikers. Here’s a side-by-side comparison:
| Type | Pressure Range (psi) | Main Advantage | Main Drawback |
|---|---|---|---|
| Tubed | 22–35 | Easy to repair | Higher risk of pinch flats |
| Tubeless | 18–25 | Lower pressure, better grip | More setup required |
Non-obvious tip: Tubeless tires also let you run sealant inside, which repairs small punctures automatically. This is a huge plus for rough trails.
Mistakes Riders Make With Tire Pressure
Even experienced riders sometimes get it wrong. Here are common mistakes and how to avoid them:
- Using road bike pressure numbers: Mountain bike tires need much less air.
- Ignoring tire width: Wider tires need lower pressure.
- Not checking pressure often: Air leaks slowly, so pressure can drop over time.
- Overinflating for speed: High pressure can actually slow you down on rough terrain.
- Relying on “feel” only: Always use a gauge.
- Not adjusting for conditions: Change pressure as terrain and weather change.
Practical Tips For Mountain Bike Tire Pressure
- Start with the manufacturer’s recommended range printed on the sidewall.
- Experiment in small steps—change by 1–2 psi at a time.
- Mark your favorite settings for front and rear tires.
- Use lower pressure in the front tire for grip, slightly higher in the rear for support.
- Carry a small gauge and pump on rides.
A useful insight: Tires lose air faster after hard impacts or long rides. Check pressure after every tough session, not just before.

Credit: www.singletracks.com
Data Table: Tire Pressure Vs. Performance
For those who like numbers, here’s how different pressures affect performance:
| Pressure (psi) | Grip | Comfort | Flat Risk | Rolling Speed |
|---|---|---|---|---|
| 18 | Excellent | Very High | Low (tubeless), High (tubed) | Moderate |
| 25 | Good | High | Low | Good |
| 30 | Average | Moderate | Very Low | Excellent |
| 35 | Poor | Low | Very Low | Best (hardpack only) |
This shows why pressure isn’t just about avoiding flats. It changes how your bike feels and handles.
Frequently Asked Questions
How Often Should I Check My Mountain Bike Tire Pressure?
Check before every ride. Air escapes slowly, and temperature changes can affect pressure. Regular checks help avoid surprises and keep your ride safe.
Can I Use The Same Tire Pressure For All Trails?
No. Adjust pressure for the terrain. Softer tires are better for rocky or muddy trails, while harder tires work for dry, smooth paths.
What Happens If I Run Too Low Pressure In Tubed Tires?
You risk pinch flats, where the tube gets squeezed and punctured by the rim. Always stay above 20 psi for tubed tires unless you’re very lightweight.
Do Front And Rear Tires Need Different Pressures?
Often, yes. The front tire can use lower pressure for grip and control. The rear tire usually needs more air to support your weight and prevent flats.
Is There A Tool To Help Find The Perfect Tire Pressure?
Yes. Use a tire pressure gauge for accuracy. Some digital gauges are very precise. For more tips and tools, visit Bicycling.com.
Finding the right air pressure for your mountain bike tires isn’t complicated, but it requires attention and a bit of trial and error. Remember, the goal is to match your tire pressure to your weight, tire type, terrain, and riding style.
Don’t just follow numbers—test what feels best for you. With the right pressure, your bike will grip, roll, and handle perfectly, making every trail ride safer and more enjoyable.
Credit: www.youtube.com

Hello Guys! I am John Reese, a professional biker and my hobby is biking! I have been biking for last 12 years and I love using bikes while outing as well. Based on my experiences with the different type of bikes (mountain bikes, road bikes and hybrid bikes); I am sharing my opinion about various bikes so that a beginner can get started right away. Happy reading!