Mountain biking is an adventure that challenges both your skills and your equipment. One of the most important parts of your bike is the front suspension fork. Whether you’re riding rocky trails, smooth paths, or steep descents, the right suspension setup can make your ride safer, smoother, and more fun. But many riders—even those with experience—don’t know how to adjust their front suspension properly. This article breaks down the process step by step, using simple language, so you can understand and apply it with confidence.
Why Front Suspension Matters
The front suspension is designed to absorb bumps and shocks from the terrain. It protects your arms and hands from vibration, keeps your front wheel in contact with the ground, and helps you control your bike. If your fork is too stiff, you’ll feel every rock. If it’s too soft, you might lose control or bottom out (when the fork compresses fully and can’t go further). A well-tuned fork makes your ride safer and more enjoyable.
The right setting depends on your weight, riding style, and the trails you ride. Adjusting your suspension isn’t just for experts. Beginners and casual riders can benefit too. In fact, many riders leave their forks at factory settings and miss out on better performance.
Understanding Suspension Basics
Before you adjust anything, it helps to know how your fork works. Most mountain bikes use air forks or coil forks. Each has its own adjustments.
Air Forks
Air forks use air pressure to control stiffness. You add air with a shock pump. This type is lighter, easy to adjust, and common on mid to high-end bikes.
Coil Forks
Coil forks use a metal spring. You adjust stiffness by swapping springs or turning a knob. They’re heavier but offer smooth performance.
Key Adjustments
Most forks have three main adjustments:
- Sag (how much the fork compresses under your weight)
- Compression (how fast the fork compresses over bumps)
- Rebound (how fast the fork returns after compressing)
Some forks have extra adjustments, but these three are most important.
Here’s a quick comparison of air and coil forks:
| Feature | Air Fork | Coil Fork |
|---|---|---|
| Weight | Lighter | Heavier |
| Adjustment | Easy (with pump) | Requires spring change or knob |
| Performance | Progressive feel | Smooth, linear feel |
| Maintenance | Needs regular air checks | Less frequent checks |
Preparing To Adjust Your Front Suspension
Before you start, gather these items:
- Shock pump (for air forks)
- Hex keys or Allen wrenches (for some adjustments)
- Measuring tape or ruler
- Zip tie or O-ring (for measuring sag)
- Owner’s manual (find settings for your fork model)
Check your bike for cleanliness. Dirt can hide adjustment knobs or scratch your fork. It’s best to work in a well-lit area.
Safety Tip: Never use a regular tire pump for air forks. It can damage the valve. Always use a shock pump.
Setting Sag: The Foundation Of Suspension Adjustment
Sag is the amount your fork compresses when you sit on your bike. Setting sag is crucial. It helps your fork respond to bumps but not sink too much under your weight.
How To Measure And Set Sag
- Find the recommended sag: Most forks need 15–25% of their total travel as sag. For example, if your fork has 100mm travel, aim for 15–25mm sag.
- Slide the O-ring or zip tie: Place it on the fork’s stanchion (the shiny tube).
- Get on your bike: Wear your normal riding gear. Stand with your feet on the pedals and hands on the bars. Have someone hold the bike steady.
- Bounce lightly: Let the fork settle. Don’t lock your arms.
- Measure sag: Carefully get off. See how far the O-ring moved. Measure from the seal to the O-ring.
- Adjust air pressure: If sag is too much, add air. If too little, release air. For coil forks, adjust the preload knob or change the spring.
Repeat until you reach the target sag.
Why Sag Matters
Sag helps the fork stay responsive to both big and small bumps. Too little sag means your fork is too stiff. Too much sag means it’s too soft. Most riders miss this step—don’t be one of them.
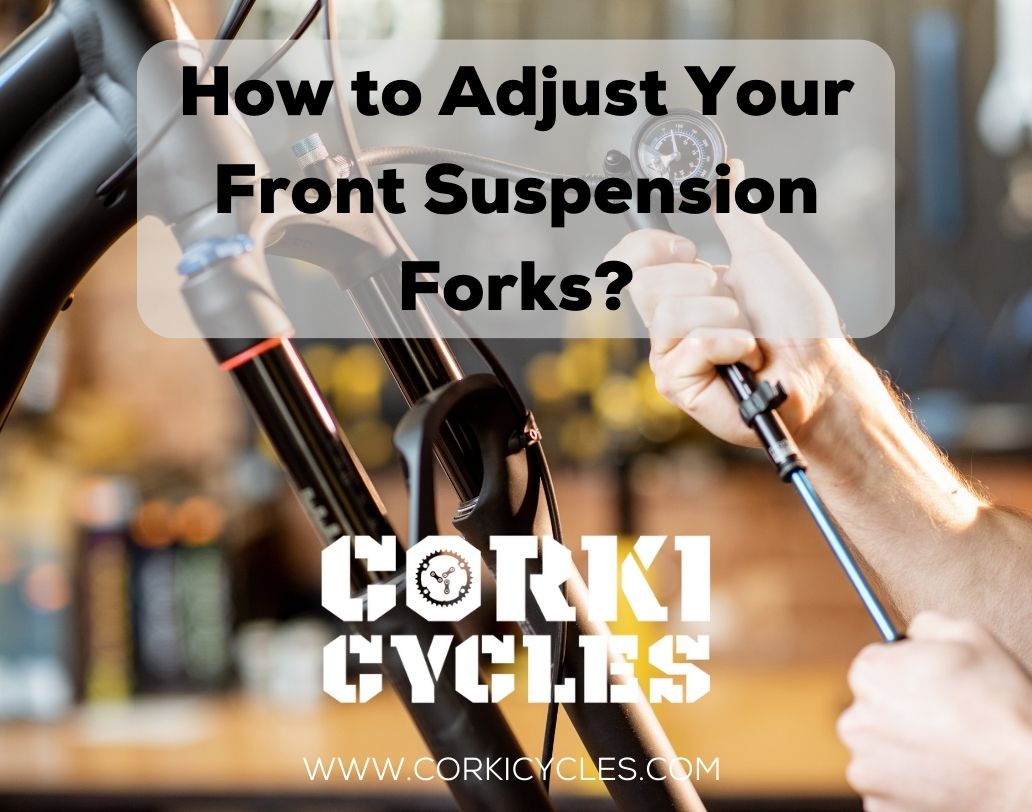
Credit: www.corkicycles.com
Adjusting Compression: Controlling Your Ride
Compression controls how fast your fork compresses when you hit bumps. There are two main types:
- Low-speed compression: Handles small bumps, braking, and pedaling forces.
- High-speed compression: Handles big hits like drops or rocks.
Most forks only have low-speed compression adjustment.
Setting Compression
Look for a knob labeled “compression” near the top of your fork. Turn it clockwise to make the fork stiffer (less compressible), counterclockwise to make it softer.
- For rocky, rough trails: Softer compression lets the fork absorb bumps.
- For smooth trails or aggressive riding: Stiffer compression can help prevent the fork from diving.
If your fork has both low and high-speed compression, consult your manual. For most riders, adjusting low-speed compression is enough.
Practical Example
If you notice your fork dives too much when braking, increase compression. If you feel every small bump, decrease compression.
Adjusting Rebound: Finding The Right Return Speed
Rebound controls how fast your fork returns after compressing. Too fast, and your front wheel may bounce. Too slow, and the fork can pack down (stay compressed).
Setting Rebound
Find the rebound knob, usually at the bottom of the fork leg. It often has a red color.
- Turn clockwise for slower rebound (fork returns slowly)
- Turn counterclockwise for faster rebound (fork returns quickly)
How To Test Rebound
- Push down on the handlebars.
- Let go and watch the fork rebound.
- If the fork “pogo sticks” (bounces up fast), slow the rebound.
- If the fork stays compressed or feels sluggish, speed up the rebound.
A good rebound setting allows the fork to return in a controlled way without bouncing or staying compressed.

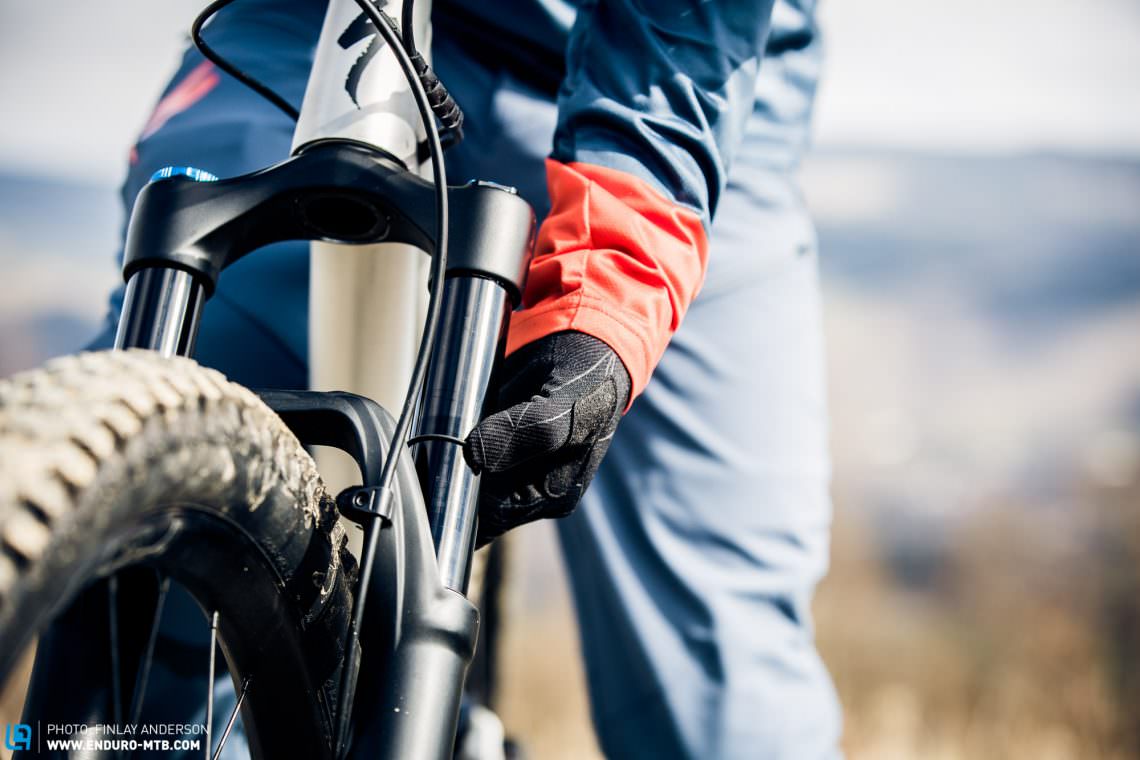
Credit: www.youtube.com
Fine-tuning For Your Riding Style
Adjusting your fork is not a one-time job. Trails, weather, and your riding style affect what you need. Try these tips for fine-tuning:
- Trail type: For rocky trails, use softer compression and more sag.
- Weight changes: If you add gear (backpack, water), check your sag again.
- Riding style: Aggressive riders may prefer stiffer compression and faster rebound.
Here’s a comparison of typical settings for different riding styles:
| Riding Style | Sag | Compression | Rebound |
|---|---|---|---|
| Cross-country | 15–20% | Medium | Medium |
| Trail/All-mountain | 20–25% | Softer | Slower |
| Downhill | 25–30% | Stiffer | Faster |
Common Mistakes And How To Avoid Them
Even experienced riders make mistakes adjusting their front suspension. Here are a few to watch out for:
- Ignoring sag: Many riders skip sag and focus on knobs. Sag is the foundation—always check it first.
- Not checking settings regularly: Air can leak over time. Recheck your settings every few rides.
- Over-adjusting: Small changes go a long way. Don’t turn knobs too much at once.
- Forgetting gear weight: Always check sag with your riding gear on.
- Confusing compression and rebound: Compression controls how the fork compresses; rebound controls how it returns.
One non-obvious insight: Some riders adjust their fork at home, but trails can feel different. Make small changes during your ride for best results.
Step-by-step Guide: Adjusting Mountain Bike Front Suspension
Let’s put all the theory into practice. Here’s a clear guide for most forks:
- Clean your fork: Dirt can hide knobs and scratch the fork.
- Check air pressure: Use a shock pump for air forks. Find the recommended pressure in your manual.
- Set sag: Use an O-ring or zip tie. Wear your gear. Measure and adjust air or preload until you hit the target sag.
- Adjust compression: Start with the factory setting. Test on a trail. Turn knob for stiffer or softer feel as needed.
- Adjust rebound: Start in the middle. Push down on handlebars, watch return speed. Adjust until fork returns smoothly without bouncing.
- Test ride: Go for a short ride. Note how the fork feels over bumps, rocks, and during braking.
- Fine-tune: Make small changes. Adjust one knob at a time. Test again.
Practical Example
Suppose you weigh 150 pounds and ride a 120mm air fork.
- Target sag: 20% of 120mm = 24mm
- Use a shock pump to reach the pressure that gives 24mm sag.
- Set compression to medium for general trails.
- Set rebound so the fork returns smoothly without bouncing.
Advanced Adjustments And Tips
Some forks offer extra adjustments like lockout (makes the fork rigid), volume spacers (change air spring curve), or high-speed compression. These are more advanced and not found on all forks.
- Lockout: Useful for smooth climbs. Don’t use on rough trails.
- Volume spacers: Add to make fork ramp up more (stiffer at end of travel). Remove for smoother feel.
- High-speed compression: Adjust only if you ride big drops or aggressive trails.
If you’re unsure, stick to sag, compression, and rebound.
Maintenance Tips
- Check air pressure every month (for air forks)
- Clean fork stanchions after every ride
- Lubricate seals as recommended in manual
- Have your fork serviced every 1–2 years
Real-world Data: Suspension Settings And Performance
Studies show that proper suspension adjustment reduces rider fatigue by up to 30%. It also improves control and lowers crash risk. According to a survey by Pinkbike, more than 40% of riders admit they don’t check their suspension regularly.
Here’s a data snapshot:
| Adjustment | Effect on Ride | Percent of Riders Adjusting |
|---|---|---|
| Sag | Improves comfort, handling | 35% |
| Compression | Reduces fork dive, absorbs bumps | 25% |
| Rebound | Controls fork return speed | 20% |
Many beginners think suspension is “set and forget. ” In fact, regular tuning can make your rides smoother and safer.
When To Seek Professional Help
Most adjustments are simple, but some problems need a bike shop:
- If your fork leaks oil or air
- If knobs don’t turn smoothly
- If you hear strange noises (like clunks or squeaks)
A professional can help with repairs, spring swaps, or advanced tuning.
Resources For More Information
If you want to dive deeper, fork manufacturers like Fox, RockShox, and SR Suntour have online manuals and guides. Forums and YouTube channels offer video instructions. For detailed science and history, visit Wikipedia.
Frequently Asked Questions
How Often Should I Adjust My Mountain Bike Front Suspension?
Check your settings every few rides, especially air pressure. Trails and weather change. Air forks can lose pressure over time. If you feel a change in handling or comfort, check sag and knobs.
Can I Use A Regular Tire Pump To Adjust My Air Fork?
No. Use a shock pump. Tire pumps are not precise and can damage your fork’s valve. Shock pumps are made for high pressure and small volume.
What Is “bottoming Out” And How Do I Prevent It?
Bottoming out means your fork compresses fully and can’t go further, often with a loud clunk. Prevent this by increasing air pressure (for air forks), adding volume spacers, or making compression stiffer.
How Do I Know If My Rebound Is Too Fast Or Too Slow?
If your fork rebounds too fast, it may bounce and lose traction. If it’s too slow, the fork feels sluggish and doesn’t recover in time for the next bump. Test by pushing down on the handlebars and watching the fork’s return speed.
Should I Adjust My Suspension For Different Trails?
Yes. Softer settings for rocky or rough trails, stiffer for smooth or aggressive riding. Don’t be afraid to make small changes between rides.
Mountain bike front suspension adjustment is not just for professionals. With a little knowledge, you can improve your comfort, control, and safety. Remember to start with sag, fine-tune compression and rebound, and make small changes as you ride. Over time, you’ll feel the difference in every turn and jump.
Regular maintenance and tuning make your mountain biking more enjoyable. Don’t leave your fork at factory settings—adjust it for your needs, and you’ll get the best out of your bike.
Credit: enduro-mtb.com

Hello Guys! I am John Reese, a professional biker and my hobby is biking! I have been biking for last 12 years and I love using bikes while outing as well. Based on my experiences with the different type of bikes (mountain bikes, road bikes and hybrid bikes); I am sharing my opinion about various bikes so that a beginner can get started right away. Happy reading!