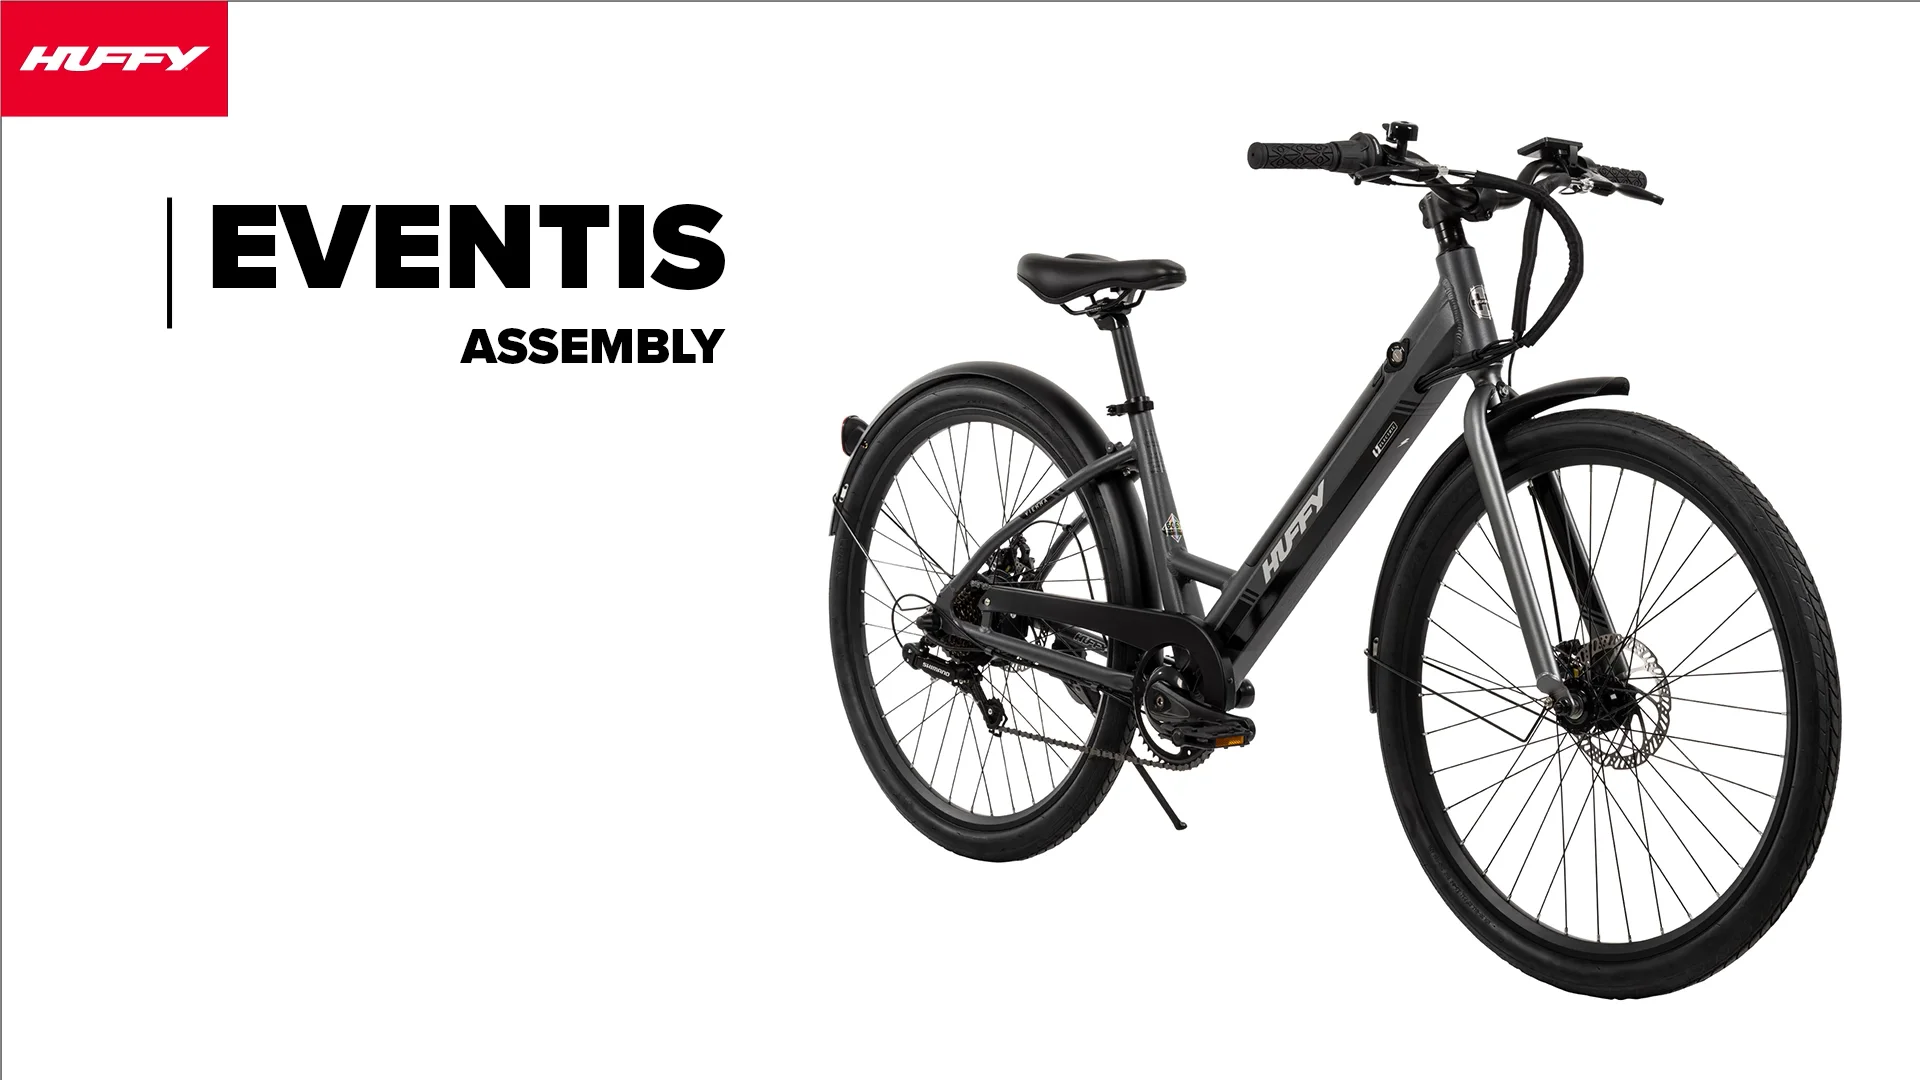
Assembling a new mountain bike is both exciting and a bit challenging, especially if it’s your first time. A Huffy mountain bike, known for its reliability and affordability, arrives mostly pre-assembled, but putting together the remaining pieces is essential for safe and smooth rides.
Many new owners feel nervous about tools, small parts, or making mistakes, but the process is more straightforward than it seems if you follow clear steps.
This guide will walk you through how to assemble a Huffy mountain bike from start to finish. You’ll learn not just the basic steps, but also practical tips, common mistakes to avoid, and how to fine-tune your bike for a comfortable, safe experience.
Even if you’re not very experienced with bikes or tools, you can achieve a professional-quality assembly at home.
Understanding Your Huffy Mountain Bike Kit
When you open the box, you’ll see that most of the bike is already put together. However, critical components like the front wheel, handlebars, pedals, seat, and sometimes the brakes and shifters still need installation.
Inside the box, you can expect:
- Pre-assembled frame
- Front wheel
- Handlebars
- Pedals (left and right)
- Seat and seat post
- Reflectors and sometimes a bell
- Owner’s manual and warranty
- Small hardware bag (bolts, washers, quick release levers, etc.)
Before you start, check that all parts are present. Missing or damaged parts are rare, but it’s better to contact Huffy support immediately if you find a problem rather than proceeding.
Why Proper Assembly Matters
A well-assembled bike is safe and enjoyable to ride. Poor assembly can lead to accidents, uncomfortable rides, or even void your warranty. For example, a pedal installed on the wrong side can strip the crank arm, or loose handlebars can cause you to lose control.
Taking time with each step makes a huge difference.
Tools You’ll Need For Assembly
Most Huffy mountain bikes include basic tools for assembly, but sometimes these are not as comfortable or durable as your own. Having the right tools makes the process smoother and prevents damage.
Essential Tools
- Adjustable wrench or 15mm open-end wrench (for pedals and wheel nuts)
- Phillips screwdriver (for reflectors and sometimes brakes)
- Allen (hex) wrenches (4mm, 5mm, and 6mm sizes are common)
- Bicycle grease or anti-seize compound (for pedal threads and seat post)
- Tire pump (for inflating tires to the recommended pressure)
Optional But Helpful Tools
- Torque wrench (for precise tightening, especially for carbon or aluminum parts)
- Cable cutters (if you need to adjust brake or shifter cables)
- Bike stand (to keep the bike steady during assembly)
Using the correct tool reduces the chance of stripping bolts or overtightening. For example, using a torque wrench ensures you don’t crush lightweight parts.
Preparing Your Workspace
Choose a flat, open area with good lighting. Lay a clean mat or towel to protect the bike’s paint and keep small parts from rolling away. Keep all tools and parts within arm’s reach. If you have children or pets, keep them away during assembly for safety.
Pro tip: Take a photo of the hardware bag and all bike parts before starting. This helps if you need to contact support or check what goes where.
Step-by-step Assembly Guide
Let’s break the process into clear steps. Each section explains not just what to do, but why it matters and tips for best results.
1. Unpack And Inspect The Bike
Carefully cut open the box and remove the bike frame and all parts. Remove plastic wraps, foam padding, and zip ties. Do not throw away the box until assembly is complete and you’ve test-ridden the bike.
Inspect the frame, fork, and wheels for any dents, scratches, or manufacturing defects. Check that the paint is intact and all welds look smooth. Report any serious damage before starting assembly.
2. Install The Handlebars
Most Huffy mountain bikes have the front wheel and handlebars detached to fit in the box. The stem (the part connecting handlebars to the frame) is usually pre-installed.
Steps:
- Loosen the faceplate bolts on the front of the stem using a 4mm or 5mm Allen wrench.
- Place the handlebars into the stem so that they are centered and the markings line up with the stem.
- Tighten the faceplate bolts evenly, alternating between them in a cross pattern. This ensures even pressure and prevents slipping.
- Adjust the angle of the handlebars for comfort, typically so the grips are parallel to the ground.
Common mistake: Tightening one bolt fully before the others can crack the faceplate or cause uneven clamping.
Insider tip: If your bike has trigger shifters or brake levers, set the angle so your wrists feel neutral when reaching them.
3. Attach The Front Wheel
Depending on your model, your Huffy mountain bike may use either a quick-release axle or wheel nuts.
Quick-release Axle
- Open the quick-release lever and remove one of the springs.
- Insert the axle through the front wheel hub.
- Place the wheel into the fork dropouts, ensuring it sits straight.
- Tighten the adjusting nut, then close the lever firmly (should leave a visible imprint on your palm).
- Spin the wheel to make sure it’s centered and does not rub the fork.
Wheel Nuts
- Place the wheel into the fork dropouts.
- Thread the nuts onto the axle by hand.
- Use a 15mm wrench to tighten both nuts evenly, alternating sides.
- Check that the wheel is centered and spins freely.
Non-obvious insight: Always check that the brake rotors (if present) are between the brake pads and not rubbing. Misalignment here is a frequent beginner error.
4. Install The Seat And Seat Post
Apply a thin layer of bicycle grease to the seat post. This prevents rust and makes height adjustments easier later.
- Insert the seat post into the frame.
- Set the seat height so your leg is almost straight when the pedal is at its lowest point.
- Tighten the seat clamp bolt or close the quick-release lever.
Tip: Many riders set the seat too low, which can tire your legs quickly and even cause knee pain.
5. Attach The Pedals
Pedals are marked L (left) and R (right). This is crucial: the threads are different to prevent them from loosening while you ride.
- Thread the right pedal (usually marked “R”) clockwise into the right crank arm.
- Thread the left pedal (marked “L”) counter-clockwise into the left crank arm.
- Use your 15mm wrench to tighten both pedals securely.
Common mistake: Forcing the wrong pedal can damage the crank threads beyond repair.
Grease tip: Always put a small amount of grease on pedal threads to make future removal easy and prevent rust.
6. Install Reflectors And Accessories
Attach the included front and rear reflectors using a Phillips screwdriver. Place the front reflector on the handlebar and the rear on the seat post.
If your bike came with a bell, attach it now. Some Huffy bikes also include a kickstand, which can be installed at this stage.
7. Adjust The Brakes
Your bike may come with either rim brakes (V-brakes) or disc brakes. Huffy’s mountain bikes often feature rim brakes, but some higher-end models have discs.
Rim Brakes
- Squeeze the brake arms together and hook the brake cable into the anchor bolt.
- Center the brake pads on the rim.
- Adjust the cable tension so there is 1-2mm clearance between pad and rim.
- Tighten the anchor bolt and test the lever for firmness.
Disc Brakes
- Ensure the rotor is between the pads.
- Center the caliper using the adjustment bolts.
- Squeeze the brake lever and tighten the caliper bolts evenly.
Non-obvious insight: Spin the wheel and check for rubbing or scraping sounds. Small adjustments make a big difference in stopping power and noise.
8. Set Up The Gears
Shifting should be smooth, with no skipping or hesitation. Most Huffy mountain bikes use Shimano or microSHIFT derailleurs.
- Shift to the smallest cog on the rear and smallest chainring on the front.
- Use the barrel adjuster (near the shifter) to fine-tune cable tension.
- If the chain struggles to move up or down, adjust the limit screws on the derailleur.
- Test all gears while pedaling (turn the crank by hand if the bike is not fully assembled).
Insider tip: Gears can take a few rides to “break in.” It’s normal to need a minor adjustment after your first week of riding.
9. Inflate The Tires
Check the sidewall of the tire for the recommended PSI (pounds per square inch). Most Huffy mountain bikes suggest 40-65 PSI, but always confirm.
- Remove the valve cap and attach the pump.
- Inflate to the correct PSI, checking with a pressure gauge.
- Replace the valve cap.
Common mistake: Under-inflated tires make pedaling harder and increase the risk of flats. Over-inflation can cause a rough ride or even blowouts.
10. Final Safety Checks
Before your first ride, go over these points:
- Ensure all bolts are tight (handlebars, stem, seat, wheels, pedals)
- Squeeze both brakes and check for proper stopping
- Test all gears for smooth shifting
- Spin both wheels to check for wobbles or rubbing
- Bounce the bike gently to listen for rattles
A careful check here prevents problems on the road or trail.
Credit: www.huffy.com
Example: Typical Assembly Timeline
To help you plan, here’s a breakdown of how long each step might take for a beginner:
| Step | Time Estimate |
|---|---|
| Unpack and inspect | 15 minutes |
| Install handlebars | 10 minutes |
| Attach front wheel | 10 minutes |
| Install seat and pedals | 15 minutes |
| Reflectors/accessories | 10 minutes |
| Brakes and gears | 20 minutes |
| Inflate tires & safety check | 10 minutes |
Most beginners can finish in 1 to 1.5 hours. If you’re careful and take breaks to double-check your work, you’ll avoid mistakes and have a better result.
Common Problems And Solutions
Even with good instructions, some issues can appear. Here’s how to handle the most frequent ones.
Problem: Front Wheel Won’t Fit
Solution: Check if the axle is fully inserted into the fork dropouts. Remove any shipping spacers. For quick-release axles, ensure the springs are in the correct position (narrow end facing the hub).
Problem: Brakes Rubbing
Solution: Center the brake caliper or brake pads. Sometimes, the wheel is not seated straight in the fork. Loosen, reseat, and retighten.
Problem: Pedals Won’t Thread
Solution: Make sure you have the correct pedal for each side. The left pedal (L) is reverse-threaded (turn counterclockwise to tighten). Start threading by hand to avoid cross-threading.
Problem: Gears Skip Or Won’t Shift
Solution: Adjust cable tension using the barrel adjuster. If gears still skip, check the derailleur hanger for bends (rare but possible during shipping).
Problem: Handlebar Or Stem Loose
Solution: Tighten bolts evenly using an Allen wrench. If the stem is a quill type, make sure it is inserted past the minimum insertion mark.
Fine-tuning For Comfort And Performance
A well-assembled bike is only the beginning. Small adjustments make your Huffy mountain bike fit you better and ride more smoothly.
Adjusting Saddle Position
The seat should be level, and the height should let you almost fully extend your leg at the bottom of the pedal stroke. Slide the seat forward or backward to position your knee over the pedal axle when the pedals are horizontal.
Setting Handlebar Height And Angle
Handlebar height depends on your riding style. For comfort, set them level with or slightly above the seat. For more aggressive riding, lower them a bit.
Rotate the bars so the brake levers are easy to reach. Tighten all bolts securely.
Suspension Setup (if Equipped)
Some Huffy mountain bikes have front suspension forks. Most are non-adjustable, but check the owner’s manual. If adjustable, set the preload for your weight.
Pro insight: Suspension forks need occasional lubrication and cleaning, especially if you ride in muddy or wet conditions.
Tire Pressure For Different Terrains
Adjust tire pressure based on where you ride:
- Roads: Higher PSI for speed and efficiency
- Trails: Lower PSI for better grip and comfort
Don’t go below the minimum PSI printed on your tire.
Safety Checks Before Every Ride
Bikes need regular safety checks, not just after assembly. Before every ride, do the ABC Quick Check:
- A – Air: Squeeze tires for firmness, check pressure monthly
- B – Brakes: Squeeze levers, make sure bike stops and pads don’t rub
- C – Chain: Spin pedals, look for rust or stiff links, keep chain lubricated
- Quick: Check all quick-release levers or wheel nuts for tightness
If you notice any looseness, odd noises, or changes in how the bike rides, stop and check before continuing.
When To Get Professional Help
Most people can assemble a Huffy mountain bike at home. However, seek help if:
- You feel unsure about brakes, gears, or critical bolts
- The wheel is badly out of true (wobbles side-to-side)
- The bike makes loud creaking or grinding noises
- You want a pro to inspect your work for peace of mind
A local bike shop can double-check your assembly, often for a small fee. This is a good investment if you’re new to bikes or plan to ride in difficult conditions.
Comparing Huffy Mountain Bikes To Other Brands
To understand what to expect from your Huffy, here’s a comparison with other popular entry-level mountain bike brands.
| Brand | Typical Assembly Required | Included Tools | Warranty |
|---|---|---|---|
| Huffy | Front wheel, handlebars, pedals, seat, accessories | Usually basic tools | Limited lifetime on frame, 1 year parts |
| Schwinn | Similar to Huffy | Basic tools or none | Limited lifetime on frame |
| Genesis | Similar | Often none | 1 year |
| Specialized (entry-level) | Minimal, often shop-assembled | None | Lifetime on frame (original owner) |
Huffy stands out for providing most tools and clear instructions. The assembly is on par with other big-box bike brands.

Credit: www.infinibandta.org
Additional Tips For First-time Assemblers
- Read the manual before starting. Huffy’s manuals include diagrams and torque specs.
- Watch a video if you’re a visual learner. Huffy’s official YouTube channel offers step-by-step guides.
- Use a bike stand or hang the bike from a strong rope for easier access to the drivetrain.
- Store small parts in a bowl or tray so they don’t get lost during assembly.
- Test ride in a safe area—like a driveway or parking lot—before heading to trails or traffic.
Real-world Example: First Ride Checklist
After assembly, your first ride is a chance to spot minor issues. Here’s a checklist to follow:
- Shift through all gears, listening for any noises or hesitation.
- Ride slowly and test both brakes. Stop from different speeds.
- Check for rattling or clicking sounds.
- Make sure the handlebars stay straight when you turn.
- Stop and re-tighten any loose bolts after 5–10 minutes of riding.
Most new bikes need a small adjustment after the first ride as cables and bolts settle.
Maintenance After Assembly
A properly assembled Huffy mountain bike can last many years with basic care. Here’s a simple maintenance schedule:
| Task | Frequency |
|---|---|
| Check tire pressure | Before every ride |
| Clean and lube chain | Every 2-4 weeks |
| Inspect brakes and gears | Monthly |
| Tighten bolts | Every 2-3 months |
| Clean bike frame | As needed |
Regular maintenance prevents problems and keeps your rides smooth and safe. For more advanced service, like wheel truing or suspension maintenance, visit a bike shop.
Environmental Considerations
Dispose of packaging materials responsibly. Cardboard can be recycled, and plastic wraps should go in the proper recycling bin if available. Don’t litter trails or parks with packaging or broken parts.
Many cities offer bike recycling programs for old bikes, tires, and tubes. Check your local waste management website for details.

Credit: www.youtube.com
Troubleshooting After A Few Rides
It’s normal for cables to stretch and bolts to settle after a few rides.
- If shifting becomes less precise, turn the barrel adjuster on your shifter or derailleur a quarter-turn at a time.
- If the brakes feel soft, check the cable tension and re-tighten.
- Listen for new noises. Creaks can mean a loose bolt or dry part needing lubrication.
Address these small issues quickly to prevent bigger problems.
Resources For Further Help
If you get stuck, there are many resources:
- Huffy’s official support: Huffy Customer Service
- Local bike shops
- Online communities like Reddit’s r/bicycling
- Instructional videos on YouTube from Huffy and other bike mechanics
For general bike assembly tips and safety standards, the Wikipedia Bicycle Entry is a reliable resource.
Frequently Asked Questions
How Do I Know If The Pedals Are On The Correct Side?
Pedals are marked L (left) and R (right). The right pedal screws in clockwise, and the left pedal screws in counterclockwise. Forcing the wrong pedal can damage the crank arm. Always start threading by hand.
What Tire Pressure Should I Use For My Huffy Mountain Bike?
Check the sidewall of your tire; most Huffy mountain bikes use 40–65 PSI. Use the lower end for trails and higher for roads. Never exceed the maximum PSI.
My Brakes Are Squeaking—what Should I Do?
Squeaking usually means the brake pads are not aligned or are dirty. Clean the rim or rotor with rubbing alcohol and adjust the pads. If the sound continues, check for wear or replace pads.
Do I Need To Lubricate My Bike After Assembly?
Yes. Apply a small amount of bicycle-specific lubricant to the chain, derailleur pivots, and cables. Wipe off excess to avoid attracting dirt. Pedal and seat post threads should be greased.
Can I Assemble My Huffy Bike Without Special Tools?
Most Huffy mountain bikes include basic tools, but a 15mm wrench and a set of Allen wrenches make the job easier and safer. For best results, consider buying a simple bike tool kit.
Building your own Huffy mountain bike is rewarding and gives you a better understanding of your bike. With careful assembly and regular checks, you’ll enjoy safe, smooth rides for years to come.

Hello Guys! I am John Reese, a professional biker and my hobby is biking! I have been biking for last 12 years and I love using bikes while outing as well. Based on my experiences with the different type of bikes (mountain bikes, road bikes and hybrid bikes); I am sharing my opinion about various bikes so that a beginner can get started right away. Happy reading!