Learning how to backflip on a mountain bike is one of the most exciting challenges for riders. It’s not just a trick; it’s a test of skill, confidence, and control. Riders often dream of launching into the air, flipping upside down, and landing safely—all while riding their mountain bike. But the backflip is more than just an impressive move. It’s a journey that combines technical knowledge, physical preparation, mental focus, and the right conditions. If you’re ready to take your riding to the next level, this guide will show you how to backflip on a mountain bike safely and confidently.
There are no shortcuts to mastering the backflip. You need a clear plan, the proper equipment, and the right mindset. The steps in this guide are designed for riders who already feel comfortable jumping and handling their bike in the air.
If you’re new to mountain biking, it’s best to build your basic skills first. For those ready to flip, you’ll find everything you need here—from preparing your body and bike, understanding the physics, practicing off the bike, and finally landing your first backflip.
Understanding The Backflip: What Makes It Difficult?
Many riders watch videos of backflips and think it’s just a matter of pulling hard. The reality is more complex. A backflip combines timing, rotation, control, and commitment. Unlike flat tricks, a backflip demands you launch from a jump with the right speed and angle, pull your body and bike together, rotate smoothly, and spot your landing—all in less than two seconds.
Physics Of The Backflip
A backflip is a rotational movement. When you leave the jump, your body’s position and the way you pull affect how fast you rotate. If you lean back too early or too late, your rotation will be off. The bike acts as an extension of your body. Pulling the handlebars and tucking your knees help you spin faster, while extending slows you down.
Common Challenges
- Fear and hesitation: The mental block is real. You must commit fully when launching.
- Under-rotation: Not enough pull or speed leads to landing on your back or head.
- Over-rotation: Too much spin can cause you to overshoot and crash.
- Spotting the landing: Many beginners forget to look for the landing, making it hard to adjust in the air.
- Bike control: If you’re not comfortable with jumps, you’ll struggle to control the bike during the flip.
Preparing Yourself: Physical And Mental Training
Before you attempt a backflip, prepare your body and mind. Many riders skip this step, but it’s essential for safety and performance.
Physical Preparation
- Strength and flexibility: Focus on core strength, leg power, and shoulder flexibility. Exercises like planks, squats, and shoulder stretches help.
- Balance training: Practice on balance boards or by riding slow and standing on the pedals.
- Jumping drills: Build explosive power with plyometric exercises like box jumps.
Mental Preparation
- Visualization: Picture yourself doing the backflip successfully. This helps reduce fear.
- Breathing techniques: Calm your mind before you jump. Deep breathing lowers anxiety.
- Incremental progression: Start with smaller goals—first jumping higher, then tucking, then spinning.
A non-obvious insight: Many top riders use meditation or mindfulness to stay calm before attempting big tricks. This can help you control nerves and focus.
Choosing The Right Equipment
The right equipment makes a huge difference. Not every mountain bike is suitable for backflips.
Bike Selection
- Dirt jump bikes are best. They are lighter, have shorter frames, and are designed for aerial tricks.
- Full suspension bikes are heavier and harder to spin, but some experienced riders use them for backflips.
- Hardtail bikes are a good middle ground.
Key Features
- Strong frame: Look for chromoly steel or high-quality aluminum.
- Short chainstay: Makes it easier to rotate.
- Single-speed or simple drivetrain: Reduces risk of chain drop during the flip.
- Wide handlebars: Offer more control.
Safety Gear
- Helmet: Full-face helmets offer best protection.
- Pads: Knee, elbow, and back pads are essential.
- Neck brace: Useful for beginners trying big jumps.
Bike Setup Checklist
- Check tire pressure (slightly higher for jumps)
- Ensure brakes are responsive
- Tighten bolts and check for cracks
Here’s a quick comparison of bike types for backflips:
| Bike Type | Weight (lbs) | Frame Material | Best For Backflips? |
|---|---|---|---|
| Dirt Jump | 22–26 | Chromoly/Aluminum | Yes |
| Hardtail MTB | 27–33 | Aluminum | Moderate |
| Full Suspension MTB | 33–40 | Aluminum/Carbon | No (unless advanced) |
Finding The Perfect Jump: Location And Conditions
A safe, predictable jump is key. The right jump helps you rotate and land safely.
Types Of Jumps
- Resi ramps: Have a soft, padded landing. Ideal for learning.
- Foam pits: Offer zero risk, but don’t teach landing.
- Dirt jumps: For experienced riders.
- Wooden ramps: Consistent, smooth takeoff.
Jump Specifications
- Lip angle: Steeper lips (45–60 degrees) help you flip.
- Height: Start with a 3–4 ft jump, progress to larger.
- Landing zone: Should be clear, wide, and free from obstacles.
Environmental Conditions
- Dry weather is best; wet ramps are slippery.
- Avoid windy days, as wind can affect your spin.
Here’s a comparison of jump types for learning backflips:
| Jump Type | Risk Level | Learning Curve | Landing Comfort |
|---|---|---|---|
| Foam Pit | Very Low | Easy | Soft |
| Resi Ramp | Low | Moderate | Medium |
| Dirt Jump | High | Difficult | Hard |
Practicing The Backflip: Step-by-step Progression
Before you try a backflip on your mountain bike, practice the movement off the bike. Many riders use trampolines or gymnastics mats to learn the feeling of flipping.
Step 1: Master The Backflip Motion
- Practice on a trampoline or foam pit.
- Focus on tucking your knees and spotting your landing.
Step 2: Bunny Hop And Jump Control
- On your bike, practice bunny hops and jumps.
- Work on pulling the bars up and tucking your body.
Step 3: Backflip On Foam Pit
- Ride at moderate speed, hit the jump, and pull back.
- Commit fully—don’t hesitate mid-air.
- Spot the landing as you rotate.
Step 4: Backflip On Resi Ramp
- Move to a resi ramp when you feel confident.
- Practice landing on wheels, not your back.
Step 5: Backflip On Dirt Jump
- Only attempt when you’ve landed several flips on softer ramps.
- Start with smaller jumps, then progress.
Step 6: Backflip On Real Trail
- Make sure the jump is safe and the landing zone is clear.
- Have spotters or friends nearby.
Many riders miss the importance of spotting the landing early. As you flip, look for the landing as soon as possible. This helps you adjust your body and prepare for impact.
Detailed Technique: How To Backflip On A Mountain Bike
Now, let’s break down the actual movement. This section is your step-by-step blueprint.
Approach
- Ride at a steady speed—not too slow or fast.
- Stand up on the pedals, arms slightly bent, knees relaxed.
- Look ahead at the jump, not at your front wheel.
Takeoff
- As you reach the lip, compress your body (crouch).
- Push down hard, then explode upward as you leave the ramp.
- Pull the handlebars towards your chest while kicking your legs out.
- Lean back, but keep your head up.
Initiating Rotation
- Pull your chest towards the handlebars.
- Tuck your knees for faster rotation.
- Keep arms tight to your body; loose arms slow you down.
Mid-air Control
- Spot the landing as soon as you flip past vertical.
- Adjust rotation speed by tucking or extending arms and legs.
- If you rotate too fast, open up your body to slow down.
Landing
- Prepare to absorb impact—bend knees and elbows.
- Aim to land with both wheels together, not nose or tail first.
- Stay loose, let the bike roll away from the landing.
Common Mistakes And Fixes
- Over-pulling at takeoff: Causes over-rotation. Fix: Pull smoothly, not aggressively.
- Looking down: Lose sight of landing. Fix: Spot landing early.
- Straight legs: Slows rotation. Fix: Tuck knees.
- Stiff body: Makes adjustments harder. Fix: Relax in the air.
Here’s a quick comparison of landing outcomes:
| Landing Style | Impact on Bike | Rider Injury Risk | Skill Needed |
|---|---|---|---|
| Both Wheels | Low | Low | Moderate |
| Front Wheel First | High | High | Advanced |
| Rear Wheel First | Medium | Medium | Moderate |

Credit: www.redbull.com
Building Confidence: Overcoming Fear And Doubt
One of the hardest parts of learning the backflip is managing fear. Even skilled riders hesitate before their first flip.
Tips For Confidence
- Incremental progress: Don’t rush. Build up from foam pit to dirt jumps.
- Ride with friends: Support helps.
- Positive self-talk: Remind yourself you’ve practiced every step.
- Practice visualization: Imagine landing the trick successfully.
A key insight: Many beginners think they can “think their way out” of fear. In reality, confidence comes from repetition and safe practice. Don’t skip steps, and don’t let peer pressure rush you.
Safety Tips And Emergency Planning
Safety is critical. Even pros crash sometimes.
Before Attempting
- Check all equipment.
- Warm up thoroughly.
- Have someone nearby in case of injury.
During Attempt
- Wear full gear every time.
- Never try a backflip alone.
After Attempt
- If you crash, check yourself and your bike before trying again.
- Rest if you feel shaken or tired.
Emergency Procedures
- Know the nearest hospital or clinic.
- Carry a phone and basic first aid kit.
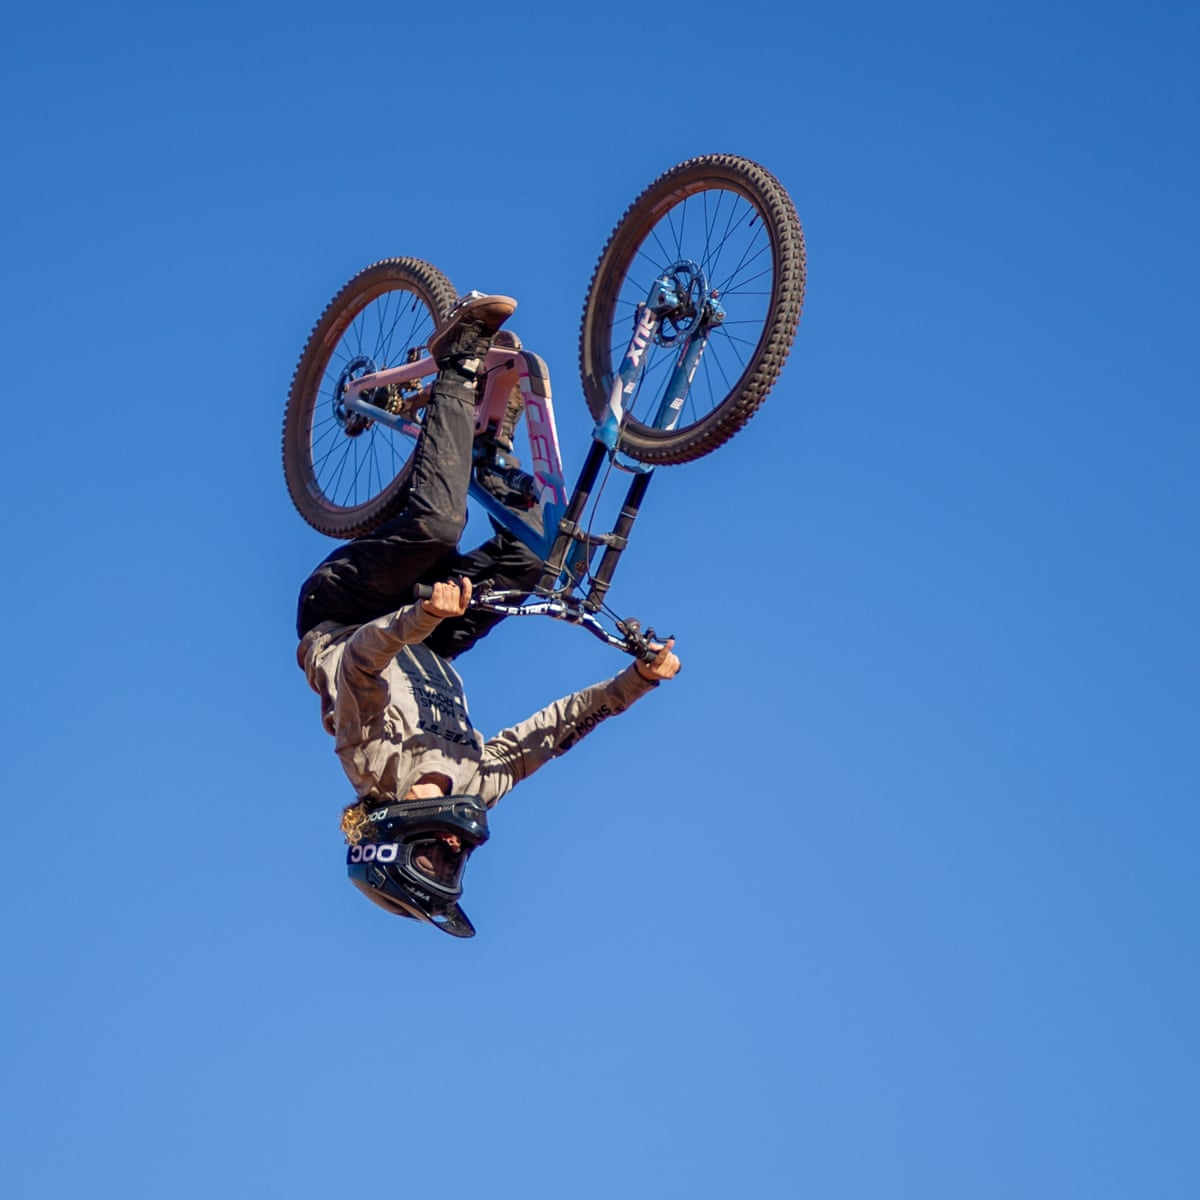
Credit: www.theguardian.com
Training Routine For Backflips
A structured routine helps you progress. Here’s a sample weekly plan:
- Day 1: Strength training (core, legs, shoulders)
- Day 2: Balance drills, bunny hops
- Day 3: Trampoline or foam pit flips
- Day 4: Rest
- Day 5: Bike jumps, practice tucking
- Day 6: Backflip attempts on resi ramp
- Day 7: Rest and review
Repeat for 4–6 weeks. Most riders can land their first backflip in 6–12 weeks with consistent practice.
Advanced Tips: Improving Your Backflip
Once you’ve mastered the basic backflip, you can try variations and refine your technique.
Variations
- No-hander backflip: Release bars mid-flip.
- Backflip tailwhip: Spin the bike frame.
- Backflip barspin: Spin handlebars during flip.
Improving Rotation
- Shorten your approach for faster rotation.
- Try higher jumps for more airtime.
Fine-tuning Landing
- Practice landing on different surfaces.
- Use video analysis to spot mistakes.
Common Beginner Mistakes And How To Avoid Them
Many beginners repeat the same errors. Here are some to watch for:
- Not committing fully: Leads to half-flips and crashes.
- Wrong jump choice: Too small or too big jumps make flips harder.
- Skipping foam pit practice: Increases injury risk.
- Poor bike maintenance: Loose bolts or worn tires can cause accidents.
- Ignoring mental preparation: Anxiety can ruin your attempt.
A non-obvious insight: Beginners often believe more speed solves under-rotation. In reality, speed must match jump size and technique. Too much speed can be dangerous.
Real-life Examples: Riders Who Mastered The Backflip
Many famous mountain bikers started just like you. Danny MacAskill, for example, practiced for months before landing his first backflip. He used foam pits, trampolines, and resi ramps before moving to dirt. Another rider, Sam Pilgrim, shares videos showing his progression—from basic jumps to complex flips.
Watching others can motivate you, but remember that everyone progresses at their own pace. Don’t compare your timeline to others.
Improving Further: Resources And Community
You don’t have to learn alone. Many resources are available:
- Mountain bike forums: Riders share tips and videos.
- Local bike parks: Offer foam pits and resi ramps.
- Professional coaches: Can guide you in person.
- YouTube tutorials: Visual learning helps.
If you want to see the physics behind the backflip, visit Wikipedia.
Frequently Asked Questions
What Is The Safest Way To Learn A Backflip On A Mountain Bike?
The safest way is to start with foam pits or resi ramps. These soft landings reduce injury risk. Always wear full safety gear and practice the movement off the bike first. Progress step by step—don’t rush from foam pit to dirt jump.
How Much Experience Do I Need Before Trying A Backflip?
You should be comfortable with jumps and basic tricks like tabletops or whips. At least 1–2 years of regular riding and jumping is ideal. If you’re not confident in the air, work on those skills before attempting a backflip.
What Should I Do If I Under-rotate During A Backflip?
If you under-rotate, try to land with your wheels, not your back or head. Tuck your knees harder next time, and use a slightly steeper jump. Practice spotting your landing earlier. Most crashes from under-rotation happen due to hesitation at takeoff.
Can I Backflip On Any Mountain Bike?
Not all mountain bikes are suitable. Dirt jump bikes or hardtail bikes with strong frames work best. Full suspension bikes are harder to flip and not recommended for beginners. Always check your bike’s condition before attempting flips.
How Long Does It Take To Learn A Mountain Bike Backflip?
Most riders need 6–12 weeks of focused practice, with several sessions per week. Progress depends on your comfort with jumps, physical fitness, and mental preparation. Don’t rush—safe, consistent practice leads to success.
Learning how to backflip on a mountain bike is a journey. It combines skill, courage, and planning. With the right preparation, equipment, and mindset, you can master this impressive trick. Remember to progress at your own pace, use safe locations, and always prioritize safety.
The thrill of flipping your bike in the air—and landing it—makes all the effort worthwhile.

Credit: www.youtube.com

Hello Guys! I am John Reese, a professional biker and my hobby is biking! I have been biking for last 12 years and I love using bikes while outing as well. Based on my experiences with the different type of bikes (mountain bikes, road bikes and hybrid bikes); I am sharing my opinion about various bikes so that a beginner can get started right away. Happy reading!