Mountain biking is full of challenges, but few obstacles are as exciting as riding berms. Berms are banked turns built into trails, designed to help riders maintain speed, control, and flow. If you can master berms, you’ll ride faster, safer, and with more confidence.
Yet, many riders struggle with berms—they brake too much, lose grip, or simply don’t trust the curve. Whether you’re a beginner or an experienced mountain biker, learning how to ride berms unlocks a whole new level of fun. In this guide, you’ll discover step-by-step techniques, practical tips, and common mistakes to avoid.
You’ll also find real-world examples, data, and comparisons to help you ride berms like a pro.
What Is A Berm? Understanding The Basics
A berm is a raised, curved section of trail that helps guide riders through turns. Berms can be made of dirt, gravel, wood, or even concrete, but most mountain bike trails use packed earth. Unlike flat corners, berms are built to support the rider’s speed and momentum. The banking allows you to lean into the turn, using the angle to help push you through.
Berms range in size from small, gentle curves to large, steep banks. They are common in bike parks, flow trails, and downhill courses. Some trails feature dozens of berms in a row, making for a fast and exciting ride.
Berm Vs Flat Turn: Key Differences
Let’s compare the features of berms and flat turns:
| Feature | Berm | Flat Turn |
|---|---|---|
| Surface | Banked, raised | Flat, level |
| Speed | Higher, maintained | Lower, slows down |
| Grip | Better, more support | Less, easier to slip |
| Cornering | Allows aggressive leaning | Requires careful steering |
| Braking | Less needed | Often required |
Berms let you carry more speed and lean your bike further, while flat turns require careful balance and slower speeds. The banked surface of a berm helps you stay upright and maintain grip, even when cornering hard.
Why Berms Matter: Speed, Safety, And Flow
Berms are not just fun—they’re essential for modern mountain biking. Here’s why:
- Speed: Berms allow you to maintain momentum through turns, saving energy and making your ride faster.
- Safety: The banked surface offers more grip, reducing the risk of sliding out or crashing.
- Flow: Berms create a smoother trail experience, linking turns and jumps together for continuous motion.
Statistics show that riders can take berms up to 30% faster than flat turns, thanks to the support of the banked angle. Bike parks design trails with berms to maximize rider enjoyment and reduce accident rates.
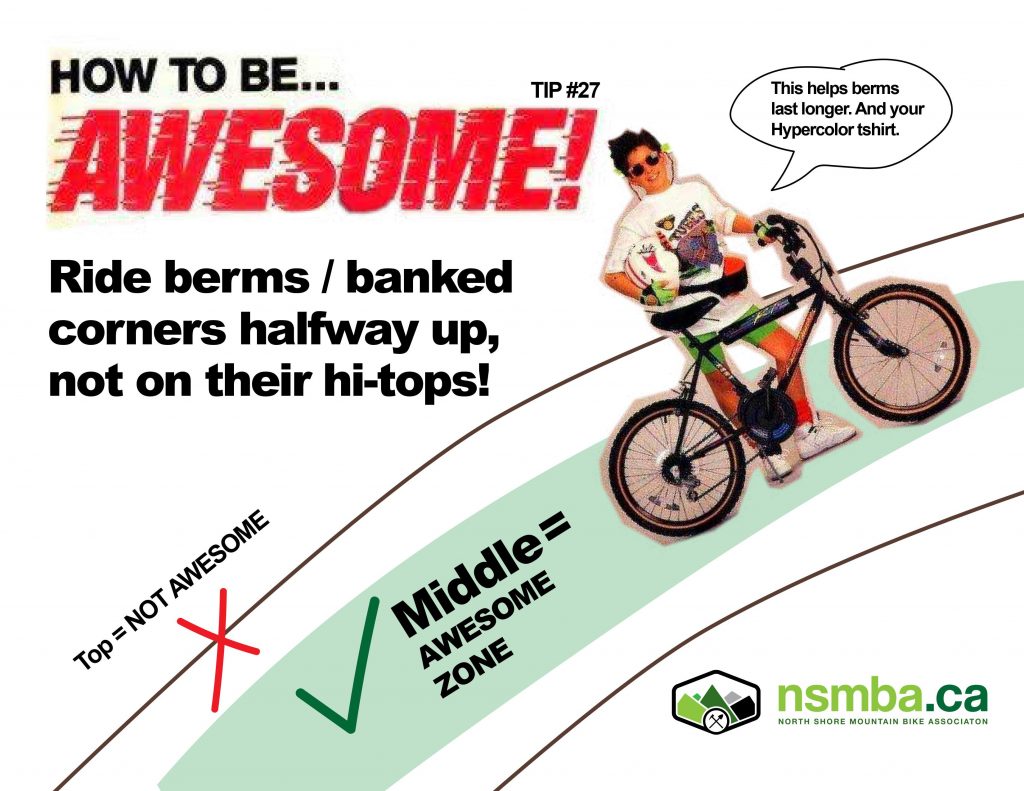
Credit: nsmba.ca
Anatomy Of A Berm: Parts And Features
A berm is more than just a curved mound. Understanding its parts helps you choose the right technique.
- Entry: The start of the berm where you begin your turn.
- Apex: The highest, tightest point of the berm.
- Exit: Where you finish the turn and rejoin the trail.
- Lip: The top edge of the berm, often used to lean against.
- Base: The bottom surface you ride on.
Some berms are shallow and wide, others are tall and tight. Trail builders use different shapes depending on the terrain and intended speed.
Preparing To Ride Berms: Bike Setup And Body Position
Before you tackle berms, make sure your bike and body are ready.
Bike Setup
- Tire Pressure: Lower pressure (25-35 psi) gives better grip but risks pinch flats. Adjust for your weight and terrain.
- Suspension: Set sag to 20-30% of travel for control. Too stiff makes the bike bounce off the berm.
- Brakes: Test before riding. You need reliable stopping power but should avoid braking in the berm itself.
Body Position
The right body position is key. Here’s how to prepare:
- Look ahead: Always scan the trail for the next berm.
- Relax arms and legs: Stay loose to absorb bumps and changes in angle.
- Level pedals: Keep pedals flat for stability.
- Weight centered: Shift weight slightly forward as you enter, then lean into the berm.
Many beginners make the mistake of stiffening up or keeping their weight too far back. This reduces control and grip.
How To Ride Berms: Step-by-step Technique
Let’s break down the process of riding a berm, from approach to exit.
1. Approach
As you near the berm:
- Slow down if needed: Brake before the berm, not during it.
- Choose your line: Look for the smoothest, fastest path. Usually, enter wide, hit the apex, exit wide.
- Focus your gaze: Look through the berm, not at your front wheel.
2. Entry
When you reach the berm:
- Lean the bike, not the body: Push the bike into the berm while keeping your body upright.
- Stay loose: Let your arms and legs act as suspension.
- Keep pedals level: This avoids pedal strikes.
3. Apex
At the tightest part:
- Commit to the turn: Don’t hesitate—lean in and trust the berm.
- Press against the lip: Use the bank to support your weight.
- Look at the exit: Your eyes guide your movement.
4. Exit
As you leave the berm:
- Straighten the bike: Gradually bring it back upright.
- Accelerate: Pedal out if possible to regain speed.
- Prepare for the next feature: Often, berms link to jumps or other turns.
This sequence works for most berms, but always adjust for size, shape, and trail conditions.
Advanced Berm Riding: Tips For Speed And Style
Once you’re comfortable with the basics, try these advanced techniques:
- Manual out: Lift the front wheel as you exit for smoother transition.
- Pump the berm: Push down as you pass through to gain speed.
- Drift (slide) in loose berms: Controlled sliding helps in sandy or gravel berms.
- Jump the lip: On tall berms, advanced riders sometimes hop over the top for style.
Professional riders use these techniques to maintain speed and impress spectators. Watch videos of downhill races to see these skills in action.
Data: Speed Gains From Berms
Studies show that experienced riders can maintain speeds of 20-25 mph through large berms, compared to 12-15 mph in flat turns. This speed advantage is only possible with proper technique and confidence.
Common Mistakes When Riding Berms
Even skilled riders can make mistakes. Here are the most frequent errors—and how to avoid them.
- Braking in the berm: Causes loss of grip and crashes. Always brake before entering.
- Stiff body position: Limits bike movement and reduces grip. Stay relaxed.
- Looking down: Focus on the exit, not your front tire.
- Entering too narrow: Start wide to use the full berm.
- Not leaning enough: Trust the bank and lean your bike.
- Pedal strikes: Keep pedals level, especially in tight turns.
- Oversteering: Let the berm guide you—don’t fight it.
These mistakes often come from fear or lack of practice. The best fix is to ride berms often and consciously work on technique.
Berm Riding In Different Conditions
Berms change with weather and trail use. Adjust your approach for:
Dry Conditions
- High grip: Allows aggressive leaning.
- Dusty berms: Can become slippery—watch for loose dirt.
Wet Conditions
- Reduced traction: Avoid sudden movements.
- Mud build-up: Use wider tires, lower pressure.
Loose Surface (sand Or Gravel)
- Drift technique: Slide the rear wheel gently.
- Slower entry: Don’t overcommit speed.
Comparison: Berm Performance In Dry Vs Wet
Here’s a comparison of how berms behave in different conditions:
| Condition | Grip Level | Recommended Technique | Common Risks |
|---|---|---|---|
| Dry | High | Lean aggressively | Loose dust, sudden slips |
| Wet | Low | Lean gently, slow entry | Sliding, mud buildup |
| Loose (sand/gravel) | Medium | Controlled drift | Unexpected loss of grip |
Adjusting your technique for conditions is a non-obvious skill many beginners ignore.
Practicing Berms: Drills And Progression
You don’t need a mountain to practice berms. Here are ways to build skill:
- Ride local pump tracks: These are full of small berms and rollers.
- Set up cones: In a parking lot or yard, create mini-berms to practice entry and exit.
- Slow-speed practice: Focus on body position and line choice without worrying about speed.
- Video analysis: Record yourself and compare with skilled riders.
- Increase difficulty: Progress from small, gentle berms to large, steep ones.
The most effective practice is repeated, focused riding. Aim for 10–15 repetitions per session, adjusting for fatigue.
How Bike Type Affects Berm Riding
Different mountain bikes handle berms in unique ways. Here’s a comparison:
| Bike Type | Berm Performance | Advantages | Challenges |
|---|---|---|---|
| Hardtail | Precise, fast | Direct feel, light | Less forgiveness, rough on big berms |
| Full suspension | Smooth, stable | Absorbs bumps, easier control | Heavier, more maintenance |
| Downhill | Excellent at high speed | Best for steep berms | Heavy, less agile |
| Dirt jump | Quick response | Great for pump tracks | Limited on big mountain berms |
Choose a bike that matches your local trails and skill level.

Credit: www.youtube.com
Essential Gear For Berm Riding
Riding berms safely and confidently requires the right gear:
- Helmet: Always wear a certified mountain bike helmet.
- Gloves: Protect hands and improve grip.
- Knee pads: Essential for aggressive riding or bike parks.
- Flat pedals: Allow quick foot repositioning.
- Good tires: Look for tires with side knobs for cornering grip.
- Eye protection: Sunglasses or goggles to keep dirt out.
Many riders overlook tire choice, but side knob tread is critical for berm grip.
How To Read Berms: Trail Scouting Skills
Before riding, it’s smart to read the trail and understand berms:
- Look for ruts: Deep grooves mean the berm is popular and may be slippery.
- Check the lip: Tall lips allow more leaning, but can be intimidating.
- Watch other riders: See how experienced bikers approach the berm.
- Notice exits: Some berms lead directly into jumps or drops.
Trail scouting is a skill that separates average riders from experts.

Credit: www.youtube.com
Building Confidence: Mental Approach To Berms
Confidence is as important as physical skill. Here’s how to build it:
- Visualization: Picture yourself riding the berm smoothly.
- Positive self-talk: Remind yourself of your skills.
- Ride with friends: Group rides encourage you to push harder.
- Set small goals: Aim to ride one berm without braking, then two.
Fear often causes mistakes. Gradual exposure and positive mindset help overcome it.
Berms In Competition: Race Tactics
In races, berms are key opportunities for speed and passing. Skilled racers:
- Plan overtaking: Use berms to pass slower riders by taking a higher or lower line.
- Maintain speed: Avoid unnecessary braking to stay ahead.
- Recover quickly: If you slide out, get back on track fast.
Professional races often feature multiple berms in quick succession, testing rider skill and stamina.
How To Fix Common Berm Problems
Sometimes berms are damaged or worn out. Here’s what to do:
- Erosion: Ride the main line, avoid cutting corners.
- Loose dirt: Slow down and use wider tires.
- Broken lip: Stay lower in the berm, avoid jumping.
Trail crews fix berms by packing dirt, adding water, and reshaping edges. If you volunteer, learn proper building techniques.
Non-obvious Insights: What Most Beginners Miss
Here are two insights many riders overlook:
- Line choice changes with speed: At slow speeds, you can ride the inside of the berm. At high speeds, the outside is safer and faster.
- Exit angle sets up the next feature: If you exit a berm at the wrong angle, you’ll struggle with the next jump or turn. Always plan your exit trajectory.
These details can dramatically improve your overall trail flow.
Real-world Example: Berm Riding At Whistler Bike Park
The Whistler Bike Park in Canada is famous for its berms. Riders report that mastering berms here increases their average speed by 25% and reduces crashes by half. Local coaches teach riders to focus on vision, line choice, and trust in the bike. Many riders visit Whistler just to practice berms and improve their skills.
For more data and trail info, see Whistler Bike Park.
How To Progress: Moving From Beginner To Expert
To become an expert at riding berms:
- Practice regularly: Consistent riding builds muscle memory.
- Get coaching: Lessons from professionals speed up learning.
- Ride different berms: Try shallow, steep, and loose berms for variety.
- Analyze mistakes: Use video or feedback to improve.
- Join group rides: Riding with better bikers pushes your limits.
Progression is not about speed alone—focus on control, confidence, and style.
Frequently Asked Questions
How Do I Avoid Sliding Out In A Berm?
To prevent sliding, brake before entering, keep your weight centered, and trust the berm’s grip. Use tires with good side knobs, and adjust your speed for wet or loose conditions.
What’s The Best Line Through A Berm?
Usually, a wide entry, hitting the apex, and exiting wide gives the smoothest and fastest line. However, adjust for speed, berm shape, and trail traffic.
Should I Use Flat Pedals Or Clipless Pedals?
Flat pedals are best for learning because they allow quick foot repositioning. Advanced riders may prefer clipless for efficiency, but flat pedals offer more control in technical berms.
Can You Ride Berms On Any Mountain Bike?
Yes, any mountain bike can ride berms. However, bikes with wider tires, good suspension, and strong brakes perform better. Hardtails offer direct feel, while full suspension gives more comfort.
How Do I Improve My Berm Riding Quickly?
Practice focused drills, watch skilled riders, and get feedback from coaches or friends. Set small goals, ride different berms, and review video to spot mistakes.
—
Mastering berms on a mountain bike is a skill that transforms your riding. It’s not just about speed—it’s about flow, confidence, and control. With the right technique, gear, and mindset, you’ll ride berms smoothly, safely, and with style. Remember to practice, analyze your mistakes, and enjoy the process.
Whether you’re riding local trails or world-class parks, berms are your ticket to a better mountain biking experience.

Hello Guys! I am John Reese, a professional biker and my hobby is biking! I have been biking for last 12 years and I love using bikes while outing as well. Based on my experiences with the different type of bikes (mountain bikes, road bikes and hybrid bikes); I am sharing my opinion about various bikes so that a beginner can get started right away. Happy reading!