Sitting properly on a mountain bike is more than just comfort. It’s the secret to better control, safer riding, and even faster progress as a rider. Many beginners think you simply sit and pedal, but mountain biking is a sport where your body position changes often.
Whether you’re climbing, descending, or rolling over rocks, how you sit will affect your speed, safety, and how tired you feel at the end of the ride. Learning the basics—and some advanced tips—can make your time on the trail much more enjoyable.
Why Mountain Bike Position Matters
Sitting correctly on a mountain bike is about balance. It helps you stay stable over rough ground, steer accurately, and avoid injury. Bad posture can lead to sore backs, hands, or knees. Worse, it can make you lose control, especially when trails get steep or loose.
Mountain biking is different from road cycling. The terrain is unpredictable—roots, rocks, drops, and sharp turns mean you need to move with your bike. Understanding your position is the first step to mastering mountain biking.
The Basics Of Mountain Bike Sitting
Most riders start with these fundamentals. They set the stage for good habits and safer rides.
- Seat Height: Your saddle should be high enough that your leg is almost straight at the bottom of the pedal stroke, but not locked. This gives you power and prevents knee strain.
- Seat Angle: Keep the saddle level or slightly nose-down. Too much tilt causes sliding and discomfort.
- Handlebar Reach: Your arms should be slightly bent, not stretched out or cramped. This helps absorb shocks and keeps your back relaxed.
- Foot Placement: Place the ball of your foot over the pedal axle. This gives you control and reduces fatigue.
- Back Position: Keep your back straight but relaxed. Avoid hunching or arching too much.
These basics will help you feel balanced and comfortable. However, mountain biking isn’t static—your position needs to change as the terrain changes.
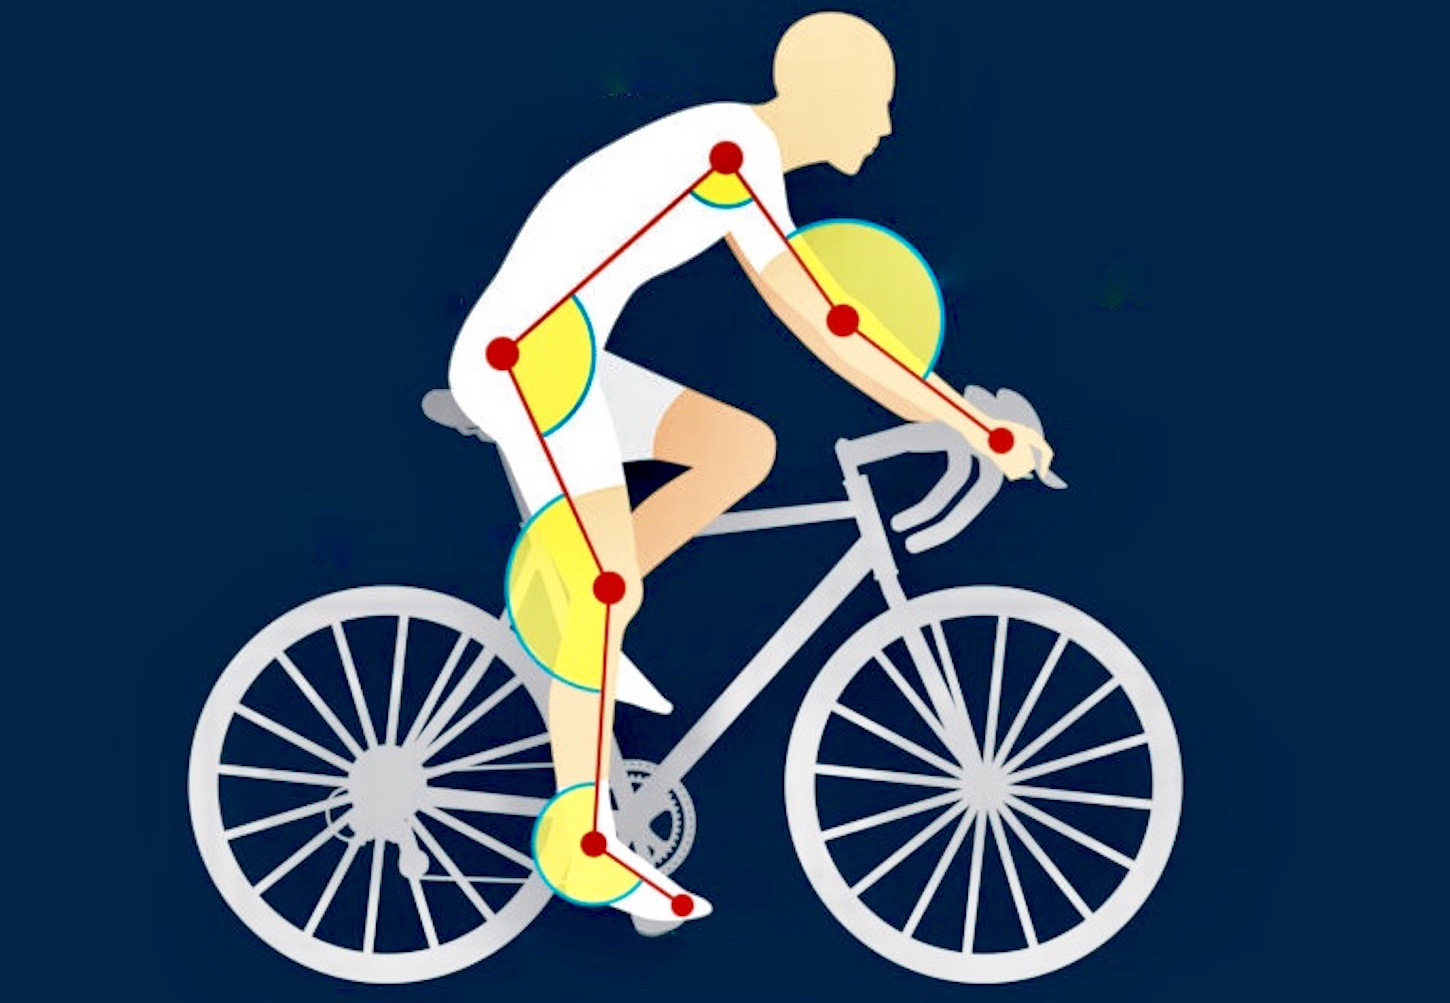
Credit: frey.bike
Adjusting Your Position For Different Terrain
On a mountain bike, you rarely sit still. You must shift your weight depending on where you ride.
Climbing Hills
When you climb, you need to keep your front wheel down and avoid spinning out.
- Move forward on the saddle, almost to the nose.
- Lean slightly forward, keeping your chest close to the handlebars.
- Keep elbows bent and relaxed.
- Stay seated as much as possible—standing wastes energy unless the climb is very steep.
Descending
Going downhill is the opposite. You need to keep your weight back for stability.
- Slide your hips off the rear of the saddle, almost hovering.
- Keep arms and legs bent to absorb bumps.
- Look ahead, not down. This helps you spot obstacles early.
- Stand up if the descent is rough, letting your bike move under you.
Cornering
Turning at speed requires a mix of sitting and moving.
- Lower your center of gravity by bending knees and elbows.
- Push your outside foot down for grip.
- Look through the turn, not at the front wheel.
- Shift your body slightly to the inside of the corner.
Technical Sections
When the trail is rocky or rooty, your posture should be more dynamic.
- Stand up, lifting your hips slightly above the saddle.
- Keep arms loose, ready to absorb shocks.
- Balance weight evenly between front and rear wheels.
- Move with the bike, not against it.
Comparing Mountain Bike Positions
Mountain biking uses different positions for various situations. Here’s a quick comparison:
| Situation | Main Body Position | Key Benefit |
|---|---|---|
| Flat Terrain | Seated, relaxed arms | Efficient pedaling |
| Climbing | Forward on saddle, lean forward | Front wheel traction |
| Descending | Hips back, stand up | Stability, control |
| Cornering | Bent knees, shift weight | Better grip |
| Technical | Stand, loose arms | Shock absorption |
Learning to shift between these positions will improve your confidence and control.
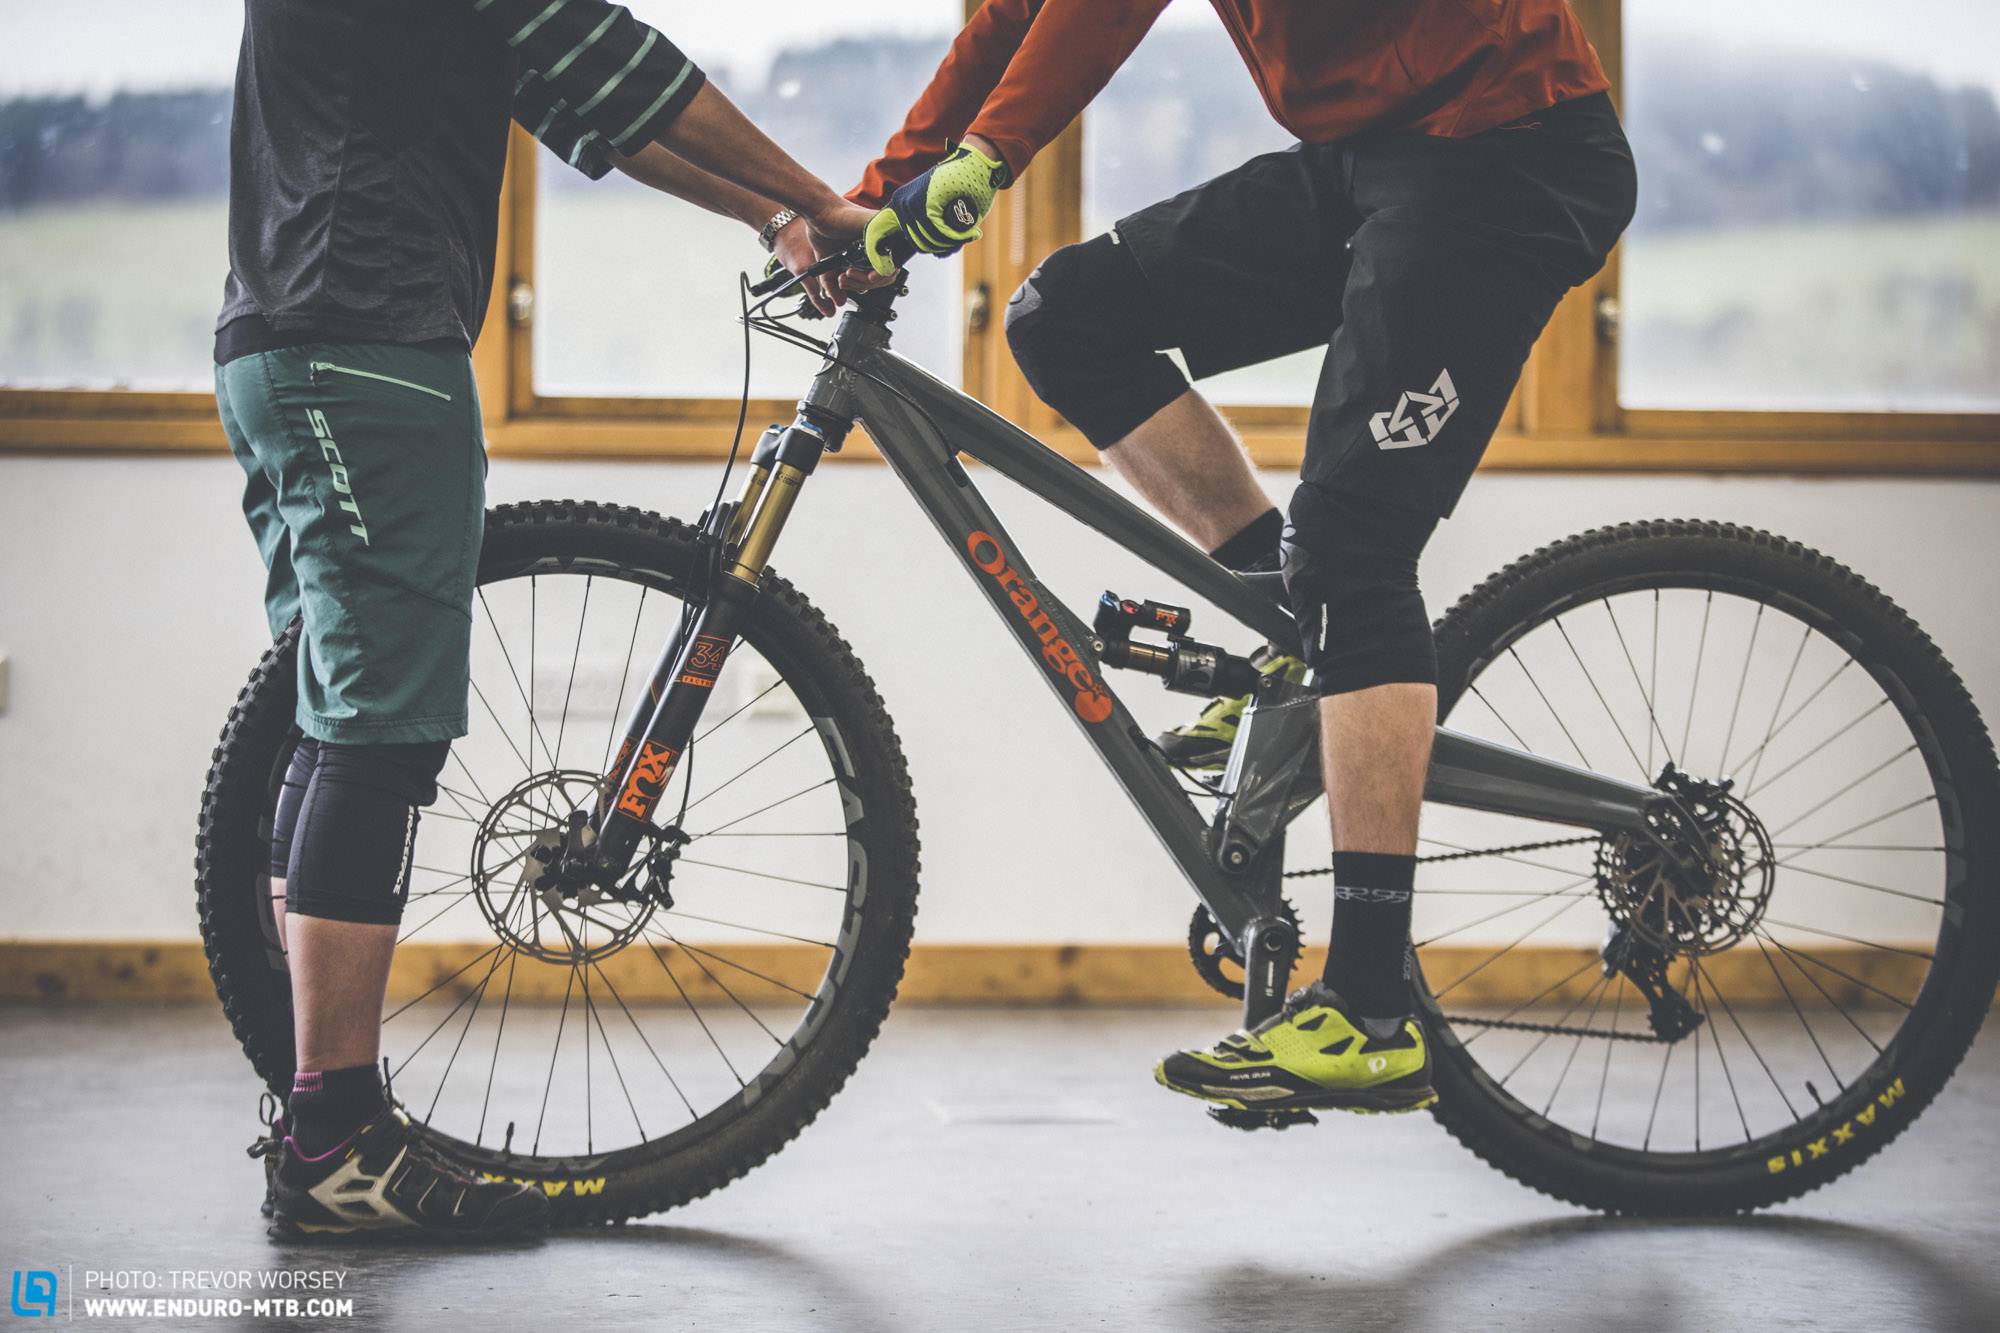
Credit: enduro-mtb.com
Setting Up Your Mountain Bike Seat
Before you can sit well, you need to set up your saddle correctly. Here’s how:
- Measure Your Leg Length: Stand next to your bike and place your heel on the pedal at its lowest point. Your leg should be straight. Adjust the saddle so your knee is slightly bent when using the ball of your foot.
- Adjust Saddle Tilt: Use a spirit level to check. Most riders use a flat saddle, but some prefer a tiny nose-down tilt.
- Fine-Tune Fore-Aft Position: Sit on the bike and pedal. Your kneecap should be above the pedal axle when the crank is horizontal.
- Check Handlebar Reach: Your elbows should be slightly bent when holding the bars. If you’re stretched or cramped, adjust stem length.
This setup helps prevent pain and boosts performance. Don’t be afraid to tweak it as you gain experience.
Understanding Dropper Posts
Modern mountain bikes often have dropper seatposts. These let you lower your saddle with a button, making it easier to change position quickly.
- High Position: Good for pedaling on flat or uphill.
- Low Position: Best for descending or technical trails.
Dropper posts make it easier to move your body and stay safe. If your bike has one, practice using it before riding tough trails.
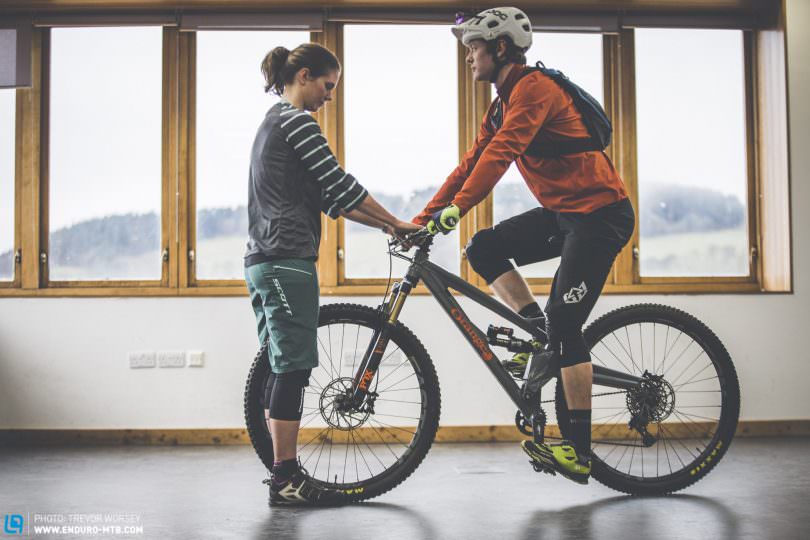
Credit: enduro-mtb.com
How Sitting Impacts Performance
Your sitting position affects how fast and efficiently you ride. Here are some statistics:
- Studies show a correct saddle height can improve pedaling power by up to 10% and reduce knee injuries.
- Riders using dropper posts descend 15% faster and with fewer crashes, according to BikeRadar.
- Bad posture often leads to sore backs, wrists, or knees—over 60% of mountain bikers report discomfort after rides.
Paying attention to your sitting position can help you avoid these problems and enjoy longer rides.
Common Mistakes Riders Make
Many beginners repeat the same errors. Here’s what to avoid:
- Too Low Saddle: This forces your knees to bend too much, causing pain and inefficient pedaling.
- Too High Saddle: Makes it hard to balance and risks hip strain.
- Rigid Arms: Stiff arms cannot absorb shocks, leading to sore wrists.
- Sitting Too Far Back: On climbs, this lifts the front wheel, causing loss of traction.
- Not Using Dropper Post: If your bike has one, use it for descents.
Experienced riders fine-tune their position. Beginners often forget to adjust as the trail changes.
The Role Of Core Strength
Having a strong core helps you maintain good posture on the bike. Your abdominal and back muscles keep you stable and allow you to move easily.
- Weak core muscles make you tire faster.
- Strong core lets you stay relaxed, absorb bumps, and shift weight smoothly.
Try simple exercises like planks or bridges to improve your core. You’ll notice the difference after a few rides.
Sitting Position For Women And Kids
Women and children often need special adjustments.
- Women: Wider pelvises mean wider saddles. Women-specific seats can reduce discomfort.
- Kids: Smaller bikes, lower saddle height, and short reach help young riders stay in control.
- Both groups should avoid copying adult men’s positions. Comfort and safety come first.
Using Data To Improve Your Position
Modern mountain biking uses technology to track posture and performance. Many riders use GPS or apps to measure speed and heart rate.
| Tool | What It Measures | Benefit |
|---|---|---|
| GPS Watch | Speed, distance | Track progress |
| Heart Rate Monitor | Effort level | Optimize training |
| Bike Fitting App | Posture | Custom adjustments |
These tools help you fine-tune your sitting position for better performance.
Tips For Comfort On Long Rides
If you plan to ride for hours, your sitting position becomes even more important.
- Use padded shorts to reduce saddle soreness.
- Take breaks to stretch your back and legs.
- Adjust your position often—move forward, back, or stand up to relieve pressure.
- Drink plenty of water to stay hydrated.
Experienced riders often change their position every few minutes. This prevents pain and keeps you fresh.
How Bike Geometry Affects Sitting
The shape of your bike—called geometry—influences how you sit. Key factors include:
- Top Tube Length: Longer tubes mean a stretched-out position. Short tubes mean upright sitting.
- Seat Tube Angle: Steeper angles put you over the pedals for climbing. Slacker angles are better for descending.
- Handlebar Height: High bars are comfortable but less aerodynamic. Low bars are faster but can cause back pain.
Choose a bike that matches your body and riding style. If you feel cramped or stretched, ask a shop for advice.
Comparing Mountain Bike Types
Different mountain bikes require different sitting positions. Here’s a simple breakdown:
| Bike Type | Sitting Position | Best For |
|---|---|---|
| Cross-Country (XC) | Forward, efficient | Climbing, speed |
| Trail | Balanced | Mixed terrain |
| Enduro/All-Mountain | More upright | Technical descents |
| Downhill | Standing, weight back | Steep descents |
Understanding your bike’s purpose helps you sit correctly.
Advanced Sitting Techniques
Experienced riders use advanced techniques for tough trails.
- Manuals: Lifting the front wheel by shifting weight back and pulling up. Used to clear obstacles.
- Bunny Hops: Jumping both wheels by crouching and then exploding upward. Helps avoid rocks.
- Attack Position: Standing with bent arms and legs, ready for anything. Used on rough terrain.
These moves require practice. Start simple—master the basics before trying advanced tricks.
How To Avoid Injury
Incorrect sitting causes many mountain bike injuries.
- Knee pain from bad saddle height.
- Back pain from hunching or arching.
- Wrist pain from stiff arms.
- Saddle sores from bad seat shape or position.
Take time to set up your bike. If you feel pain, stop and adjust. Small changes can make a big difference.
Adapting To Your Body
Everyone is different. Your ideal sitting position depends on your height, weight, flexibility, and riding style.
- Try different saddle shapes and sizes.
- Adjust handlebars and stem length.
- Use shorter cranks if your legs are short.
Listen to your body. If you feel sore or tired, your position might need tweaking.
Real-life Example: Improving Sitting Position
Jake, a beginner rider, struggled with knee pain. He lowered his saddle, but the pain got worse. After measuring his leg length and adjusting the saddle to the right height, his pain disappeared. He also moved his handlebars closer, making his back more relaxed.
Jake’s rides became longer and more enjoyable.
Many riders have similar stories. Taking time to set up your bike and learn proper sitting pays off.
Frequently Asked Questions
How High Should My Saddle Be On A Mountain Bike?
Your saddle should be high enough that your knee is slightly bent when the pedal is at its lowest point. If your leg is fully straight, it’s too high. If your knee is too bent, it’s too low. This helps avoid knee pain and improves power.
Why Do Mountain Bikers Stand Up So Often?
Standing up lets you absorb bumps, move your weight, and react quickly to changes in the trail. It’s especially important when descending, cornering, or riding over rough terrain. Sitting all the time makes you less stable.
What Is A Dropper Post And Why Is It Useful?
A dropper post is a seatpost that can be lowered with a button. When descending or riding technical trails, dropping the saddle lets you move your body more freely and safely. It’s standard on modern mountain bikes.
Can A Bad Sitting Position Cause Injuries?
Yes. Bad posture can cause knee, back, or wrist pain. It also leads to saddle sores and makes you less stable. Adjust your saddle height and angle, and change your position as needed.
Should Women Use Different Saddles?
Most women are more comfortable with women-specific saddles. These are wider and shaped for the female pelvis. They reduce discomfort and prevent injury. Always try different saddles to find what works for you.
Sitting correctly on a mountain bike is key to enjoying the sport. Small adjustments can lead to big improvements in comfort, control, and speed. Remember to adapt your position as the terrain changes, listen to your body, and use the right gear for your needs.
With practice, you’ll ride longer, safer, and with more confidence.

Hello Guys! I am John Reese, a professional biker and my hobby is biking! I have been biking for last 12 years and I love using bikes while outing as well. Based on my experiences with the different type of bikes (mountain bikes, road bikes and hybrid bikes); I am sharing my opinion about various bikes so that a beginner can get started right away. Happy reading!