Bleeding Hayes Mountain Bike Brakes: Complete Guide for Safe and Smooth Riding
When your mountain bike brakes feel soft, spongy, or inconsistent, it’s not just annoying—it’s dangerous. If you ride Hayes hydraulic disc brakes, learning how to bleed them is a must. This skill can save you money, prevent accidents, and keep your bike running at its best. Whether you’re new to bike maintenance or just want to get more confident, this guide will walk you through the process step-by-step, using clear language and practical advice.
Bleeding is the process of removing air bubbles and old fluid from your hydraulic brake system. Hayes brakes are popular for their strong stopping power and reliability, but even these systems need maintenance. Sometimes, air gets trapped inside the brake lines or caliper, making the lever feel soft. Other times, the fluid becomes dirty or less effective. When this happens, your brakes won’t work as well, which can be risky on tough trails.
Many riders think bleeding brakes is complicated or only for professionals. In reality, with the right tools and careful steps, you can do it yourself at home. This article will cover everything you need: how to spot when your Hayes brakes need bleeding, which tools and fluids to use, step-by-step instructions, common mistakes to avoid, and expert tips for a smooth job. You’ll also find tables comparing Hayes models, fluid types, and FAQs for extra clarity.
Why Bleeding Hayes Brakes Matters
Hydraulic brakes use fluid to transfer force from your hand to the caliper, squeezing the rotor and stopping the wheel. When air or contaminants get into the system, the fluid can’t work as well, and your braking power drops.
Signs Your Hayes Brakes Need Bleeding
- Soft or spongy lever feel: The lever sinks too easily or feels less responsive.
- Inconsistent braking: Brakes sometimes grab hard, sometimes weak.
- Lever travels too far: You need to pull the lever close to the handlebar before the brakes bite.
- Visible dirty fluid: Fluid in the reservoir looks brown or cloudy.
- Noisy brakes: Squealing or odd noises sometimes point to air or old fluid.
Riding with these problems can lead to longer stopping distances, poor control, and even accidents. Bleeding restores maximum performance and keeps your ride safe.
Tools And Materials You Need
Before you start, gather the right tools and materials. Using incorrect tools can damage parts or make bleeding harder.
Essential Tools
- Hayes Bleed Kit: This usually includes syringes, tubing, and connectors.
- Hayes DOT Brake Fluid: Most Hayes brakes use DOT fluid (often DOT 3 or DOT 4). Check your manual.
- Torx or Allen wrenches: For removing brake lever covers and caliper screws.
- Gloves and eye protection: DOT fluid is harsh—protect your skin and eyes.
- Clean rags and paper towels: For spills and cleanup.
- Isopropyl alcohol: For cleaning parts.
- Small container: To catch old fluid.
Optional But Helpful
- Zip ties: Hold tubes in place.
- Drip tray: Protects your work surface.
Hayes Brake Fluid Types
Not all brake fluids are the same. Hayes brakes usually use DOT fluid, not mineral oil. Using the wrong fluid can ruin seals and cause leaks. Always check your model’s requirements.
Here’s a comparison of common brake fluids:
| Fluid Type | Used in Hayes? | Boiling Point (°C) | Notes |
|---|---|---|---|
| DOT 3 | Yes | 205 | Good for most conditions |
| DOT 4 | Yes | 230 | Better for extreme heat |
| DOT 5.1 | Some models | 270 | High-performance, compatible with DOT 3/4 |
| Mineral Oil | No | 180 | Never use in Hayes brakes |
Tip: Always use new, unopened fluid. Old fluid can absorb moisture and lose performance.
Credit: hayesbicycle.com
Preparing Your Bike And Workspace
A clean, organized workspace makes the job easier and safer. You’ll also reduce the risk of contaminating your brake pads or rotor.
Setting Up
- Secure the bike: Use a bike stand if possible. Keep the handlebars level.
- Remove wheels: This prevents fluid spills onto tires and makes caliper access easier.
- Cover brake pads and rotor: Use clean rags or plastic to protect them from fluid.
- Lay out tools: Arrange everything within reach.
Safety Precautions
- Wear gloves: DOT fluid is corrosive and can cause skin irritation.
- Eye protection: Fluid can splash unexpectedly.
- Ventilate the area: DOT fluid has strong fumes.
Non-obvious insight: Even tiny drops of DOT fluid on brake pads or rotors can ruin braking. Always protect these parts carefully.
Step-by-step Bleeding Process For Hayes Brakes
This section walks you through the complete bleeding process. Follow each step carefully for the best results. If you’re unsure, check your specific model’s manual.
Step 1: Remove Brake Lever Cover
Most Hayes brakes have a small cover or plug on the lever for the bleed port.
- Use the correct Allen or Torx wrench.
- Set the cover aside in a clean spot.
Step 2: Attach Syringe And Tubing
- Connect the syringe (filled with fresh DOT fluid) to the lever bleed port.
- Ensure the connection is tight to avoid leaks.
Tip: Some Hayes kits use a threaded connector; others use a push-fit. Double-check before attaching.
Step 3: Open Caliper Bleed Port
- Locate the bleed port at the caliper.
- Attach a second syringe or tubing to the caliper port.
- Use a container to catch old fluid.
Step 4: Push Fluid Through System
- Slowly push fluid from the lever syringe through the brake line to the caliper.
- Watch for air bubbles and old fluid coming out the caliper.
- Continue until only clean fluid exits.
Non-obvious insight: Don’t rush this step. Fast pushing can trap air. Gentle, steady pressure works best.
Step 5: Pull Fluid Back
- Pull back gently on the syringe at the caliper.
- This helps remove stubborn air bubbles.
Step 6: Repeat As Needed
- Alternate pushing and pulling fluid until no bubbles appear in the tubing.
- If bubbles persist, tap the brake lines and caliper to dislodge them.
Step 7: Close Bleed Ports
- Remove syringes and tubing.
- Clean ports with isopropyl alcohol.
- Reinstall covers and tighten securely.
Step 8: Clean Up
- Wipe any spills immediately.
- Remove protective covers from pads and rotor.
- Reinstall wheels.
Step 9: Test Brakes
- Squeeze the lever firmly.
- Check for solid, consistent feel.
- If the lever still feels soft, repeat the bleeding process.
Expert tip: Always check both front and rear brakes, even if only one feels soft. Air can travel in unexpected ways.
Common Mistakes And How To Avoid Them
Bleeding brakes isn’t difficult, but mistakes can happen. Avoid these to save time and keep your system safe.
- Using the wrong fluid: Hayes brakes require DOT fluid. Mineral oil will damage seals.
- Contaminating pads or rotor: Even a drop of fluid can ruin braking surfaces.
- Leaving air in the system: Always check for bubbles and repeat steps as needed.
- Over-tightening ports: Stripping threads can cause leaks. Use gentle, firm pressure.
- Skipping safety gear: Protect yourself from fluid splashes.
- Not cleaning up spills: DOT fluid damages paint and plastic.
Practical advisor note: If you accidentally spill fluid, wash the area with plenty of water and dry it quickly.
Hayes Brake Models: Key Differences
Different Hayes brake models have slightly different bleeding procedures. Knowing your model helps you avoid confusion.
| Hayes Model | Bleed Port Location | Fluid Type | Special Features |
|---|---|---|---|
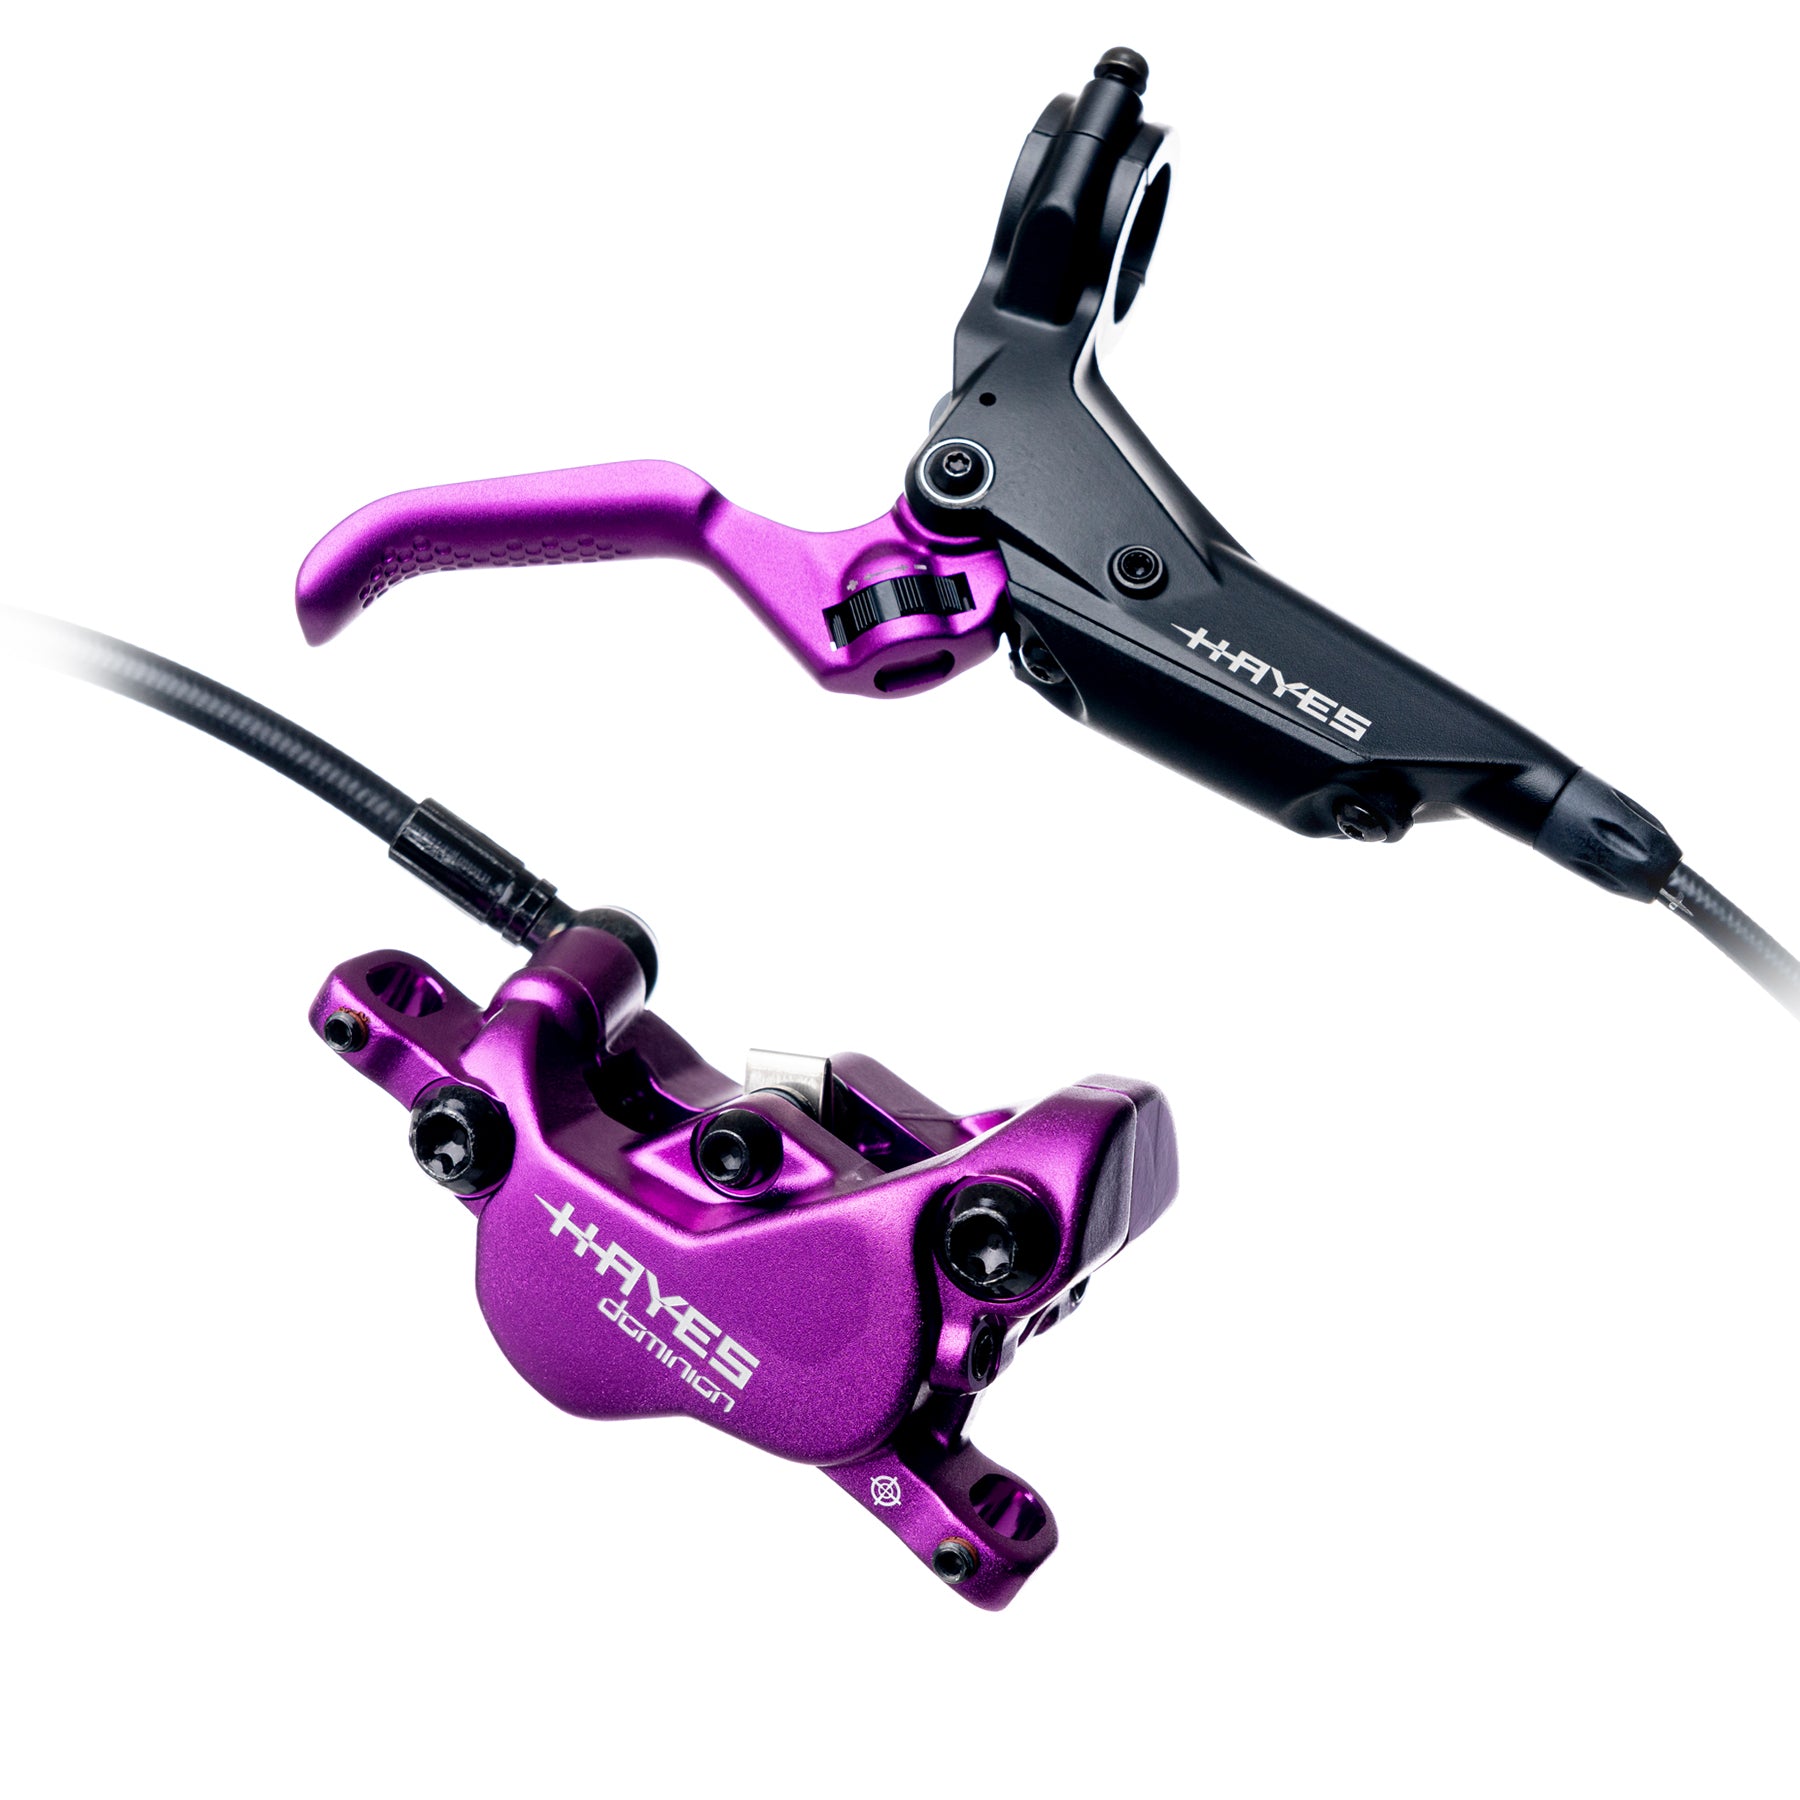
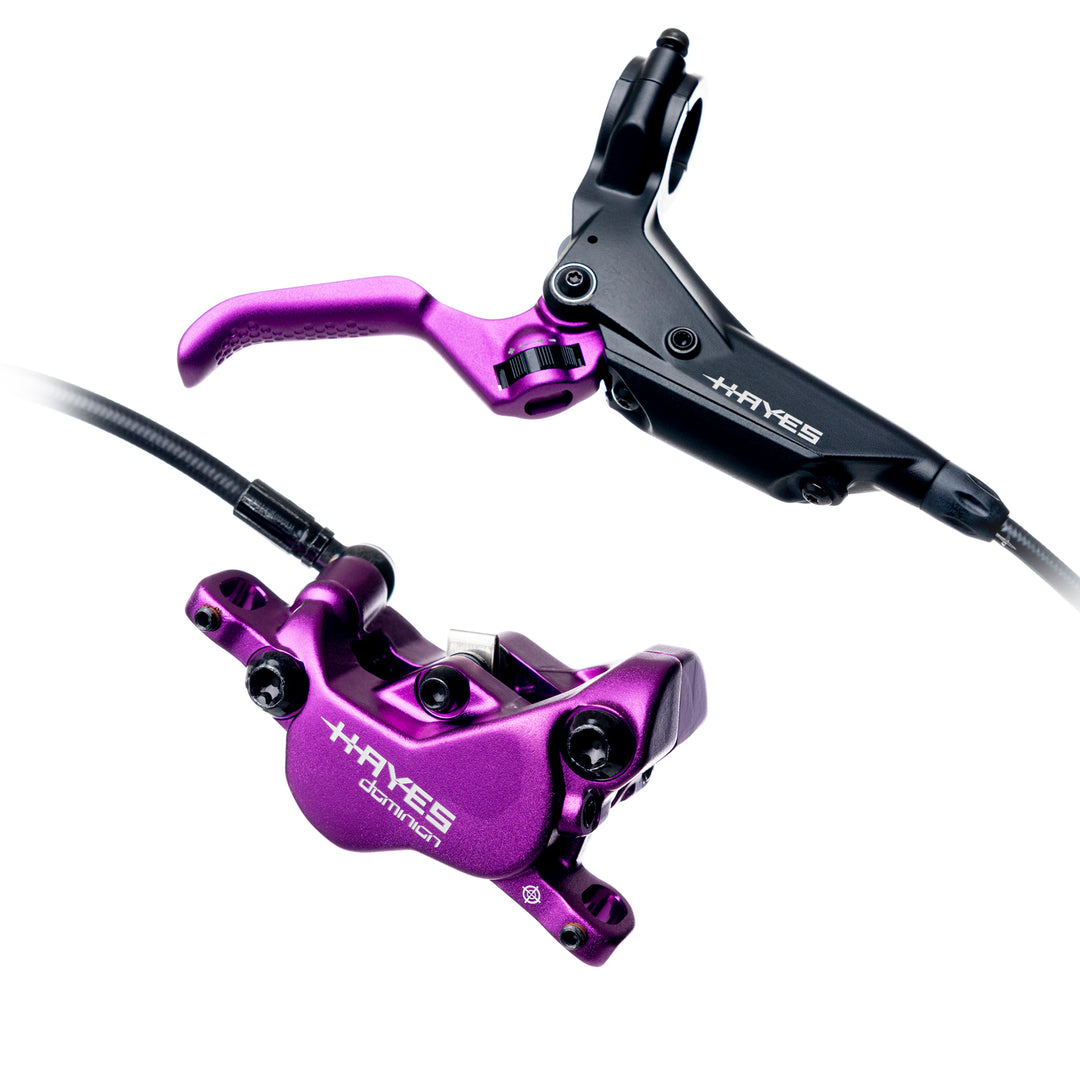
| Hayes Dominion A4 | Lever and caliper | DOT 4 | Four-piston, easy bleed |
| Hayes Prime | Lever and caliper | DOT 4 | Two-piston, compact |
| Hayes Radar | Lever only | DOT 3 | Budget, basic |
| Hayes Stroker | Caliper only | DOT 4 | Older model, extra care needed |
Non-obvious insight: The bleed port location changes how you attach syringes and tubing. Always check your model before starting.
Tips For Smooth, Effective Bleeding
Sometimes, small details make a big difference. Here are expert tips to help you get perfect results:
- Work slowly and carefully: Rushing can trap air or cause spills.
- Use high-quality tools: Cheap syringes and tubing can leak or break.
- Tap the brake lines: Light tapping helps dislodge hidden air bubbles.
- Keep fluid upright: Syringes filled with air can push bubbles into the system.
- Check lever angle: Keep the lever horizontal so air rises to the bleed port.
- Replace fluid every 12 months: Even if brakes feel good, fluid degrades over time.
- Store fluid properly: DOT fluid absorbs water from the air. Keep bottles sealed.
Friendly mentor advice: If you’re nervous, practice on an old brake system first. Confidence grows with experience.
How Often Should You Bleed Hayes Brakes?
Most riders bleed their brakes once per year, or whenever performance drops. Heavy riders or those on tough trails may need more frequent bleeding.
Factors that affect bleeding frequency:
- Weather: Wet and muddy conditions increase contamination risk.
- Riding style: Aggressive, downhill riders stress brakes more.
- Age of fluid: Old fluid absorbs moisture, reducing effectiveness.
Experience-based guide note: If you ride in hot weather or do lots of descents, check your brakes every 6 months.
Troubleshooting After Bleeding
Sometimes, problems appear even after careful bleeding. Here’s how to solve common issues:
Soft Lever After Bleeding
- Bleed again: Air may still be trapped.
- Check for leaks: Inspect all connections.
- Tap lines: Air bubbles can hide at bends.
No Braking Power
- Pads contaminated: Replace if fluid touched them.
- Rotor dirty: Clean with alcohol, never with oil.
Lever Won’t Return
- Too much fluid: Remove a small amount.
- Stuck piston: Check caliper and rebuild if needed.
Straight-to-the-point helper tip: If brakes still don’t work after troubleshooting, consult a bike mechanic. Sometimes seals or pistons need repair.
Hayes Bleed Kit Vs. Generic Kits
Some riders wonder if they can use generic bleed kits. While it’s possible, Hayes kits are designed for their brakes and fit better.
Here’s a comparison:
| Feature | Hayes Bleed Kit | Generic Kit |
|---|---|---|
| Connector Fit | Perfect, no leaks | Sometimes loose |
| Syringe Quality | Durable, clear | Varies, may crack |
| Compatibility | All Hayes models | May not fit all |
| Price | Higher | Lower |
Expert tip: For best results, use the official Hayes kit. It saves time and avoids leaks.

Credit: www.youtube.com
Environmental And Health Safety
DOT fluid is toxic and should be handled carefully. Never pour it down drains or throw it in the trash.
Safe Disposal
- Collect old fluid in a sealed container.
- Take it to a hazardous waste facility.
- Never touch fluid with bare skin.
Calm expert advice: Always check local rules for disposal. Some cities have special collection days.
Real-world Example: Bleeding Hayes Dominion A4
Let’s look at a practical example. The Hayes Dominion A4 is a popular four-piston brake used by mountain bikers.
- Set up the bike and cover pads/rotor.
- Remove the lever bleed cover with a Torx wrench.
- Attach the syringe filled with DOT 4 fluid.
- Open the caliper bleed port.
- Push fluid through, watching for bubbles.
- Alternate pushing and pulling fluid until clear.
- Close ports, clean up, and reinstall covers.
- Test the lever for firmness.
Non-obvious insight: For the Dominion A4, many riders find that tapping the caliper during bleeding helps remove stubborn air.
Credit: hayesbicycle.com
Maintenance Schedule For Hayes Brakes
Keeping a schedule helps prevent problems before they start. Here’s a sample maintenance plan:
- Monthly: Check lever feel, inspect for leaks.
- Every 6 months: Clean caliper, check pads.
- Annually: Bleed brakes, replace fluid.
Straight-to-the-point helper: Write the date of last bleed on a sticker near the lever. This makes it easy to remember.
Upgrading Hayes Brakes: When And Why
Sometimes, bleeding isn’t enough. If your brakes are old, damaged, or underpowered, upgrading may help.
Reasons to upgrade:
- Better stopping power: Newer models like Dominion A4 offer stronger performance.
- Easier bleeding: Modern designs are simpler to maintain.
- Longer lifespan: New materials resist wear.
Friendly mentor tip: Compare models before buying. Hayes offers several options for different budgets and riding styles.
For more details on brake fluid types and compatibility, see Hayes official site.
Frequently Asked Questions
How Do I Know If My Hayes Brakes Need Bleeding?
If your brake lever feels soft, travels too far, or braking is inconsistent, it’s time to bleed. Dirty fluid or visible bubbles in the reservoir are also signs.
Can I Use Mineral Oil In Hayes Brakes?
No. Hayes brakes are designed for DOT fluid. Using mineral oil can damage seals and cause leaks.
What’s The Difference Between Dot 3 And Dot 4 Fluid?
DOT 4 has a higher boiling point, making it better for hot conditions. Both are compatible with most Hayes brakes, but always check your manual.
Is It Safe To Bleed Brakes At Home?
Yes, if you follow safety precautions. Wear gloves, protect your eyes, and keep DOT fluid away from pads, rotors, and skin.
How Long Does The Bleeding Process Take?
Usually about 30–45 minutes for both brakes if you have the right tools and follow steps carefully.
Bleeding Hayes mountain bike brakes is a skill every rider should learn. With careful steps, the right tools, and a calm approach, you can restore your brakes to full power and enjoy safer rides. Remember, practice builds confidence. Don’t hesitate to ask for help or consult experts if you run into trouble.
Whether you’re riding cross-country, downhill, or just around town, well-maintained brakes are your best insurance for fun and safety.

Hello Guys! I am John Reese, a professional biker and my hobby is biking! I have been biking for last 12 years and I love using bikes while outing as well. Based on my experiences with the different type of bikes (mountain bikes, road bikes and hybrid bikes); I am sharing my opinion about various bikes so that a beginner can get started right away. Happy reading!