If you ride a mountain bike, you probably want to keep it looking new and protect it from scratches. Wrapping your mountain bike is one of the best ways to do this. But how much does it cost to wrap a mountain bike?
The answer depends on many factors, from the type of wrap you choose to the size and complexity of your bike. In this article, you’ll learn about the real costs, what affects those prices, and whether wrapping your mountain bike is worth the investment.
You’ll also discover some smart tips and mistakes to avoid, so you can make the best decision for your bike and your wallet.
Why Wrap A Mountain Bike?
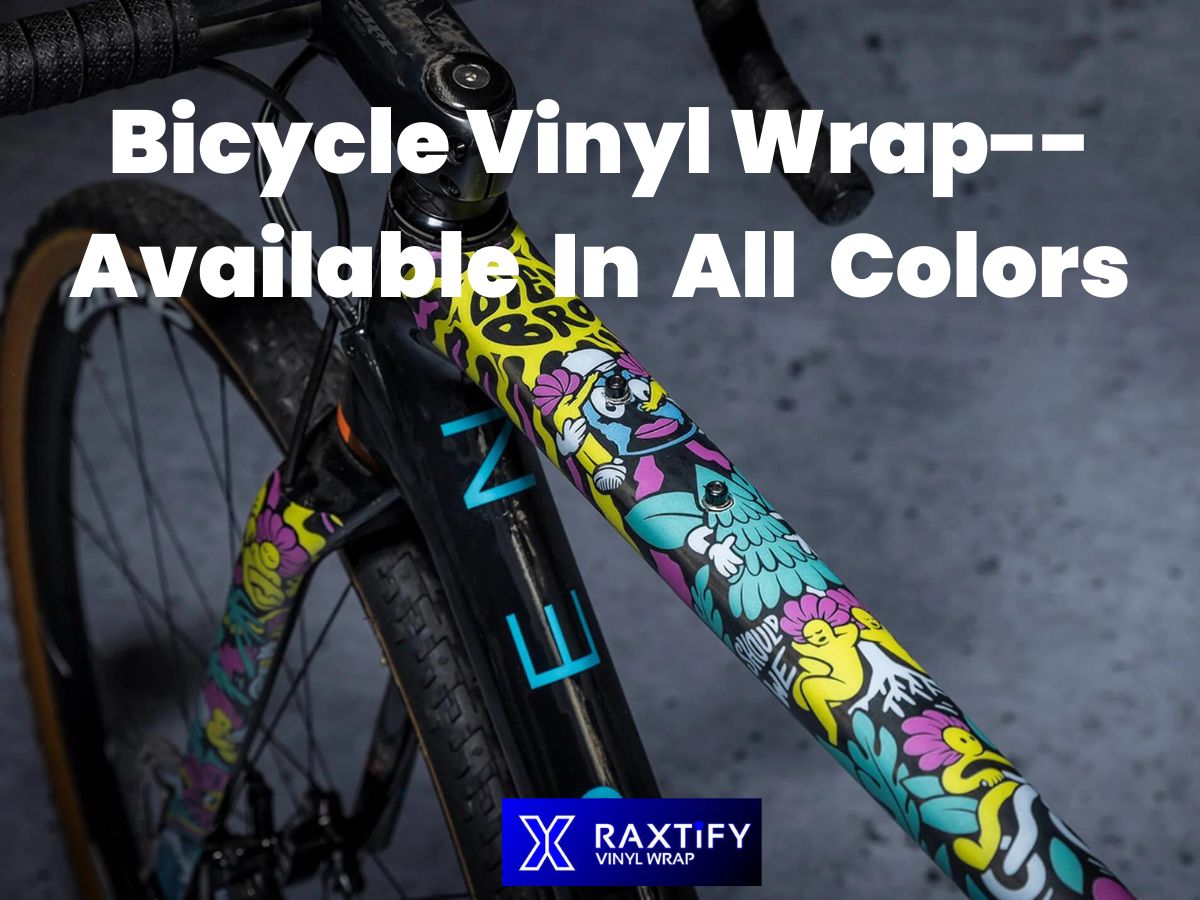
Mountain bikes see a lot of rough terrain. Rocks, branches, mud, and crashes can leave marks on your bike frame. A bike wrap is a protective film (usually vinyl or TPU) that covers your bike’s frame. It helps prevent scratches, chips, and even some minor impacts. Many riders also wrap their bikes to change the color or style, making their bike unique. Wrapping can boost resale value by keeping the frame in better condition.
But wrapping is not just about looks. It’s about protection and saving money in the long run. Bike wraps are popular among riders who want their bikes to last longer and look good. If you’re thinking about wrapping your mountain bike, understanding the costs is the first step.
Types Of Mountain Bike Wraps
The price to wrap a mountain bike depends heavily on the type of wrap you choose. There are two main categories:
- Full Wraps: Covers almost the entire frame, including tubes, stays, and sometimes forks.
- Partial Wraps/Protection Kits: Only covers the main impact areas, like downtube, chainstays, and seatstays.
Within these categories, you’ll find different materials and brands:
- Vinyl wraps: Popular for custom colors and graphics. Good for style changes.
- TPU (thermoplastic polyurethane) kits: Known for clear protection. They’re tough, invisible, and focus on shielding the frame.
Some wraps are pre-cut for specific bike models. Others are universal sheets that you cut yourself. Pre-cut kits are easier to install but usually cost more.
How Much Does It Cost To Wrap A Mountain Bike?
Let’s get straight to the numbers. The cost to wrap a mountain bike can range widely:
- Partial protection kits: $40–$100
- Full frame protection kits: $80–$180
- Custom vinyl wraps (full frame): $150–$400
- Professional installation: $120–$350 (labor only)
If you wrap your bike yourself, you pay mainly for the kit. If you hire a shop, you pay for both the kit and labor.
Here’s a quick comparison:
| Wrap Type | Material Cost | Professional Labor | Total (DIY) | Total (Pro) |
|---|---|---|---|---|
| Partial protection kit | $40–$100 | $80–$150 | $40–$100 | $120–$250 |
| Full protection kit | $80–$180 | $100–$200 | $80–$180 | $180–$380 |
| Custom vinyl wrap | $150–$400 | $120–$350 | $150–$400 | $270–$750 |
Most riders spend about $120–$300 for a standard TPU protection kit (with or without professional install). Custom wraps for color change or graphics can go much higher.
What Factors Affect The Cost?
Many things can change the price of wrapping a mountain bike. Here are the most important:
Bike Size And Shape
A larger frame means more material and time. Full-suspension bikes have complex shapes, linkages, and curves, which require more cutting and fitting. Hardtails are simpler and sometimes cheaper to wrap.
Material Quality
High-end wraps cost more. 3M, RideWrap, InvisiFRAME, and AMS are trusted brands. Premium TPU is tough and almost invisible, but expensive. Cheap vinyl can fade or peel sooner.
Pre-cut Vs. Universal Kits
Pre-cut kits save time and fit better. They’re made for your specific bike model. Universal kits are cheaper but require more work to cut and fit.
Professional Installation
DIY saves money, but mistakes can ruin the wrap. Many shops charge by the hour or by the complexity. Some charge extra for removing parts like wheels or cranks.
Graphics And Customization
If you want unique colors, logos, or patterns, custom vinyl wraps are pricier. Simple clear protection kits cost less. Custom jobs can double or triple the price.
Location
Costs vary by country and city. In big US cities, labor is higher. In Europe, brands like InvisiFRAME may be more common and slightly cheaper. Local demand also affects price.

Credit: raxtify.com
Diy Vs. Professional Wrap: Which Is Better?
Should you wrap your bike yourself or pay a shop? Here’s what you need to know:
| Option | Pros | Cons |
|---|---|---|
| DIY | – Saves money – Learn new skills – Customize anytime |
– Takes time – Hard to get perfect – Risk of bubbles/wrinkles |
| Professional | – Expert fit – Quick turnaround – Warranty (sometimes) |
– More expensive – Less flexibility – Must schedule |
If you’re confident with cutting and applying film, DIY is possible. Many kits come with instructions, tools, and videos. But even experienced riders find some areas tricky. Professional installers use special techniques and tools for a perfect fit.
Real Examples: What Riders Actually Pay
Let’s look at some real-world costs:
- RideWrap Tailored Protection Kit for a Trek Fuel EX: $110 (kit) + $120 (labor) = $230 total.
- AMS Frame Guard (basic kit) for a Specialized Stumpjumper: $48 (kit), DIY install.
- Custom vinyl wrap for a Santa Cruz Bronson: $250 (material) + $180 (install) = $430 total.
- InvisiFRAME full kit for a Giant Trance: $125 (kit) + $140 (labor) = $265 total.
Some shops offer package deals. Others charge extra for removing parts or cleaning the frame. Always ask for a detailed quote.
Hidden Costs And Common Mistakes
Many beginners forget about hidden costs. Here are things to watch out for:
- Prep work: The bike must be spotless. Sometimes deep cleaning costs extra.
- Removing parts: Wheels, cranks, and handlebars may need to be removed for a full wrap. Shops may charge $20–$50 for this.
- Replacement wraps: If you mess up a piece, you’ll need to buy a replacement. Some brands sell extras, but not all.
- Tools: You might need a heat gun, squeegee, or special cleaners. These can add $10–$30.
- Labor for repairs: If the frame is damaged or chipped, fixing it before wrapping costs more.
A common mistake is not measuring your bike carefully before buying a kit. Some universal kits won’t fit complex frames. Another is rushing the install, leading to bubbles and wrinkles. Take your time and follow instructions closely.
How Long Does A Bike Wrap Last?
A good wrap can last 3–7 years if installed properly. TPU protection films are tougher and last longer than vinyl wraps. Vinyl wraps used for style changes may fade or peel after 2–4 years, especially with sun and mud exposure.
Proper care makes a big difference. Avoid harsh cleaners, and check for loose edges. Some wraps can be repaired if damaged. If you plan to sell your bike, a wrap can keep the frame looking fresh and increase value.
Is Wrapping Worth The Money?
For most mountain bikers, wrapping is a smart investment. Frames are expensive to replace or repair. A wrap costs less than a new paint job, and it protects your bike’s value.
Here’s a quick cost-benefit overview:
| Protection Type | Avg. Price | Frame Damage Cost | Resale Value Boost |
|---|---|---|---|
| Full protection kit | $180–$380 | $300–$800 | $100–$250 |
| Partial kit | $120–$250 | $150–$400 | $50–$120 |
| Custom vinyl wrap | $270–$750 | $500–$1200 | $200–$400 |
If you ride often or on tough trails, a wrap can save money by preventing damage. If you care about looks or plan to sell your bike, the resale value is higher with a clean frame. For rare or expensive bikes, the extra protection is even more valuable.
How To Choose The Right Wrap Kit
Choosing the right wrap kit depends on your needs and budget. Here’s what to consider:
- Frame compatibility: Check if the kit is made for your bike model.
- Material strength: TPU is best for protection; vinyl is best for style.
- Coverage: Decide if you want full or partial coverage.
- Installation: Can you install it yourself, or do you need a pro?
- Brand reputation: Pick brands with good reviews and support.
Ask riders in your area or online forums for recommendations. Some kits have better instructions and fit. Don’t just look at price; check for quality and support.
Step-by-step: How To Wrap A Mountain Bike
If you want to try wrapping your bike yourself, here’s a basic guide:
- Clean the frame: Remove dirt, grease, and old stickers. Use a gentle cleaner.
- Remove parts: Take off wheels, cranks, and bars if needed.
- Lay out the kit: Organize the pieces by area.
- Test fit: Place each piece on the frame before sticking.
- Apply film: Use a squeegee and heat gun for tight areas. Go slow to avoid bubbles.
- Trim edges: Use a sharp blade for clean edges.
- Check for bubbles: Press out any air pockets.
- Reassemble: Put the bike back together.
Some brands offer detailed video guides. If you’re unsure, practice on a small area first.
Non-obvious Insights Beginners Usually Miss
Most beginners don’t realize how much humidity and temperature affect wrap installation. If you install the wrap in a cold garage, the adhesive may not stick well. Aim for a warm, dry space. Another insight: wraps can help prevent cable rub, which is a common cause of paint wear. Even partial wraps can stop cables from scratching the frame.
Also, not all wraps are easy to remove. Some leave residue or damage paint if pulled off carelessly. Ask about removal before buying.
What About Bike Wrap Alternatives?
Some riders use frame guards, clear tape, or rubber bumpers as cheaper options. These protect only high-impact areas. They cost less ($10–$30), but don’t cover the whole frame. If you ride mild trails, this may be enough. But for rough riding, full wraps offer better protection and look cleaner.
Paint touch-ups are another option, but they don’t prevent future damage. If your bike is already scratched, wraps can hide some marks, but won’t fix deep chips.
Are There Eco-friendly Wraps?
A few brands are working on biodegradable or recycled wraps. Most current wraps are plastic-based. If you care about the environment, look for brands that use recycled materials or offer recycling programs.

Credit: raxtify.com
Trusted Brands And Where To Buy
Some of the most trusted brands for mountain bike wraps include:
- RideWrap: Known for tailored kits and clear protection.
- InvisiFRAME: Pre-cut kits for many bike models.
- AMS (All Mountain Style): Durable, stylish frame guards.
- 3M: High-quality vinyl, often used for custom jobs.
You can buy kits online, from bike shops, or direct from brand websites. Always check for compatibility and reviews before buying.
For more details on materials and their durability, you can check Wikipedia’s vinyl wrap page.
Frequently Asked Questions
How Long Does It Take To Wrap A Mountain Bike?
For a full wrap, expect 2–4 hours for a professional installer. DIY can take longer, especially if you’re new to wrapping. Partial kits can be done in 1–2 hours.
Can I Remove The Wrap Later?
Yes, most wraps can be removed, but some adhesives may leave residue. Heat helps soften the glue. Check with the brand for removal instructions.
Does Wrapping Affect Bike Weight?
Wraps add a small amount of weight — usually less than 100 grams for a full kit. This is about the weight of a banana and won’t affect performance for most riders.
Is Wrapping Better Than Painting?
Wrapping is faster, cheaper, and reversible. Painting is permanent and costly. Wraps protect paint and can be changed easily, while paint jobs require sanding and prep.
Can I Wrap A Bike With Scratches Or Chips?
Yes, but deep chips may show through clear wraps. For best results, touch up paint or repair chips before wrapping. Some wraps can hide minor marks, but not major damage.
Wrapping your mountain bike is a smart way to protect your investment, keep your ride looking fresh, and add some personal style. The cost depends on your choices, but with the right kit and careful installation, you’ll enjoy years of protection on the trails.
Whether you go DIY or hire a pro, knowing what to expect will help you make the best decision for your bike and budget.
Credit: www.sepr.es

Hello Guys! I am John Reese, a professional biker and my hobby is biking! I have been biking for last 12 years and I love using bikes while outing as well. Based on my experiences with the different type of bikes (mountain bikes, road bikes and hybrid bikes); I am sharing my opinion about various bikes so that a beginner can get started right away. Happy reading!