Finding the perfect mountain bike seat position can feel like a small detail, but it makes a huge difference in your ride. The right adjustment can help you ride longer, avoid pain, and even control your bike better on rough trails.
For many riders—especially beginners—seat adjustment is confusing. This guide will show you, step by step, how to adjust your mountain bike seat for comfort, performance, and safety. You’ll also learn why small changes can have a big impact, and how to avoid mistakes that many new riders make.
Why Mountain Bike Seat Adjustment Matters
A well-adjusted seat does more than just feel good. It can prevent injuries, improve your power, and help you handle your bike on tricky trails. Many riders think about tire pressure, suspension, or brakes, but ignore the seat. In reality, the seat is the main point where your body connects with the bike.
If it’s too high, too low, or tilted wrong, you might get sore knees, back pain, or numb hands.
Key reasons to adjust your seat:
- Comfort: Reduces pain in your lower back, knees, and hands.
- Efficiency: Helps you use your leg muscles the right way.
- Bike control: Lets you move your body easily, which is key on technical terrain.
- Injury prevention: Avoids overuse injuries, especially in knees and hips.
Many beginners miss how much saddle position affects their ride. For example, a seat that’s just one inch too high can make your hips rock side to side, wasting energy and causing pain. Or, a seat that’s tilted forward might make you slide off, forcing your hands to grip the bars too hard.
These problems often show up after a few rides, not right away.
Types Of Mountain Bike Seats And Seatposts
Before you adjust anything, it helps to know what kind of seat and seatpost your bike uses.
Common Saddle Types
Most mountain bike saddles are made for off-road use, but they come in different shapes and sizes. Some have extra padding for comfort, while others are lighter and stiffer for racing. Wider saddles can be comfortable, but too wide can rub your legs.
Narrow saddles may feel strange at first, but often allow better movement.
Types Of Seatposts
There are two main types of seatposts on mountain bikes:
- Fixed seatposts: These are basic, with one height setting.
- Dropper seatposts: These allow you to change seat height on the fly, using a lever on the handlebar. Great for going up and down steep hills.
Knowing your seatpost type is important. Dropper posts make it easier to adjust while riding, but both types are set up similarly.
Tools You’ll Need
Adjusting a mountain bike seat does not require many tools. Most bikes use a hex (Allen) key, usually 4mm, 5mm, or 6mm, to loosen and tighten the seat clamp. Some bikes use a quick-release lever instead. It’s smart to have a torque wrench for final tightening, so you don’t over-tighten and damage the frame.
- Hex/Allen keys: 4mm, 5mm, or 6mm sizes
- Torque wrench (optional but recommended)
- Measuring tape or ruler
- Bike stand (optional, for stability)
- Grease (for the seatpost, especially if it’s metal-on-metal)
Three Key Adjustments: Height, Fore-aft, And Tilt
Adjusting your mountain bike seat involves three main settings. Each one affects how your body fits the bike.
1. Seat Height
Seat height controls your leg extension and power. Too high, and your hips will rock or you’ll struggle to reach the pedals. Too low, and you’ll tire quickly and may hurt your knees.
How To Set The Right Seat Height
- Wear your cycling shoes.
- Lean the bike against a wall or use a bike stand.
- Sit on the saddle.
- Place your heel on the pedal at its lowest point (6 o’clock position).
- Your leg should be straight, with your knee locked out.
- Now, place the ball of your foot on the pedal. Your knee should have a small bend (about 25-30 degrees).
If your hips rock side-to-side while pedaling, the seat is too high. If your knees stay very bent at the bottom of the pedal stroke, it’s too low.
Example
A beginner often sets the seat too low, thinking it feels safer. But after a long ride, knee pain can develop. Raising the seat just 1-2 cm can make a big difference.
2. Fore-aft Position (front-back)
Fore-aft is how far forward or backward the seat sits on the rails.
How To Set Fore-aft
- Sit on the saddle with the pedals level (3 o’clock and 9 o’clock).
- Drop a plumb line (a string with a weight) from just below your kneecap.
- The line should pass through the pedal axle.
- If it falls in front of the axle, move the seat back. If it falls behind, move the seat forward.
This setting helps balance your weight over the pedals, which is key for efficiency and comfort.
Non-obvious Tip
Some riders ignore this adjustment, but it can fix numb hands and help with steep climbs. On modern bikes, moving the seat forward a little can also help with steep seat tube angles.
3. Seat Tilt
Seat tilt affects pressure on your pelvis and hands.
- Start with the seat level (use a bubble level if you have one).
- Small changes (1-2 degrees up or down) can have a big effect.
- Tilting the nose down too much can make you slide forward.
- Tilting it up can cause pressure in sensitive areas.
Example
A rider with numb hands might have a seat that’s tilted forward. Adjusting it back to level can relieve the problem.

Credit: www.youtube.com
Step-by-step: How To Adjust Your Mountain Bike Seat
Follow these steps in order for the best results.
- Check current seat height. Measure from the center of the bottom bracket (crank axle) to the top of the saddle, along the seat tube.
- Loosen the seatpost clamp. Use the right size hex key or quick-release lever.
- Adjust seat height. Slide the seatpost up or down. Tighten gently.
- Check fore-aft position. Loosen the seat rail clamp. Slide the seat forward or back, then retighten.
- Set seat tilt. Adjust the angle by loosening the bolts under the seat, tilting as needed, and retightening.
- Test ride. Pedal for a few minutes. Check for comfort, knee pain, or numbness.
- Fine-tune. Make small adjustments and retest. It may take a few tries.
Always tighten bolts to the recommended torque. Over-tightening can crack a carbon frame or seatpost.
The Science Behind Seat Height: The Numbers
Research shows that optimal seat height improves performance and reduces injury risk. Here’s what studies have found:
- 25-35 degrees of knee bend at the bottom of the pedal stroke is ideal.
- A seat set too low increases knee pain risk by up to 20% in some studies.
- Seats set too high can reduce power output by around 5-10% and increase risk of hip pain.
Here’s a quick comparison of effects:
| Seat Height | Pros | Cons |
|---|---|---|
| Too Low | Stable for beginners | Knee pain, poor power |
| Just Right | Best comfort, power | May take time to find |
| Too High | More leg extension | Hip rocking, overreach |
Adjusting For Different Riding Styles
Not every rider needs the same seat position. Here’s how to adjust for your style:
Cross-country (xc) Riders
XC riders want maximum power and efficiency. Set the seat a little higher, but not so high that your hips rock. Keep the seat level for long climbs.
Trail And All-mountain Riders
These riders need a balance between power and control. Seat height should allow for easy pedaling, but you also need to move around the bike. Consider a dropper post for changing seat height during rides.
Downhill Riders
Downhillers keep the seat much lower for control. This makes it easier to shift your body weight on steep descents.
Quick Comparison
| Riding Style | Seat Height | Seat Tilt |
|---|---|---|
| Cross-Country | Higher | Level |
| Trail/All-Mountain | Medium | Slight tilt if needed |
| Downhill | Lower | Level or slightly down |
Common Mistakes And How To Avoid Them
Even experienced riders make mistakes with seat adjustment. Here are some of the most common:
- Ignoring seat tilt: Many set the seat level once and never check it again. Small bumps or crashes can knock it out of place.
- Over-tightening bolts: This can crush carbon or thin metal parts. Always use a torque wrench if possible.
- Not using a dropper post: For modern trail riding, a dropper post is almost essential. It lets you get the seat out of the way quickly.
- Adjusting only by feel: While comfort is important, use measurements and angles for accuracy.
- Skipping test rides: Always test after each change. Sometimes a small adjustment feels different after a few miles.
A key insight: saddle position can change over time as you gain skill or flexibility. Re-check your settings every few months.
Practical Tips For Long-term Comfort
- Invest in quality padded shorts. Even the best seat can’t fix bad shorts.
- Check seatpost for slip marks. If your seat keeps dropping, the clamp may be loose or the post needs more friction paste.
- Carry your tools. Trails can be rough. If your seat shifts, you’ll want to fix it right away.
- Mark your seatpost. Use a small piece of tape or marker to remember your perfect height.
When To Replace Your Saddle
Sometimes, no amount of adjustment will make an old or unsuitable saddle comfortable. Signs you might need a new saddle include:
- Cracks or damage to the shell or rails
- Padding has flattened out
- You get numbness or pain every ride, even after adjusting
Saddle shape is very personal. Try a few before deciding. Many bike shops have test saddles you can borrow.
How To Choose A New Mountain Bike Saddle
Choosing the right saddle is just as important as adjusting it. Here’s what to look for:
- Width: Your sit bones should rest on the wide part. Too narrow or wide can cause pain.
- Shape: Some are flat, others have a curve. Try both to see what feels best.
- Padding: More isn’t always better. Too much can cause chafing on long rides.
- Cutouts: Saddles with a center cutout reduce pressure in sensitive areas.
Comparison of common saddle types:
| Saddle Type | Best For | Main Feature |
|---|---|---|
| Flat | XC, aggressive riders | Easy movement |
| Curved | Trail, comfort | Supports pelvis |
| Cutout | Long rides, sensitive riders | Relieves pressure |
| Extra padded | Short rides, casual | More cushion |
Mountain Bike Seat Adjustments For Women
Women often need a slightly wider saddle, as pelvic bones are usually wider. Many brands now make women-specific saddles, which can reduce numbness and pain. Don’t be afraid to try several options. The right seat can make a big difference.
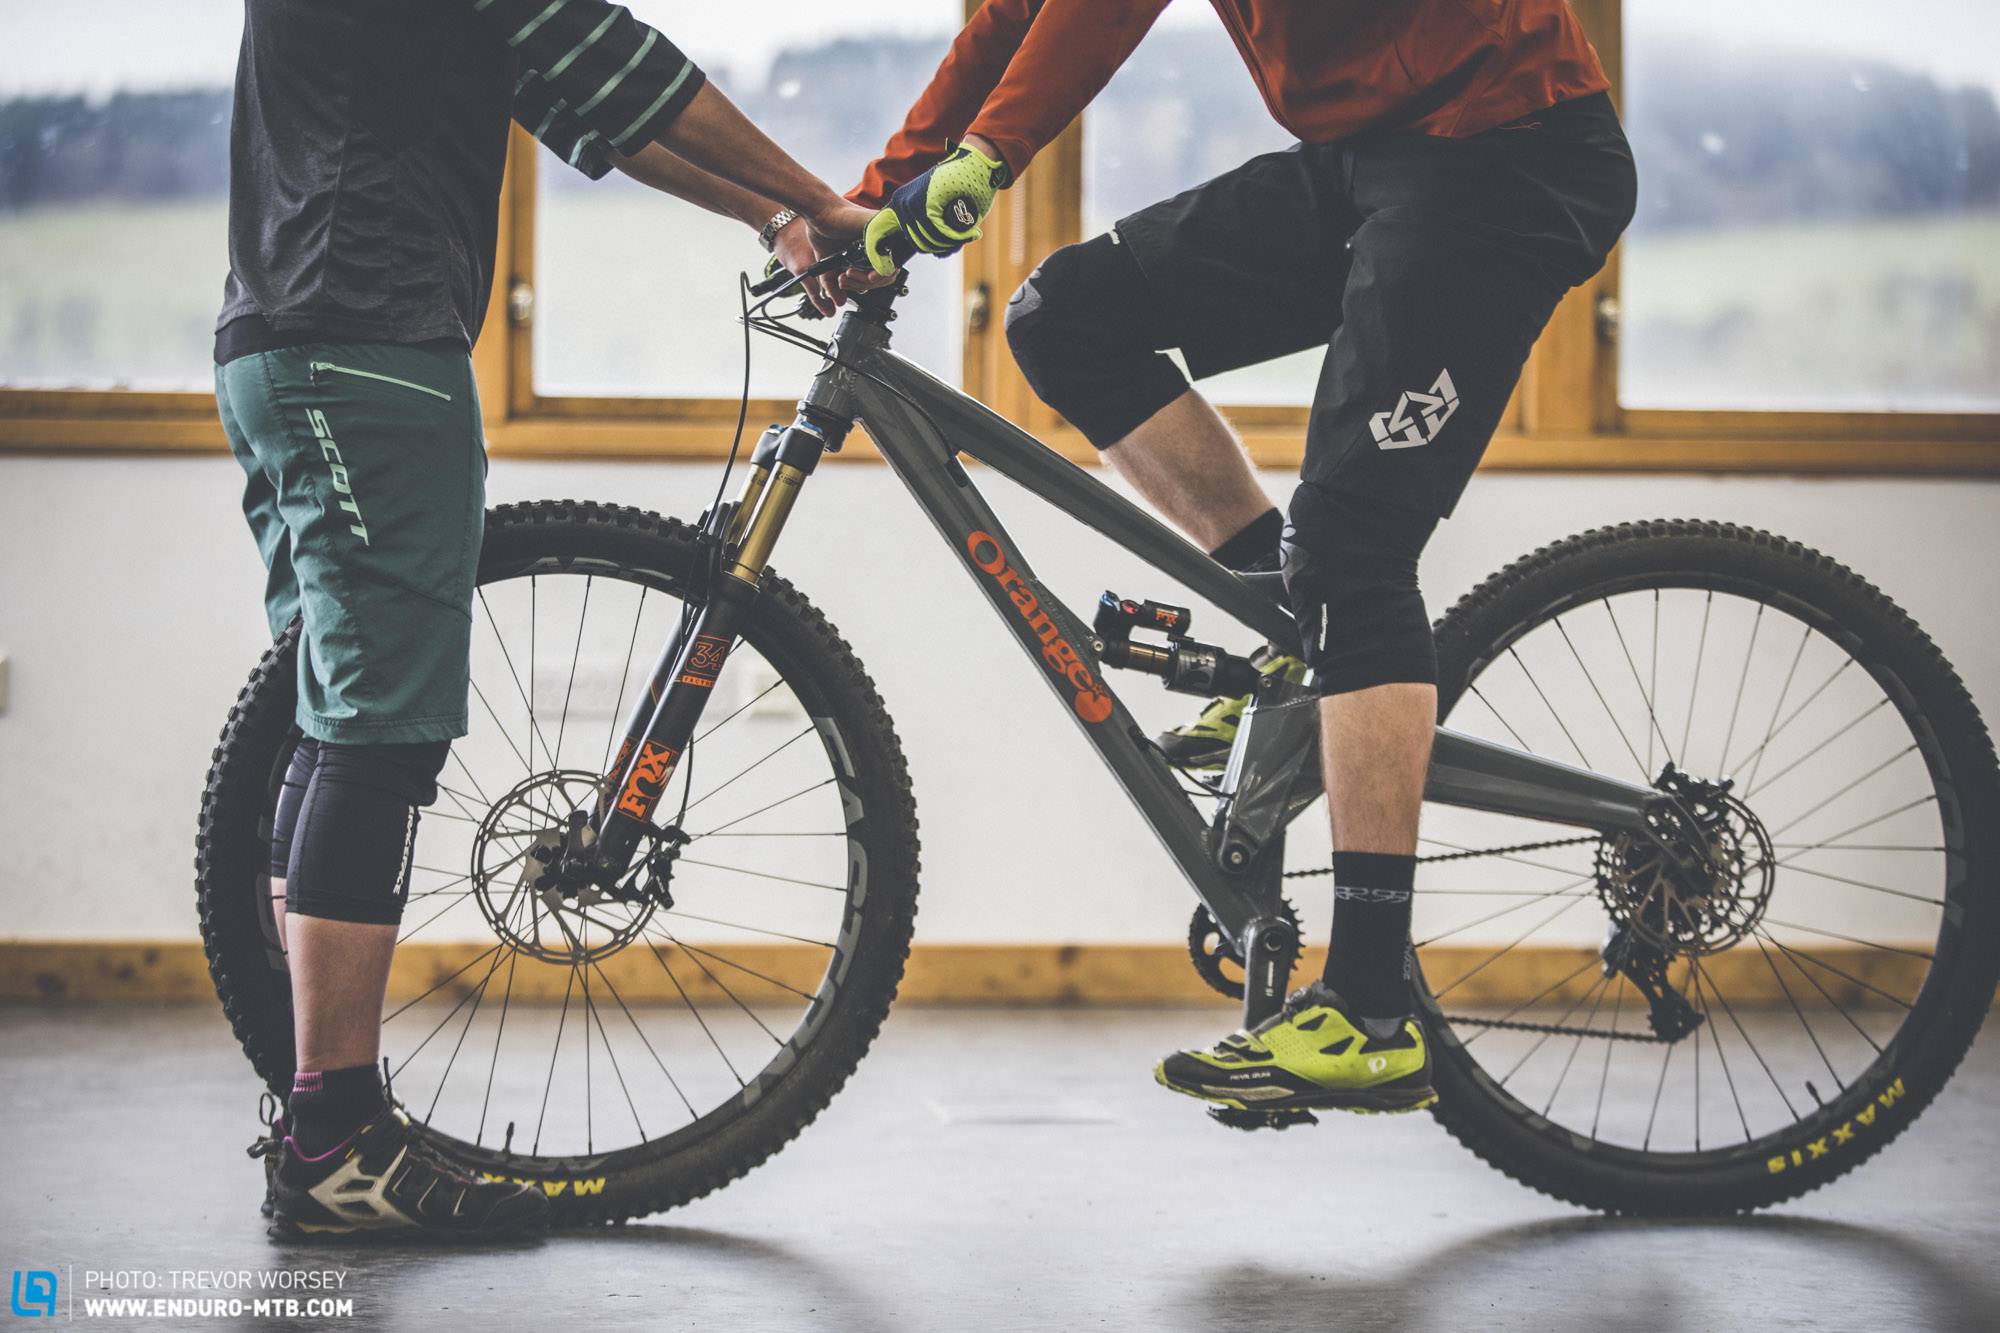
Credit: enduro-mtb.com
What About Kids’ Mountain Bikes?
Kids’ bikes often come with basic saddles and seatposts. The same rules apply: adjust for a small knee bend at the bottom of the pedal stroke, and make sure the seat is level. Because kids grow fast, check the seat height every few months.
Advanced Adjustments: Seatpost Suspension And Dropper Posts
Some seatposts have built-in suspension, which can add comfort on bumpy trails. Others, called dropper posts, let you change seat height while riding. These are especially useful for technical trails. If your bike doesn’t have one, it’s worth considering. Learn more about the different types and benefits on Wikipedia.

Credit: www.rei.com
Adjusting Your Seat Before A Race Or Long Ride
Before a big ride or race, double-check your seat position. Small changes can throw off your rhythm on a long day. If you travel with your bike, mark your seatpost so you can reset it quickly after re-assembly.
Signs Your Seat Position Is Wrong
Watch for these warning signs during or after your rides:
- Knee pain: Often from seat too low or too far forward
- Back pain: Can be from seat too high or tilted wrong
- Numb hands or feet: Could be from seat tilt or fore-aft position
- Saddle sores: From a poor-quality seat, bad shorts, or wrong tilt
If you notice any of these, try changing your seat position before blaming your fitness or bike frame.
Frequently Asked Questions
How Often Should I Check My Mountain Bike Seat Adjustment?
Check your seat adjustment every few months, or after any crash or travel. If you feel new pain or discomfort, check right away. Your body may change as you ride more, so small tweaks are normal.
Can I Use A Road Bike Saddle On My Mountain Bike?
Yes, but it might not be ideal. Road saddles are sometimes harder and narrower. Mountain bike saddles are designed for more movement and rougher terrain. Try both if you want, but comfort is the main goal.
What Is The Best Seat Height For Climbing Steep Hills?
For steep climbs, a slightly lower seat can help you shift your weight forward and keep traction. If you have a dropper post, lower it a bit before a steep section, then raise it again for flat or rolling ground.
Should My Seat Be Perfectly Level?
Start with your seat level. Some riders prefer a slight downward tilt, but too much can cause you to slide forward. Always make small changes and test each one.
Why Do I Still Get Sore After Adjusting My Seat?
If you’re new to riding, some soreness is normal as your body adapts. If pain continues, check your shorts, try a new saddle, or ask a bike shop for a fit check. Persistent pain means something is wrong—don’t ignore it.
Finding the right mountain bike seat position can take a little time and patience, but the rewards are huge. You’ll ride longer, feel better, and enjoy every trail more. Try the steps in this guide, and remember: small changes can make a big difference. With the right setup, your bike becomes an extension of your body—ready for every adventure.

Hello Guys! I am John Reese, a professional biker and my hobby is biking! I have been biking for last 12 years and I love using bikes while outing as well. Based on my experiences with the different type of bikes (mountain bikes, road bikes and hybrid bikes); I am sharing my opinion about various bikes so that a beginner can get started right away. Happy reading!